

.svg)
How to Build a Resource Center with Webflow
Key takeaways
- A resource center is a structured hub for all content types that supports every stage of the customer journey and drives lead generation.
- Webflow lets marketers publish, edit, and manage content easily through its intuitive CMS without needing developer help.
- Its flexible design and CMS tools allow seamless integration from Figma and easy scaling across multiple content types.
- Clean code and built-in SEO tools like metadata, schema, and sitemaps improve site performance and visibility.
- Real examples such as Nursa and 21.co prove Webflow’s ability to handle large, content-heavy hubs quickly and efficiently.
A resource center is a section of your website where all your content lives, including blogs, tutorials, whitepapers, eBooks, case studies, webinars, and even FAQs. Think of it as the Library of Congress – but for your website. But a resource center is more than just a list of articles. It’s a searchable, structured hub designed to support all stages of the customer journey and provide value before the sale happens. That’s what makes it a lead-generation powerhouse.
Beyond leads, resource centers also boost SEO and content marketing. Google rewards carefully structured content ecosystems, and a central hub filled with internal links, structured data, and topical relevance helps you rank higher. Plus, it gives all that long-form content you publish a strategic home that’s easy to manage and scale.
Now, if only there were a one-stop shop solution for handling all this? In comes Webflow with its visual CMS, flexible design control, and clean code output that takes the developer bottlenecks out of the equation. Stay tuned to learn more about how to use Webflow for building out a resource center that can help you grow your brand.
Why Build a Resource Center with Webflow?
Building a resource center with Webflow comes with perks, including the ability to design CMS templates without writing code, and having clean code that supports schema markup and fast loading speeds, which helps Google crawl your website and rank it.
{{cta}}
Built for Marketers
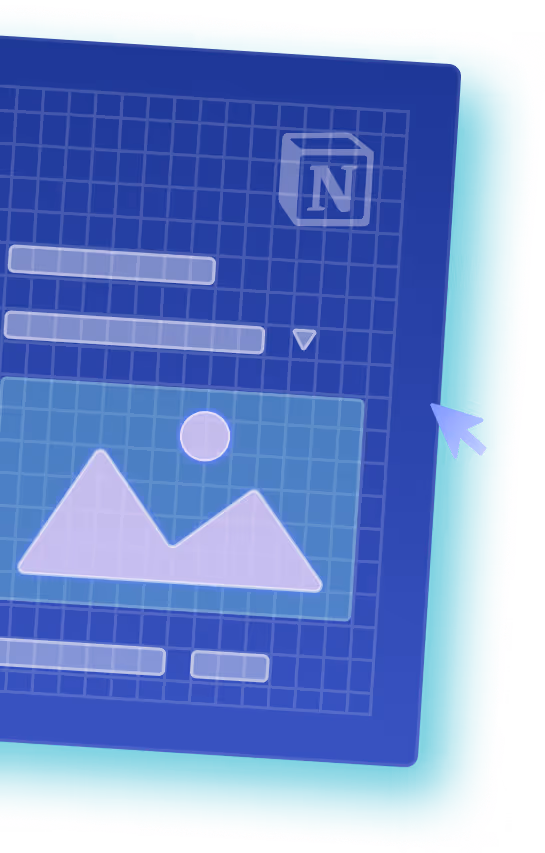
Webflow’s CMS was built with marketers in mind. The key was to empower them to publish, edit, and manage content without having to touch a single line of code. Imagine having to bug the dev team every time you had to make any change? That’s a breeding ground for bottlenecks.
With Webflow’s CMS, even complete beginners can update content at will through inline editing, a feature of the Editor mode, without digging through the backend. Moreover, you can see all the changes in real time and even preview new content before publishing to ensure there are no awkward surprises.
Design Flexibility + CMS Power
Webflow is all about bringing together design and content operations in one seamless way. When you start in Figma, with your design team mapping out a custom layout for the resource center, you won’t have to face rigid templates and issues with themes. You can easily translate it into Webflow in a couple of clicks, thanks to the Figma to Webflow plugin.
Now, on the content operations side of things, Webflow’s CMS shines even brighter. You can use CMS Collections for each type of content you want to scale, from blogs to ebooks and webinars. Each collection comes with a set of fields to fill, like titles, summaries, categories, and tags, and all you need to do when adding a new item to the collection is just fill in the CMS item, and off you go.
Performance and SEO Advantages
Webflow sites load fast. We are talking about under 5 seconds. That’s because Webflow comes with a code that’s free of the bloat you’ll find in other CMS platforms. This will help your resource center load lightning-fast, something both the users and search engines appreciate.
You’ll also get complete control over SEO fundamentals. We are talking about customisable meta tags, structured data (schema), XML sitemaps, and much more. The best part – you don’t need plugins for these.
Real-Life Validation
Scores of top-performing SaaS companies have already jumped on the bandwagon and turned to Webflow for help with their resource centers. Here’s an example from the healthcare industry. Nursa, a website about healthcare staffing, managed to migrate 40,000 pages to Webflow in 19 days.
Fintech is also represented. With Flow Ninja’s support, 21.co achieved multiple milestones, like cutting marketing site launch time from about 2-4 weeks to just 1-3 days, not to mention product launch times from 1 week to just 1-2 days.
These and other examples show that Webflow works just as well for content-heavy resource hubs as it does for marketing sites.
Step-by-Step: Building a Scalable Resource Center in Webflow
Here’s how to build a resource center with Webflow in a simple step-by-step format, along with all the tools and resources you’ll need to make it futureproof.
1. Define Your Content Types
Defining the type of content your team wants to publish is the natural first step. Doing only blog posts is quite different than publishing whitepapers and eBooks, particularly with CMS collections in mind. Blogs and whitepapers don’t belong in the same collection because they have different layouts and fields. For example, guides and eBooks are downloadable assets that are usually gated. Their CMS collection will, therefore, require a download link or a CTA button.
Additionally, consider how users will interact with the resource center. Will they filter by topic or content type? That’s why you need to plan fields like tags, categories, and others right from the start.
2. Design the Resource Center & Templates
There are two pillars on which a good resource center resides: the main hub page and the individual resource templates. The hub page serves as a directory of sorts. There, you can find various filters, including those by content type or industry.
On the other hand, each resource item, whether it's a blog, guide, or webinar, requires its own template with layouts such as the hero section, metadata, the content body, and CTAs. Now, it’s with the individual templates that you need to be more careful about. Here’s why.
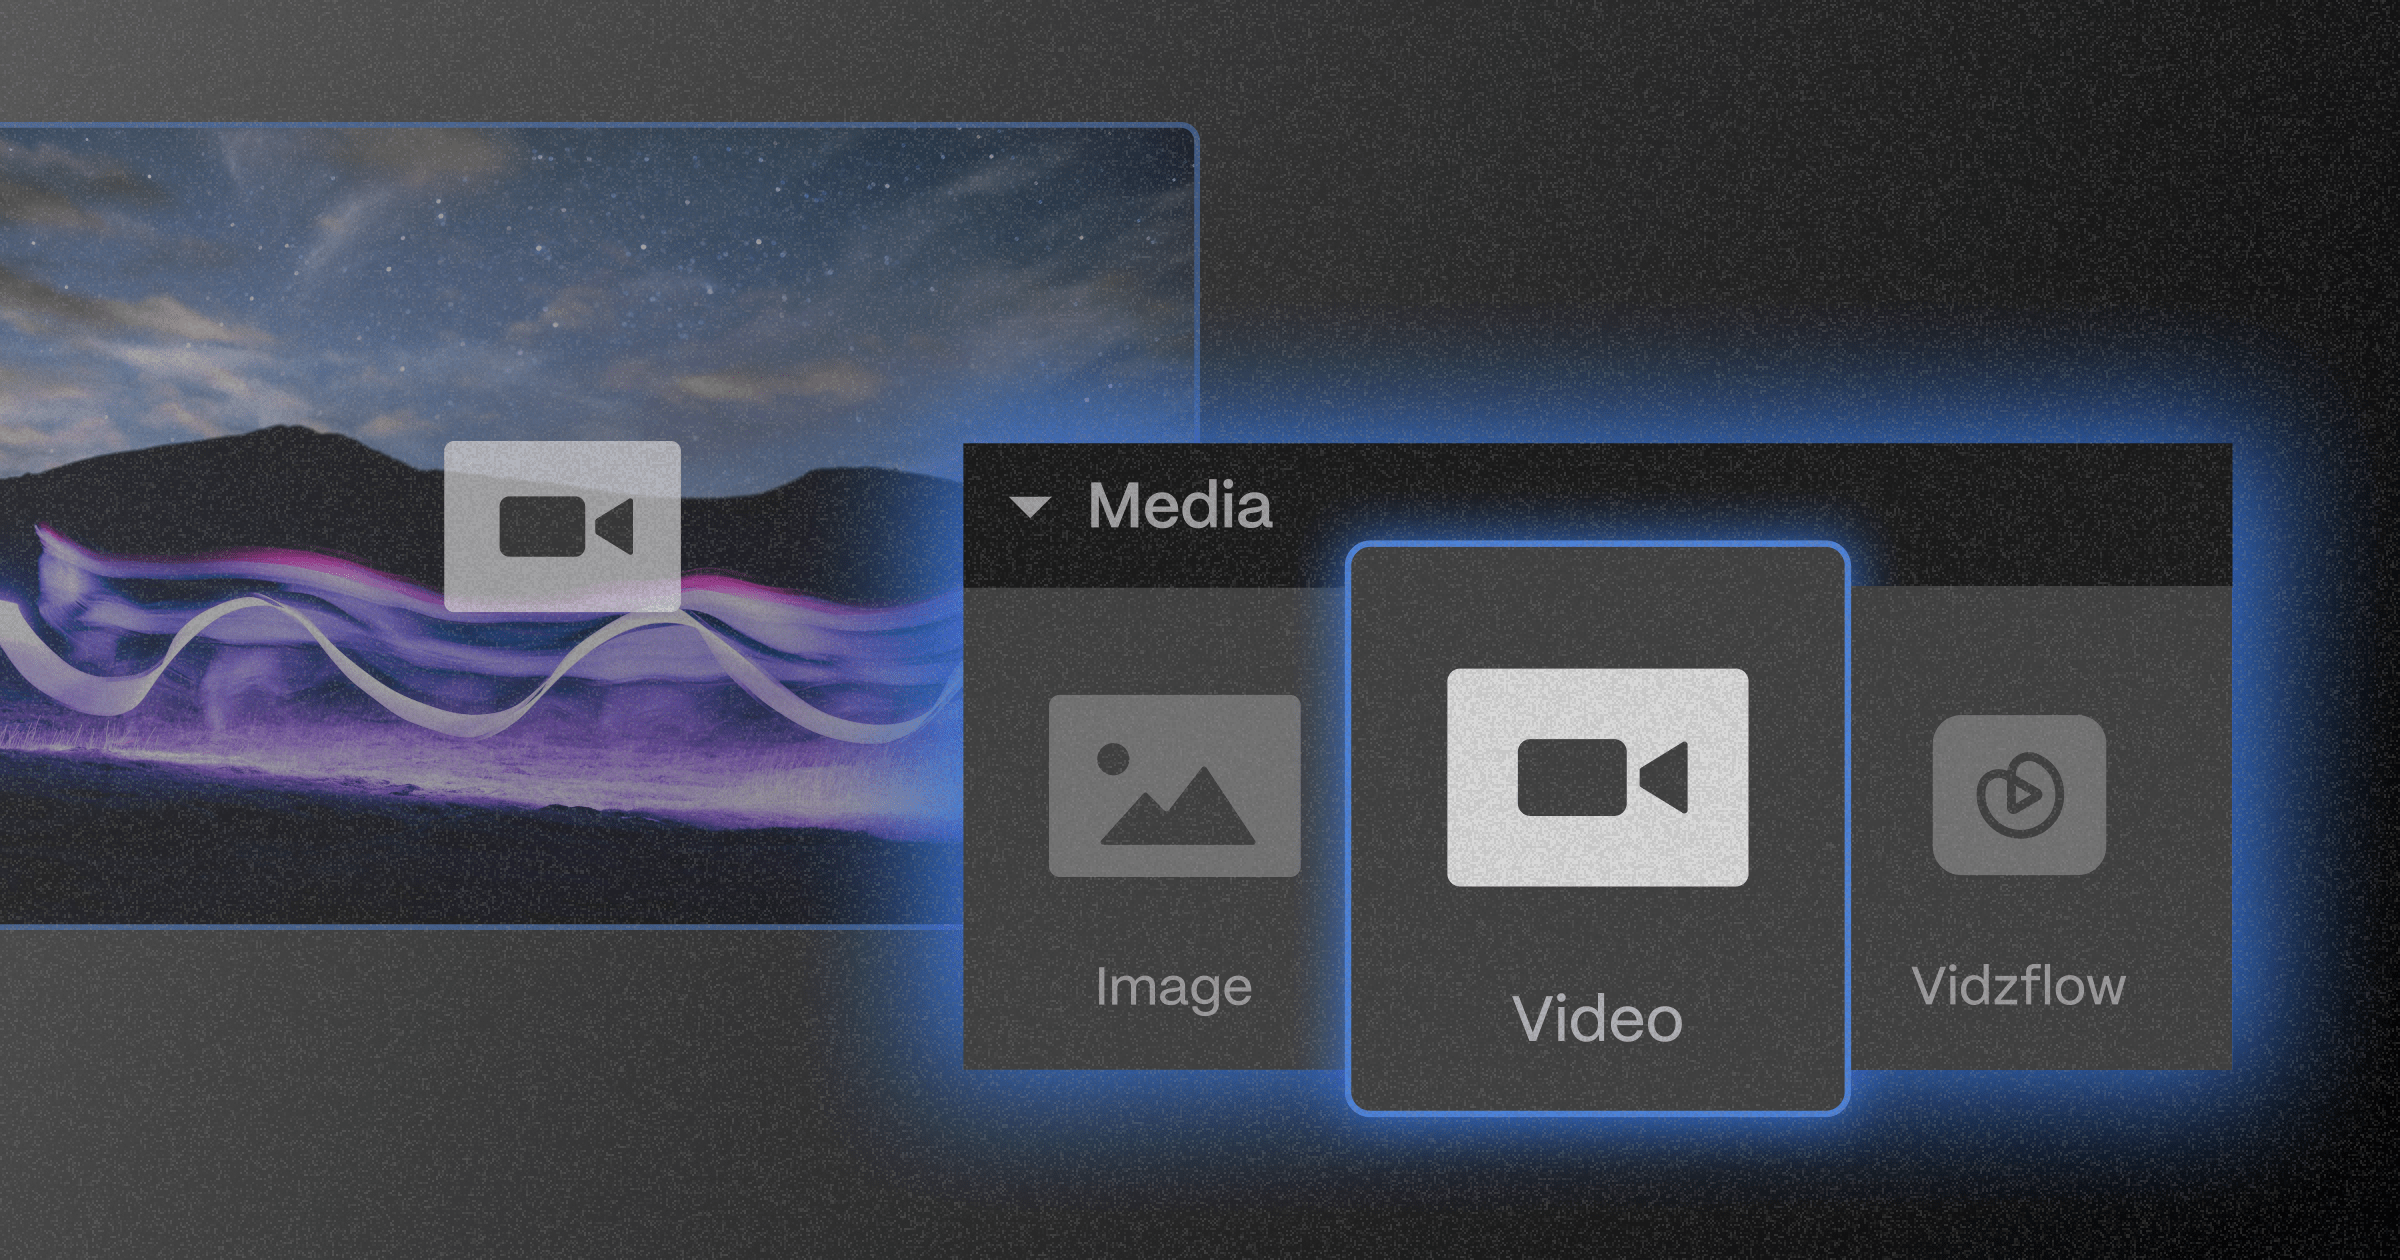
Webflow offers Rich Text Blocks, a dynamic content field that lets you add paragraphs, headings, links, images, and even code snippets, all in one field. This is great for long-form content like blogs and guides, allowing your writers to make changes directly within Webflow’s CMS Editor.
While Rich Text Blocks are great, they can’t do everything. They need help from the Custom Components. These are layout elements such as call-to-action blocks, pull quotes, and video embeds that you’d design once and place them outside the Rich Text Blocks as part of the template or insert them using custom embeds when needed. No matter how you activate them, they are the same across the board.
3. Develop in Webflow & Connect CMS
When you have the design in mind, it’s time to see it come to life in Webflow. In come CMS collections. But first, you’ll use Webflow’s canvas, where you’ll recreate the design. No coding needed. Then, you can set up the CMS collections for the type of content you’ll be publishing, with all its fields. Remember, a blog will need the author’s name and read time, while a webinar will require a YouTube embed.
Next, you can trigger conditional visibility, a feature that specifies when an element is visible depending on the content type and other conditions. For example, you will only show the “Download whitepaper” element if the CMS item is marked as a whitepaper.
The goal is to empower marketers to fill out the fields and publish, with all the content automatically matching the right layout.
4. Optimize for SEO and Performance
Once the resource center is locked and loaded, it’s essential to put it in the best position to be discovered by search engines and users alike. That’s the cue for SEO. The first step of the SEO checklist you need to have in mind is making sure all pages are indexable and appear in the Webflow-generated sitemap.
Consider the URL structure, using the focus keyword in it. Additionally, the CMS fields for metadata require proper meta titles and descriptions that clearly inform users and crawlers about the content of the pages.
You can also kick it up a notch with a schema markup. It’s a form of structured data that can guide search engines towards a more profound understanding of your content. You can create schemas for FAQs or videos to help them qualify for rich snippets.
In terms of performance, consider enabling search options or advanced filtering to make the content of your resource center more discoverable. Lastly, but not least, is the integration of tools for tracking content performance, such as Google Analytics 4 (GA4) and Google Search Console. These tools let you know which keywords bring traffic, what the conversion rate is on pages, and more.
Final Tips for Marketers
To help you make your resource center more like the Flow Ninja’s resource center, we’ve prepared some final tips for marketers.
Keep It Scalable
A resource center is not a one-and-done build. It, too, can grow in tandem with your website and business. This calls for scalability from day one. Start with planning future categories, formats, and filters. Even if you start with blogs, make sure to leave room for downloadable content or eBooks.
When each content type has its own collection, all you’ll have to do is fill out the fields it needs, and you’ll be good to go. On the design side, don’t forget about components like the “Download Now” CTAs and “Further Reading” sections, which you can use across different Webflow templates to save time.
Track Content Performance
Putting up a resource center is one thing. Tracking its performance is quite another. To learn what really works and what doesn’t, you should set clear KPIs and attach them to your goals. Here, we are talking about pageviews, engagement metrics that tell how much time people spend browsing it, and conversions – are they downloading that whitepaper?
The majority of these metrics are available via Google Analytics and Google Search Console. Still, for that fine-grained analysis of users’ interaction with the resource center, you’ll need heatmaps and session recordings. These come through third-party tools, such as Hotjar and Microsoft Clarity.
{{cta}}
Need Help Building Yours? Let’s Talk
Building a resource center is no easy pickings, even for experienced marketers. At Flow Ninja, we’ve helped enterprise teams like Upwork leverage Webflow’s features and build high-performing resource centers and content hubs.
We are here to do all the heavy lifting for you, from design to CMS structuring and SEO setup, so you and your marketing team can focus on content production and building a brand out of your business. More publishing, less troubleshooting. The Flow Ninja way.
If you should ever require filling that resource center with proper content, we are here to help with that as well. We also offer SEO blog writing services, guaranteeing high-quality content that’s not only keyword-optimized but also user-focused.
Make sure to contact our sales team to find out more about how Flow Ninja can build you a resource center that grows together with your business.
FAQ for Building a Webflow Resource Center
What types of content should a B2B resource center include to generate leads?
A B2B resource center should include whitepapers, guides, webinars, case studies, and industry reports. Combining gated and ungated content helps attract visitors while nurturing qualified leads through value-driven materials aligned with different stages of the buyer journey.
How does Webflow’s CMS make it easier for marketing teams to manage a resource center?
Webflow’s CMS allows marketing teams to add, edit, and categorize resources without developer help. It provides a customizable structure for content types, filters, and dynamic layouts, ensuring resource centers remain organized, scalable, and easy to maintain.
What advantages does a Webflow-built resource center provide compared to other CMS platforms?
A Webflow-built resource center offers flexibility, visual control, and native performance optimization without relying on plugins. It integrates seamlessly with marketing tools and ensures content updates are fast, secure, and visually aligned with brand standards.

Misa Vuckovic
Nicknamed the Professor, Misa is the Head of Growth at Flow Ninja. He's also an avid collector of tiny car toys, which he paints and restores.


.png)


.svg)

.png)
.png)
.webp)
.svg)

