
.svg)
How to Build a Website with Webflow?
Key takeaways
- Webflow lets beginners and pros build fast, responsive, SEO-friendly sites with a visual, no-code-first builder.
- Its core tools—Designer, CMS, Hosting, and Interactions—cover design, content, performance, and animations in one platform.
- You can build from scratch by planning structure, adding nav and hero sections, and styling with reusable classes.
- Templates offer a faster path: pick one, customize layout and content, then test and publish.
- Success with Webflow depends on good structure, simple design, SEO basics, and proper mobile optimization.
- For complex, business-driven sites, working with experienced Webflow professionals is usually the best option.
Webflow is rapidly becoming one of the leading website builders, as sites built with this service are fast, responsive, and SEO-friendly. In the hands of a professional developer, Webflow becomes a truly powerful tool.
That said, Webflow can be used by less experienced individuals looking to build a quick and effective site without the frustration of learning to code. They can start building from scratch or use one of the highly-customizable Webflow templates to speed up the process.
In the following article, I will give an overview of how to build a simple Webflow site.
Bear in mind that this is mainly aimed at beginners looking to start their Webflow journey. If you want to build a complex, powerful, and business-driven site, you will have to consider hiring Webflow professionals.
{{cta}}
Building Websites with Webflow
One of the main reasons why people choose Webflow is the clean underlying code written automatically as you’re building a site with a visual builder.
This means you can technically build amazing Webflow websites without using code. In reality, however, knowing how to code or having an engineer by your side is definitely going to help you unlock Webflow’s full potential.
Clean code makes the site fast and approachable to search engines. In case you need a coder to step in and further improve a site, they will be happy to work with the existing code on the site.
But Webflow’s full scope is visible after you complete building a site, as it features a robust CMS with a range of other capabilities that allow non-technical persons to maintain and update their site.
In other words, even if you have someone else build a Webflow site for you, you will be able to continue working on it on your own, provided you receive proper training.
That’s why Webflow is widely regarded as a powerful marketing tool — it puts websites into the hands of marketers who don’t have to rely on developers for every single change on the platform.

Webflow Tools
Webflow is a comprehensive service that streamlines the whole process of building and maintaining websites. Some of the essential tools are:
- Designer – Webflow Designer is the core tool that allows users to develop and customize their website's layout, typography, colors, images, and much more. It provides a drag-and-drop interface that makes it easy to create and edit web pages. Think of it as Photoshop, but as you're designing your website, you're also building it at the same time, as the code is written automatically while you're dragging and dropping elements to the canvas.
- CMS – Webflow's Content Management System (CMS) tool allows users to create and manage content for their website. It provides features like dynamic lists, collections, and templates that make it easy to add, edit, and organize content. Think of it as an intuitive database that is convenient to use and apply while building a site. The CMS is actually integrated in Designer and works as part of it.
- Hosting — Webflow's hosting service is a robust foundation for websites, boasting a distributed infrastructure ensuring high uptime and scalability. It includes SSL certificates for data security, a global Content Delivery Network (CDN) for faster content delivery, and automatic backups for data protection. This hosting system adapts to varying traffic levels, conducts performance monitoring, and implements stringent security measures against threats like DDoS attacks. Additionally, it simplifies custom domain integration and complies with essential data protection laws, offering a comprehensive solution prioritizing reliability, security, and performance optimization for hosted websites.
- Interactions — The Designer facilitates the creation of interactive elements that engage visitors. This includes defining hover effects, transitions, animations, and scroll-triggered interactions, enhancing user experience and visual appeal. None of them require coding to be created and added to the website.

Steps to Building a Website with Webflow
In the following section, I will provide a guide on how to build a Webflow website. The process differs slightly depending on whether you want to start from scratch or use a template.
Both guides are simplified versions of the site-building process, meaning you’ll have much learning to do as you design and develop your online experience.
How to Design a Website from Scratch and Build it in Webflow
Let’s examine how building a site from scratch looks like. I'll explain some of the basic sections and concepts and guide you through building a navigation menu and a hero section. This should be enough to get you curious and help you explore Webflow Designer before you decide to watch more in-detail course.
Create a Webflow Account
Go to the Webflow website and sign up for a free or paid account.
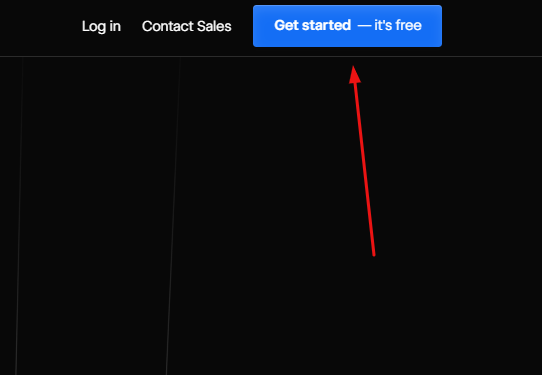
If you’re using Webflow for the first time, you can either choose to Sign Up with your work email address or make it shorter by signing up with your Google account.

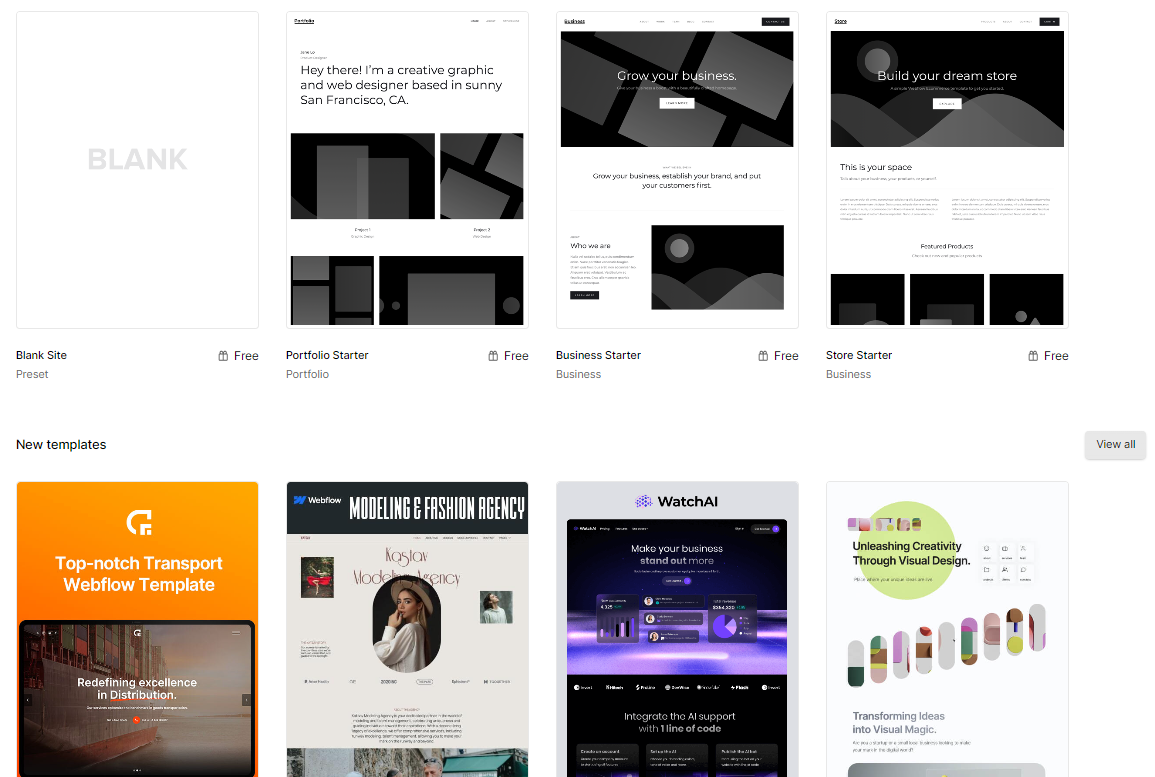
Start a New Project
Once you're logged in, click on the "New site" button. At the start of this process, you’ll be asked to select a template, but let’s start with a blank template and explain how building from scratch works.
You will be prompted to name your site, so enter the name of your project. Don’t worry, you’ll be able to change this later if you still don’t have the name.
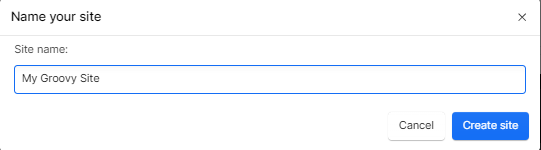
That’s it! You can start creating a new website on Webflow.
{{cta}}
Plan Your Website's Structure and Layout
Once your initial website is loaded, you will officially enter Webflow Designer.

Now, the first thing you should do is not actually build your website. Instead, you should try to organize its layout and structure. Before you start adding sections, pages, and a navigation menu, it’s time to do some research on what to do before you start, including building your site’s architecture.
But if you’re just starting out, building a one-pager should suffice. In that case, it’s important to determine which sections your page will have. It could be as simple as listing and describing sections. For example:
- The hero section — An image of me in a doctor’s uniform, holding a stethoscope. The copy will say: John Smith, your go-to family doctor.
- The Testimonial section
- The My work section
…an so on, you get the point. In this tutorial, we’ll keep it simple and design a simple
Use the Webflow Designer tool to plan your website's layout and structure. Create your pages, add sections, and define the navigation menu. This is the part where you’ll have to start learning some theory, especially on how to design a website layout.
Design Your Website
The design process is important for every website, as it includes customizing your website's typography, colors, images, and other design elements. Ideally, you should create an entire styleguide that should determine how each element will look on your site.
In Flow Ninja, we often use Figma to design websites before Webflow developers apply it in Webflow, but that’s not a necessary step for small websites, as they can be designed right in Webflow Designer (and built at the same time).
Use Webflow’s free tutorials to learn how to do each of these things. Moreover, consider that you’ll probably have to use other web design software in combination with Webflow, Figma being the main one.
Building Your Webflow Site in Webflow Designer
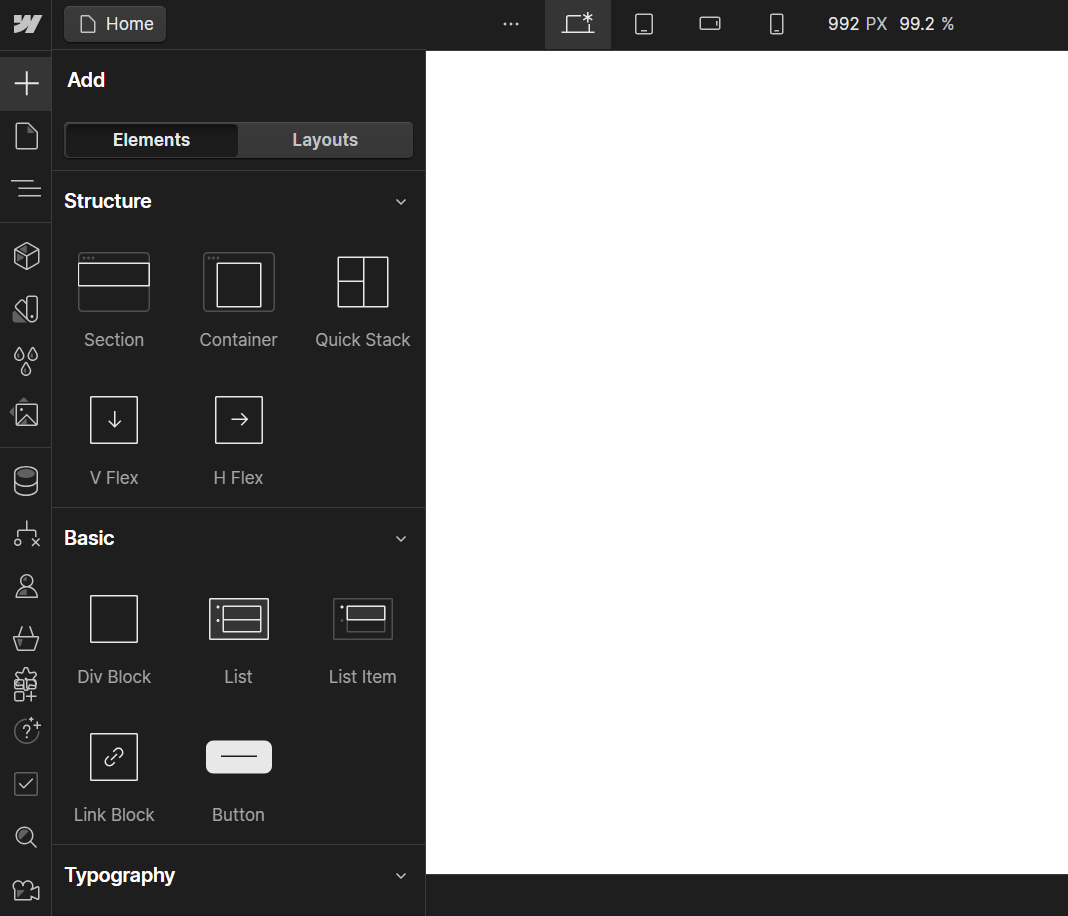
Now, we’ve reached the most important part of building a site with Webflow — adding actual elements to your page. To do this, click the + sign in the top left corner. You will see various options, including containers, div blocks, headings, paragraphs, and more. Each of these plays an important role in building a site.
Creating a Navbar
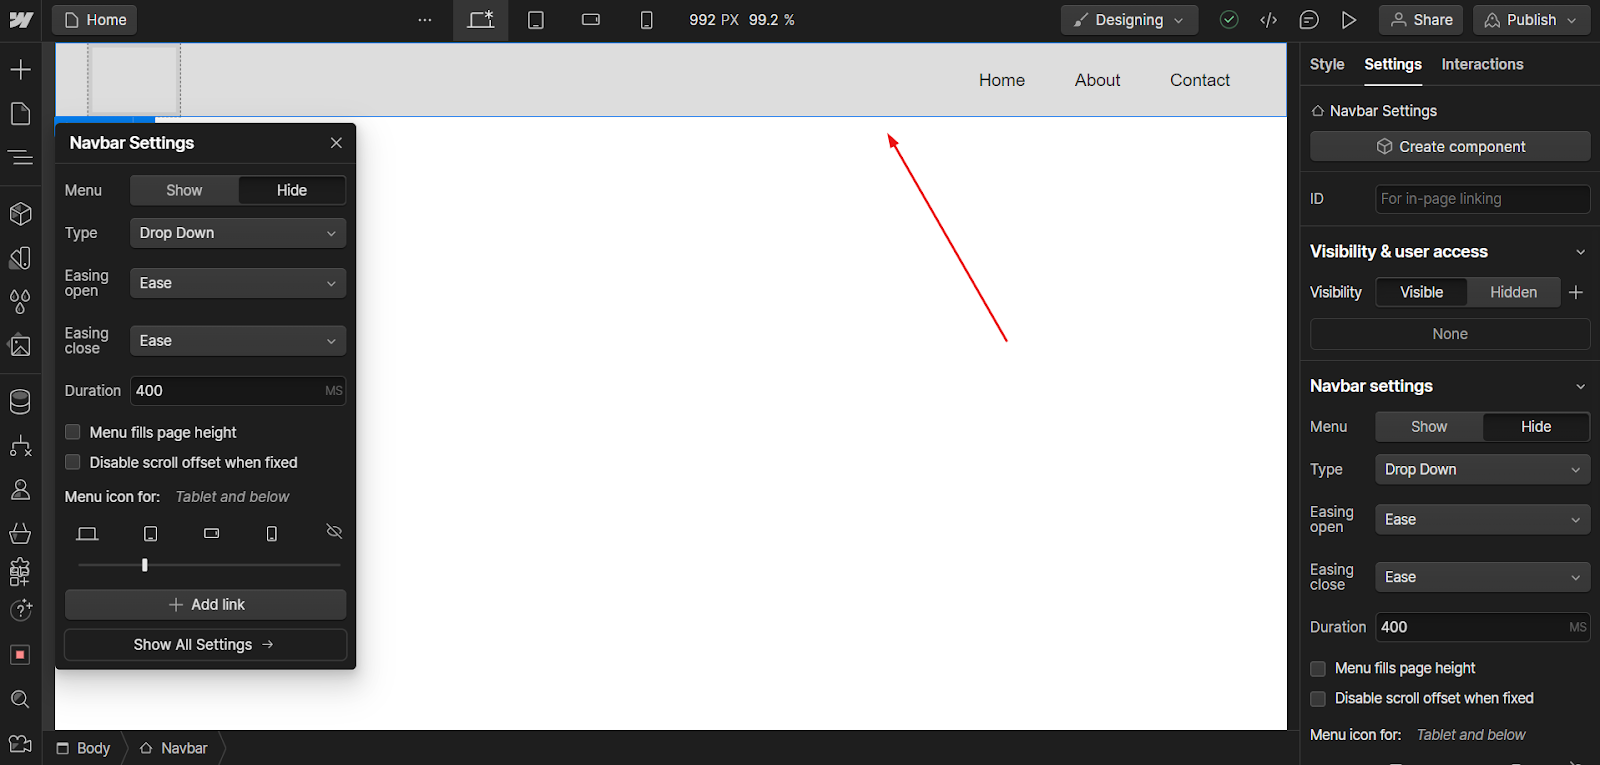
Every website has a navigation bar at the top, and Webflow features an element for that. Scroll to Navbar and drag it to the blank canvas to add it. You’ll notice that the initial element looks pretty plain, with grayish color and no other elements to it.
Using the options in the right-side menu, you’ll need to add style to it based on your design. Moreover, it’s a good idea to add your logo and other navbar elements corresponding to your website’s structure.
Styling elements on your site requires being skillful with the menu to the right, and the most important advice I can give you here is to play around with it a bit and figure out how different things work. For example, changing color is just one of many options.
Many options, such as grid or flexbox, are general web design terms that require understanding a bit of CSS to learn how to use them most effectively. But this goes beyond the basic concepts of Webflow Designer that we’re exploring here. The point is: to be a great Webflow developer, it’s important to understand basic code and principles of web design.
Understanding Navigator
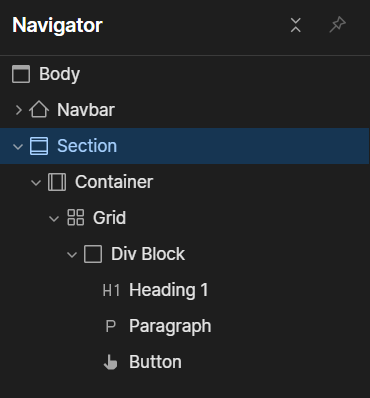
By adding the Navbar, we actually added an entire hierarchy of different elements, including a container, a button, and several links, all of which are embedded inside the Navbar. To understand how your elements are all stacked together on top of each other, you can open the Navigator (shortcut is Z) and see them, as represented in the picture below.

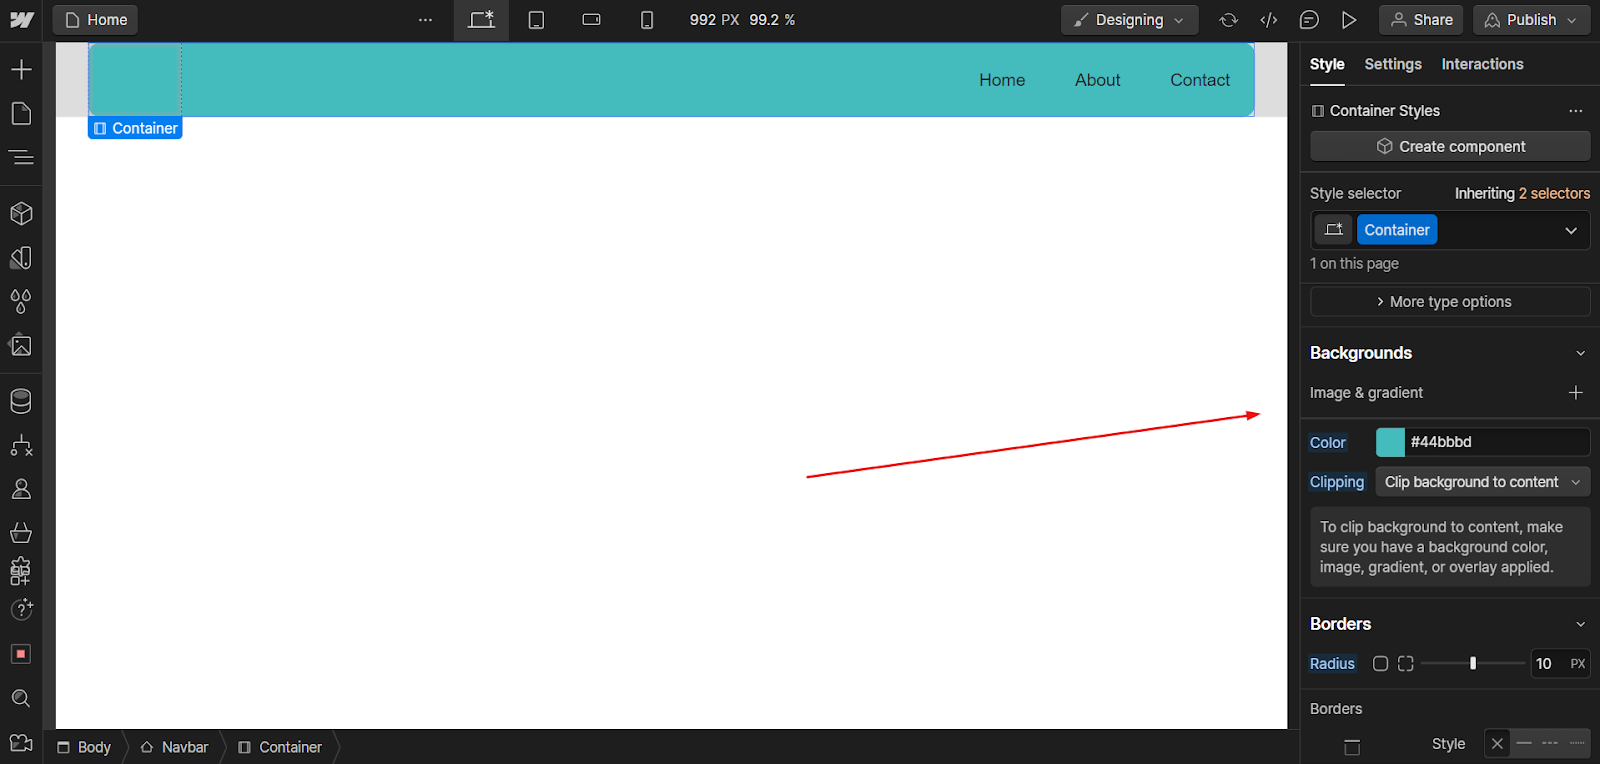
Understanding Classes
Take a look at the picture below.
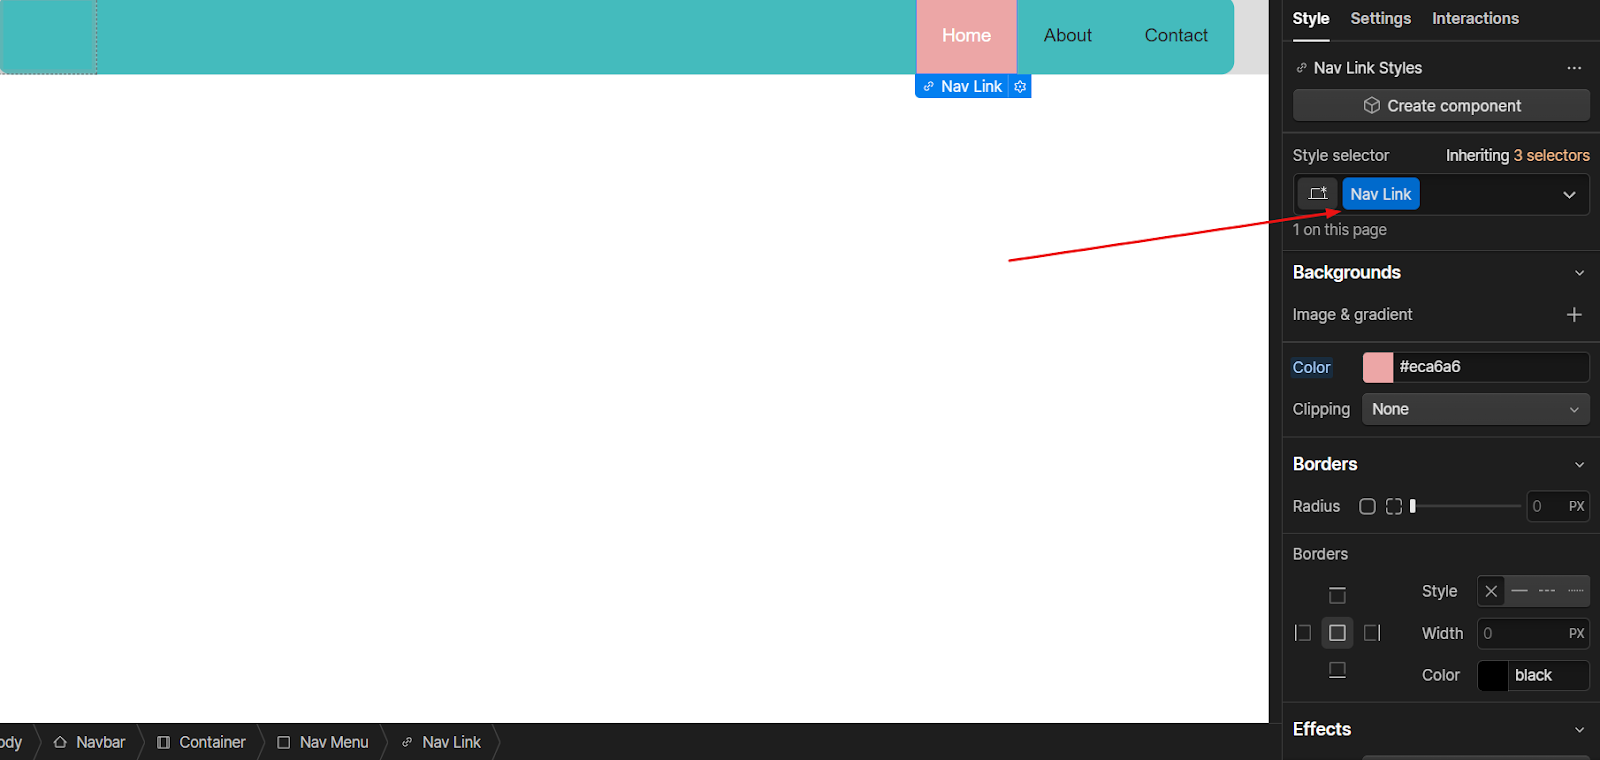
I changed the color of one of the navigation links leading to the homepage. Now, the automatic class was created with the properties I set. But what happens when I want to color the other two buttons (and stylize them in many other way)? Do I have to do it manually? No!
I can just type the class name created when I stylized the first link and add it all to the second and third links.

Here’s what happened when I added Nav Link.
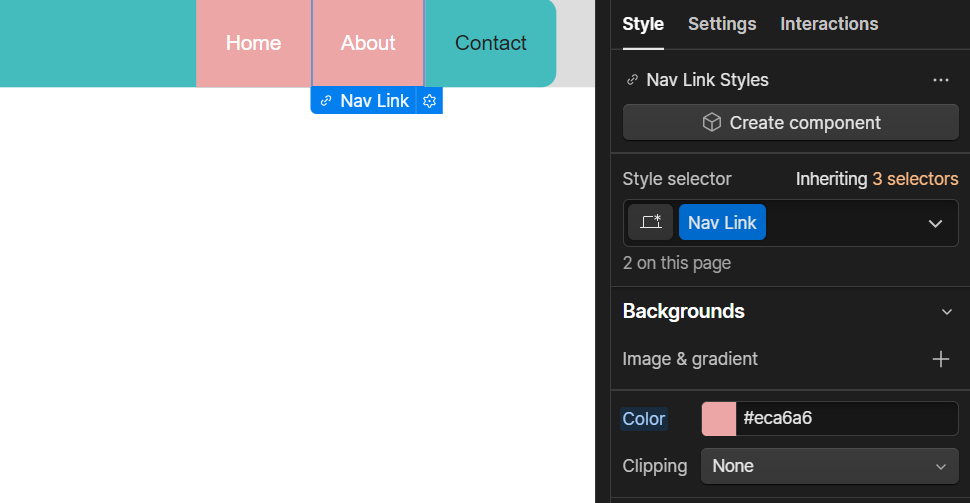
The reason I showed this is because these classes will be reused over and over in different elements of your website. Webflow even lets you name them so you can easily get around. For example, we at Flow Ninja have a class naming system that helps us speed up the building process for our clients.
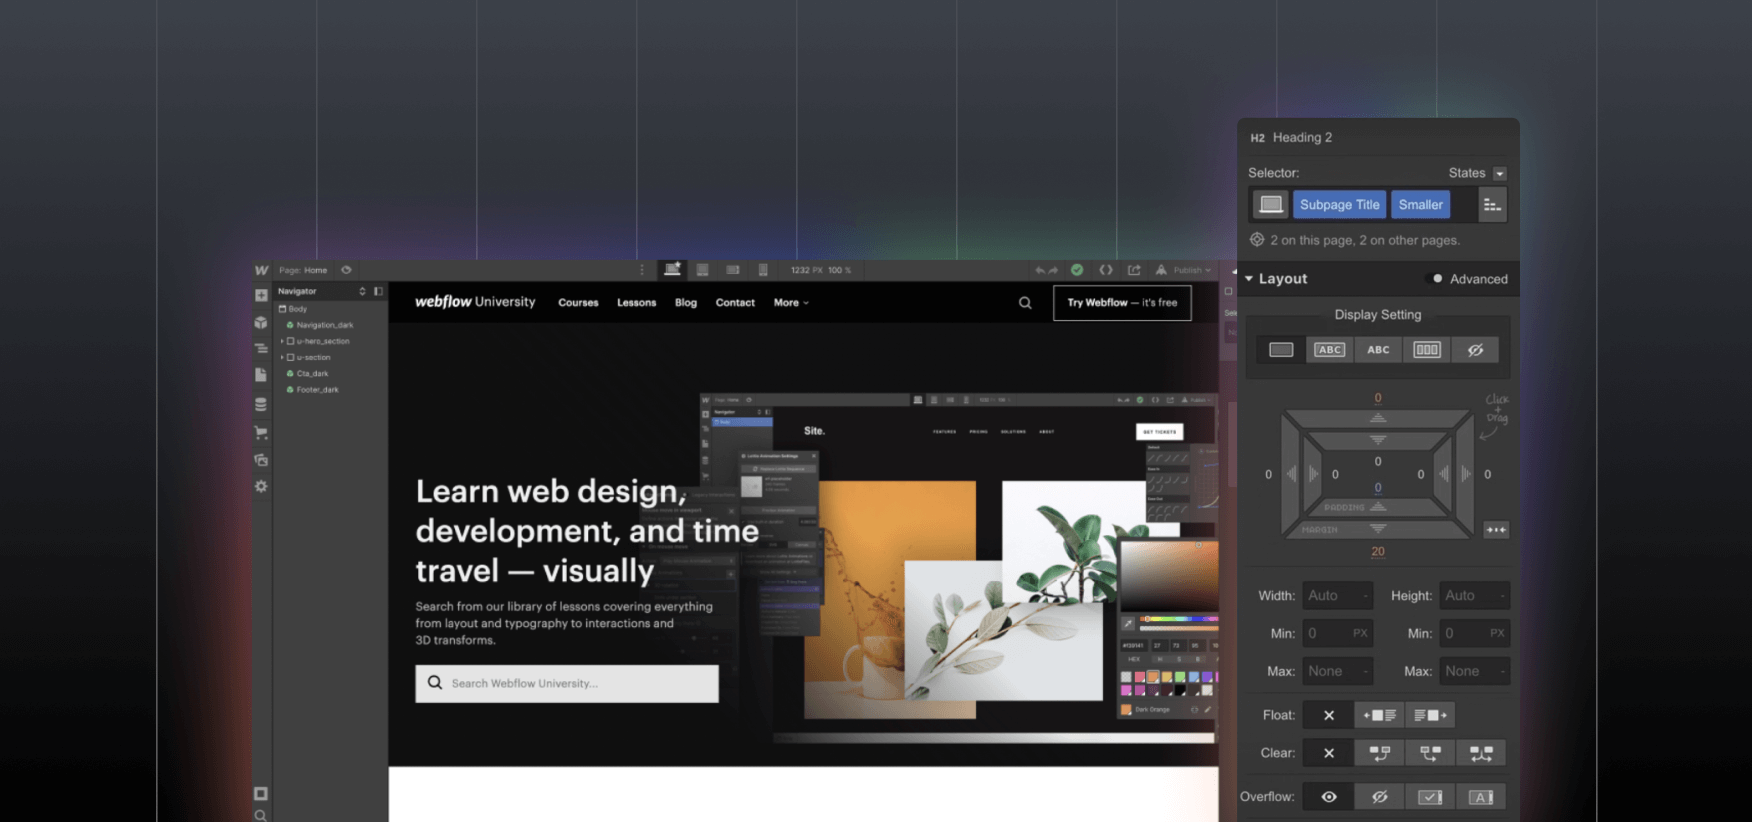
Add Your Hero Section
The next section, and the last one I will do for this tutorial, is the hero section, as I wanted to show you how to add different elements and make them work together before we proceed to other important aspects of building sites with Webflow.
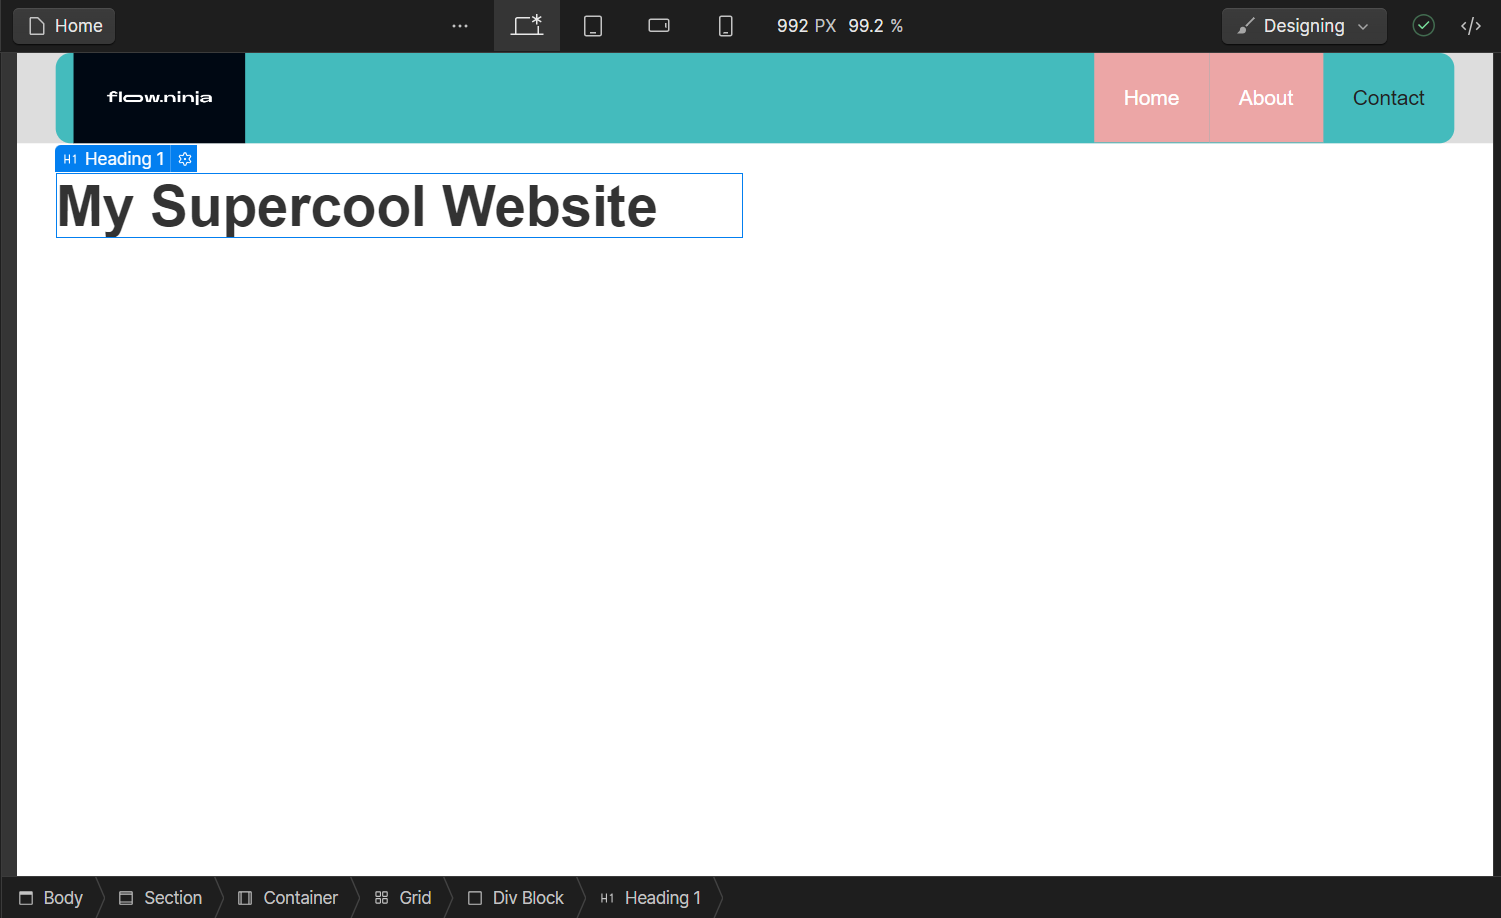
So the first thing I did was add a Section element under the Navbar, and I am going to add additional elements inside of it to create a header.
Now, I cannot start adding elements right away. Instead, I added a container and then a grid with two rows, in which I will add different types of content.
So I put a Div block element in the left grid and then added the Heading element, writing the actual heading of my page. It all looks like this at the moment.
I won’t go into why I added a container, a grid, and a div block before inserting the actual heading, as it requires going into the actual theory of web development. However, all I can tell you is that these are basically all different container types with various properties that help you position content in the best possible way.
I’ve dragged the paragraph element under it, as well as a button, all under the same Div block.
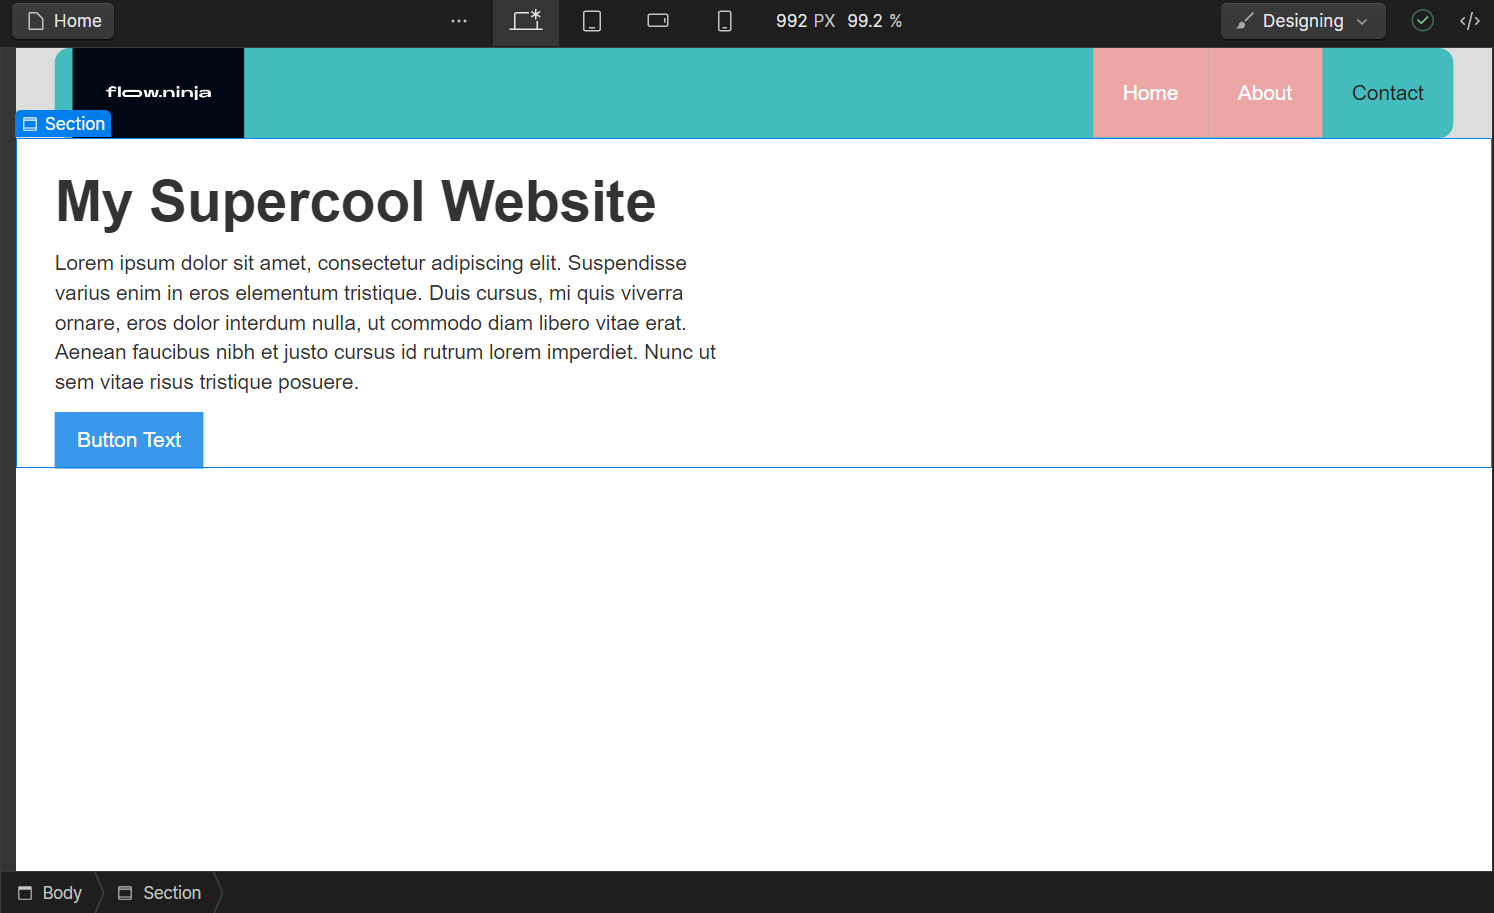
What’s important is that my Navigation looks like this, meaning all three elements are indeed under one Div block.
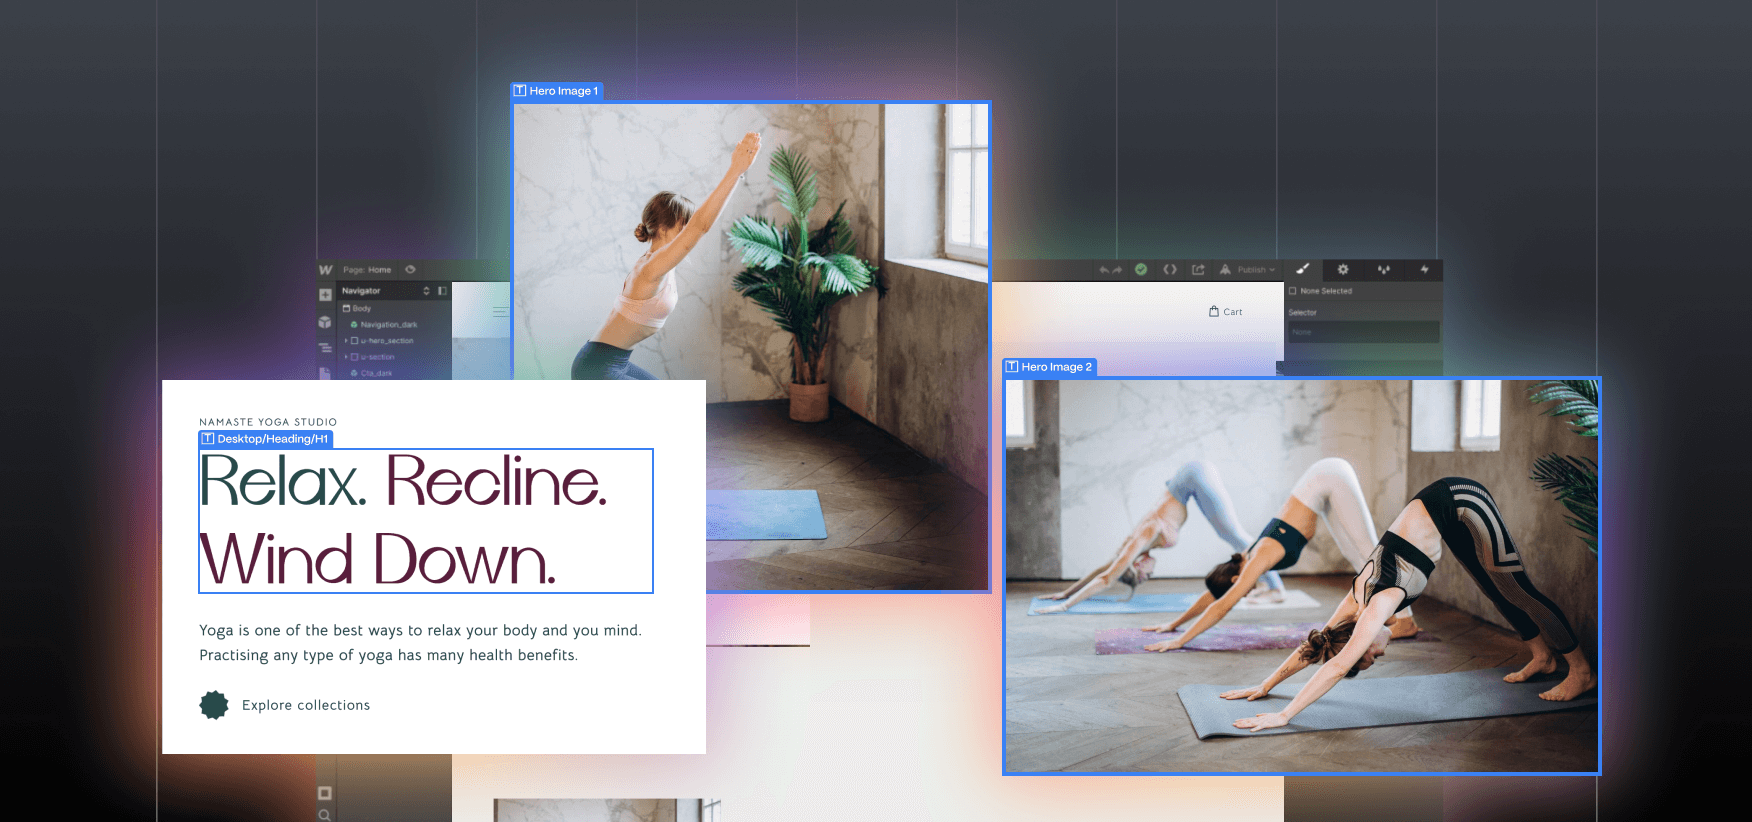
Next, I went to the Asset section in the left-side menu and uploaded a random image, which I dragged into the grid to the right.
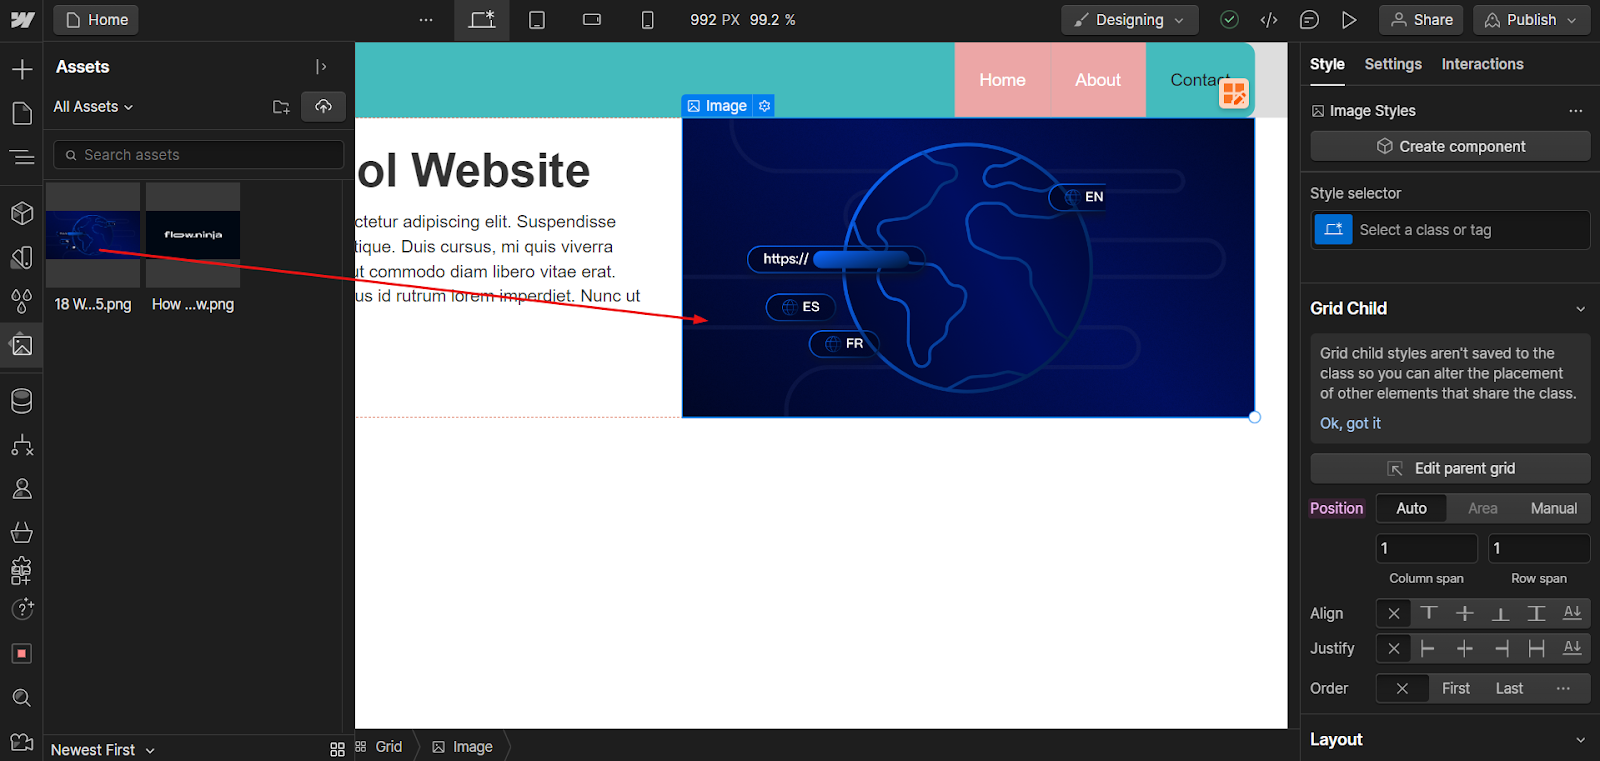
Of course, the image can be further configured to help you position it and make it a logical part of the whole page.
Now, the site looks silly, so I adjusted the colors a bit to make it less (but still very much) silly.

Make Additional Sections Yourself
Now that you know the basic principles of Webflow design, I encourage you to explore Webflow Designer and see what else you can figure out on your own, If you get lost, there are always Webflow University and a range of other free resources to consult.
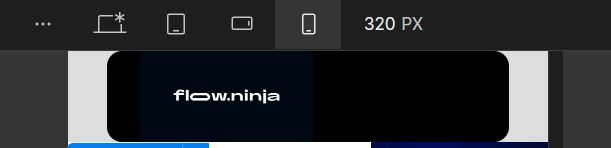
Going Mobile
What makes Webflow one of the most popular builders in the world is the fact that you can immediately address the responsive design issue and make your website look well on different devices. Just select a different view from the top menu, and your will immediately be able to address the design for users who will access the site on the move.
Of course, this is one of the reasons why we use containers, grids, and other elements - so that we can move them around easily when the screen ratio changes.
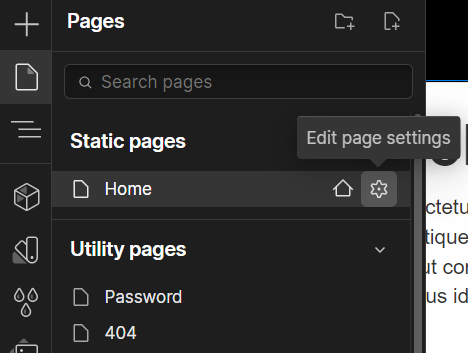
Configuring Your Page Settings and SEO
Now, designing and developing your page is just a part of building with Webflow. You should also configure pages properly. To do that, select the Pages option from the left-side menu and click on the cog icon of the page you want to configure.
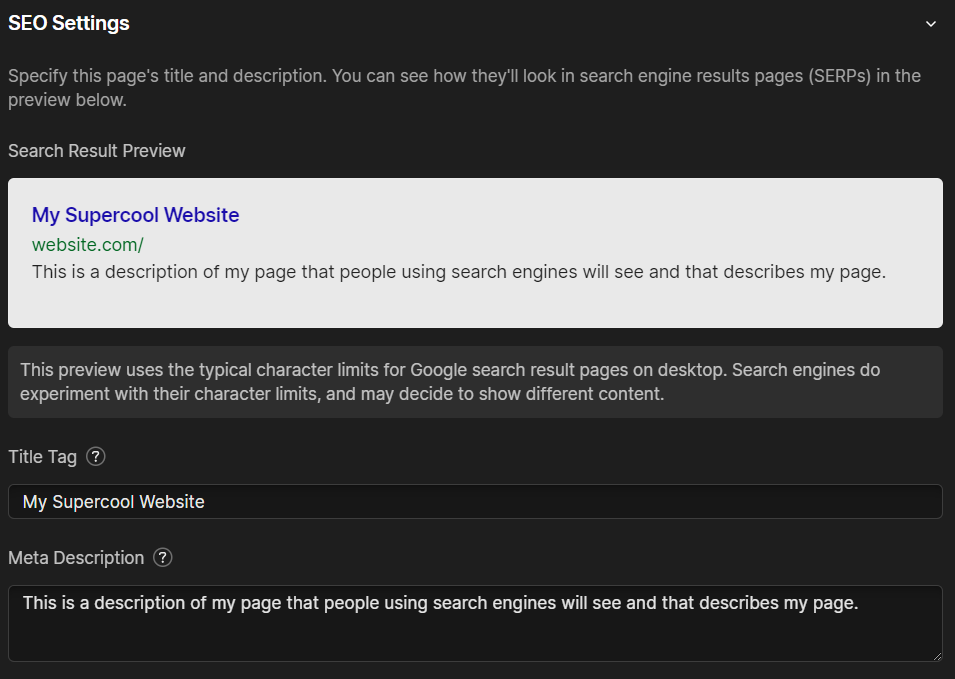
You’ll see several important options, including SEO options, where you need to provide the title tag and meta description of your page.
Make sure to explore the available options in this section to learn what else you can configure.
Configuring Your Site Settings
Finally, you need to configure settings for your entire website and not just individual pages. To do this, click on the Webflow icon in the upper left corner of Webflow Designer and go to SIte settings.
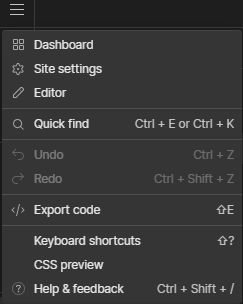
This will open a wide array of options, including the ability to control who else can edit and design your site. Besides that, there are many other settings related to publishing, SEO, billings, and more.
Test and Refine Your Website
Once your website is completed, it’s time to preview your website and test it on different devices and browsers to ensure that it works well and looks good on all platforms. Make any necessary changes and refine your design as needed. Webflow is created with responsiveness in mind, meaning you’ll have no trouble adjusting your elements to make them look great on different screen sizes.
Publish Your Website
When you're ready to launch your site, use the Publish option in the upper right corner. Webflow offers several hosting options, including custom domains and SSL certificates, but if you’re using a free plan, you can only publish to Webflow’s subdomain.
Building a Website with a Template
If you want to create a website using a Webflow template, here are the steps you can follow:
- Choose a Webflow template — Go to the Webflow website and browse the available templates. You can filter by category, industry, or website type to find a template that fits your needs. Flow Ninja also offers great templates specialized for a range of different industries.
- Preview the template — Once you've found a template you like, click on it to preview it in the Webflow Designer. This will give you an idea of how the template looks and functions.
- Purchase the template — If you decide to use the template, purchase it by clicking on the "Buy Template" button. Prices for templates range from a couple of dollars to $100+.
- Open the template in the Designer — After purchasing it, open it in the Webflow Designer by clicking the "Edit Template" button. This will open the template in the Designer, where you can customize it to fit your needs.
- Customize the template — Use the Designer tool to customize the template's layout, typography, colors, images, and other design elements. You can also use the CMS tool to add and manage your website's content.
- Test and refine your website — This is the same as the seventh step in the previous section, meaning you’ll have to test your site on different devices and make it function well and look good on different screen sizes and browsers.
- Publish your website — You can launch your site using Webflow’s Hosting options.
By using a template, you can save time and effort by starting with a pre-designed layout that can be customized to fit your needs.
Mistakes to Avoid When Building a Website with Webflow
Here are some mistakes newcomers often make, which can result in a poor-performing website (along with difficulties in building it).
- Not planning your site structure — Plan out the structure of your site and the pages you will need to avoid confusion and make it easier to build your site in Webflow.
- Using too many fonts — While Webflow has a wide variety of fonts, it's best to limit yourself to just a few fonts. Using too many fonts can make your site look cluttered and unprofessional.
- Not testing your site — Once your site is built, test it to ensure it works properly on different devices and browsers.
- Ignoring SEO — Search engine optimization (SEO) is essential for driving traffic to your site. Optimize your site's title tags, meta descriptions, and content for relevant keywords. It's important to utilize all the great Webflow SEO features to ensure you're getting proper love from Google.
- Overcomplicating your design — While it's tempting to add lots of flashy animations and effects to your site, it's important to keep your design simple and easy to navigate. Overcomplicating your design can confuse visitors and make it harder for them to find what they want.
- Neglecting mobile optimization — Be sure to test your site on different mobile devices to ensure it looks and works properly. Webflow has gone the distance to make it convenient to make your site responsive and accessible on various devices.
Create Your First Website in Webflow
You can think of Webflow as the next logical step in the world of web design and development. Even though it’s not easy to learn, it makes the job for designers and developers much easier, allowing them to focus on exploration and innovation while streamlining the grunt work.
As a newcomer, you can create a simple site using Webflow’s features, such as Designer, CMS, and more. However, if you want to harness the true power of Webflow and build complex, fast, interactive, and results-driven online experiences, get in touch with our team of Webflow professionals.
{{cta}}
FAQ for Building a Website with Webflow
How long does it typically take to build a simple website in Webflow as a beginner?
Most beginners can create a basic one-page Webflow site in a few hours to a couple of days, depending on preparation. Time is reduced significantly by planning site structure beforehand, using a template, and following Webflow University tutorials for layout, styling, and publishing steps.
When should I use a Webflow template instead of building a site from scratch?
Templates are ideal when you need to launch quickly, have limited design experience, or want a proven layout for a specific industry. Building from scratch suits projects requiring fully custom design, unique interactions, or complex structures that go beyond what templates can efficiently provide.
What Webflow features are most important for non-technical marketers managing a live site?
Non-technical marketers benefit most from the CMS for editing content, page settings for SEO titles and meta descriptions, the visual Designer for layout tweaks, and responsive views to adjust mobile styles. These tools allow ongoing optimization without relying on developers for everyday changes.
How do Webflow’s built-in SEO settings help my site rank better?
Webflow allows you to configure page titles, meta descriptions, open graph data, and clean URLs directly in page settings. Combined with automatically generated clean HTML and fast hosting via CDN, these features support better crawlability and performance, which contribute to stronger search visibility.
What is the difference between Webflow’s Designer and CMS tools?
The Designer controls layout, styling, and interactions of pages using a visual interface that writes HTML and CSS for you. The CMS manages structured content through collections and dynamic lists, enabling you to update items like blog posts or case studies without changing the underlying design.
How does Webflow handle mobile responsiveness for different devices?
Webflow provides device-specific breakpoints accessible from the top of the Designer, letting you adjust styles for tablet and mobile views. Because layouts use containers, grids, and flexbox, elements can be repositioned or resized per breakpoint, ensuring the same site works smoothly across screen sizes.
When is it better to hire Webflow professionals instead of building the site myself?
Professional help is advisable for complex, business-critical sites needing advanced interactions, scalable CMS architectures, custom naming conventions, performance optimization, and robust SEO. Agencies also streamline collaboration, hosting setup, governance, and ongoing iterations, reducing risk compared with a DIY approach on large projects.

Nikola Mitic
Nikola is a Webflow developer at Flow Ninja. He is also the best tenor in our organization with an amazing vocal range..


_(1).png)
.png)


.svg)

.png)
.png)
.webp)
.svg)

