
From pretty prototype to powerful platform. Migrate from Framer to Webflow for full CMS power, SEO control, and scalable marketing execution.

Visual but shallow
Framer offers great motion design, but lacks CMS depth and scaling support for larger marketing teams.
Developer ceiling
While it’s great for prototyping, serious sites often hit a wall when trying to scale or integrate.
SEO at stake
Even a well-intentioned migration can harm rankings if not done right. Redirects, metadata, and page structure need expert handling to preserve visibility.
The process feels heavy
From content mapping to platform setup, migrations can overwhelm non-technical teams. Without the right partner, they risk delays, confusion, and missed opportunities.
How Flow Ninja makes migration effortless
Migrations don’t have to be risky, slow, or stressful. With a structured process, technical know-how, and full onboarding, we make sure your move to Webflow feels like an upgrade, not a setback.
Built to scale, not just to show
We migrate your Framer site to Webflow so your team gets the same great visuals—plus a powerful CMS, SEO control, and scalability baked in.
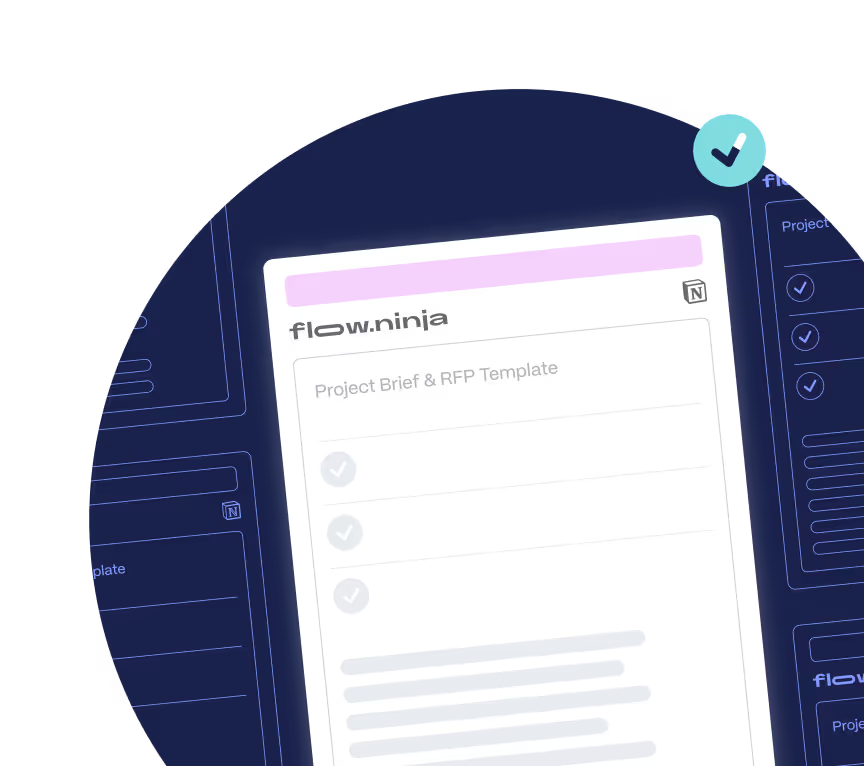
From prototype to production-ready
Webflow gives your marketing team full creative freedom and the infrastructure to grow. No dev ceilings, no compromises.
SEO preserved, rankings protected
We carefully handle redirects, metadata, and site structure so your migration doesn’t disrupt your organic performance.
No dev team required
Our process is built for marketers. We handle the technical lift, provide guidance, and train you post-launch so you can manage Webflow confidently moving forward.


.png)
.png)
Why Flow Ninja
Full in-house team
A full-service in-house Webflow experts team ready to take your marketing initiatives off your chest and help you build & grow your site.
.png)
Client
experience platform
Easily track active tasks, remaining hours, and other details related to your project in our in-house six star platform
.png)
Access to all our services
Get access to GTM Strategy and consulting, digital design, Webflow Development, SEO and more in all packages.

Tried and true
QA processes
Our in-house QA team ensures all your projects are error-free and optimized for maximum effect.

Get your Webflow migration underway in days, not weeks
We know marketing timelines move fast. That’s why we’ve simplified the process: book a call, get a tailored quote within 24 hours, and start your migration without delays or confusion.
How to Migrate from Framer to Webflow
Migrating from Framer to Webflow is a detailed, manual process that requires expertise in Webflow, especially for re-creating design elements and rebuilding the CMS structure.
Here’s a step-by-step guide to help:
Step 1: Prepare the Migration Plan
- Audit the existing Framer site: Review all pages, components, animations, and integrations in your current Framer site to identify elements that need to be re-created in Webflow.
- Map content and structure: Develop a content migration plan to outline the structure and relationships between various content types, such as collections and dynamic elements.
Step 2: Set Up Your Webflow Project
- Create the Webflow workspace: Set up your Webflow project, including a preliminary site structure that matches the sitemap from your Framer site.
- Define styles and global settings: To maintain consistency, apply your color palette, typography, and global settings in Webflow’s Style Guide before beginning the design work.
Step 3: Rebuild the CMS Manually
- Create collections: Set up Webflow Collections to match the content structure from Framer. This may involve manually creating new fields, categories, and relationships to organize content as needed.
- Import and organize content: Manually add or import content into the Webflow CMS. This process requires careful attention to ensure formatting, metadata, and SEO elements are correctly transferred.
Step 4: Re-Design Pages in Webflow
- Re-create layouts: Using Webflow’s Designer, re-create each page layout from scratch based on the design in Framer. Webflow experts are essential here to accurately translate Framer’s unique elements and styling.
- Add interactions and animations: Rebuild custom interactions in Webflow to match Framer’s animations. This might require manual adjustments to achieve the same look and feel.
Step 5: Implement SEO and URL Redirects
- Reconfigure SEO settings: Add title tags, meta descriptions, alt text, and other SEO elements. Set up structured data if required for search visibility.
- Create redirects for SEO: Map old URLs from Framer to new URLs in Webflow to preserve SEO rankings and ensure no loss in traffic due to broken links.
Step 6: Integrate Third-Party Tools
- Reconnect integrations: Any third-party tools used on Framer, such as analytics, CRM, or marketing automation platforms, need to be reconfigured within Webflow to function seamlessly.
- Test for compatibility: Confirm that integrations work as expected in Webflow and troubleshoot any incompatibility issues.
Step 7: Quality Assurance and Testing
- Cross-check content and design: Review each page and content element to ensure everything matches the original design and functions correctly.
- Test responsiveness and browser compatibility: Test the Webflow site across different devices and browsers to confirm responsive design and consistent user experience.
Step 8: Launch and Post-Migration Support
- Prepare for launch: Publish the Webflow site and monitor for any live issues, such as broken links, misaligned components, or performance issues.
- Post-migration optimization: Adjust SEO settings, analytics, and user feedback as needed to refine the site post-launch.
Migrate to Webflow with Flow Ninja
Ready to make the move from Framer to Webflow? At Flow Ninja, we’re Webflow experts with a dedicated team of designers, developers, SEO specialists, and marketing pros who can bring your vision to life. Let us handle the technical details and help you achieve a seamless, optimized migration.
Book a call with us today to discuss your project and explore how we can help!
{{cta}}


Framer to Webflow Website Migration Checklist
.png)

.png)

in mind?
Talk with our team and learn how your ideas can become digital experiences.
Webflow Migrations FAQ
How do I migrate from Framer to Webflow?
Migrating from Framer to Webflow involves rebuilding your visual design in Webflow, transferring content, and, if used, setting up a scalable CMS structure. While both platforms offer visual design capabilities, Webflow adds powerful CMS and SEO control that Framer lacks. Our team at Flow Ninja can replicate your layout while upgrading the underlying structure for long-term growth. If you want clarity on the process, book a free migration consultation and we’ll walk you through it step by step.
What are the common challenges when moving from Framer to Webflow?
The main challenge lies in translating visual elements created in Framer into a Webflow build that’s component-based and CMS-driven. Framer lacks a powerful CMS and SEO toolkit, so most content needs to be restructured and migrated manually. Additionally, Framer’s animation and interactivity may require thoughtful recreation in Webflow using native tools or custom code. On top of that, SEO and performance can take a hit if the migration is not executed properly. Flow Ninja manages all of this, ensuring a clean, performant, and scalable Webflow implementation.
Will I lose SEO rankings if I migrate my Framer website to Webflow?
SEO concerns are valid as Framer sites often underperform in terms of structured metadata, schema, and crawlability. Migrating to Webflow can significantly improve SEO if handled properly. We take care of URL redirects, structured data, meta tags, and Core Web Vitals optimization. Our post-launch SEO support ensures rankings are preserved and often improved as the new site is indexed.
How does Flow Ninja ensure a smooth Framer to Webflow migration?
We start by auditing your existing Framer site, such as layout, interactions, and content structure. Then we rebuild the site in Webflow using scalable components and native CMS architecture, while replicating animations and interactivity where needed. We also handle SEO enhancements, accessibility updates, and CMS flexibility so your team can move faster post-launch. Schedule a free discovery call with us to see how we’d approach your specific migration.
Can Flow Ninja help with post-migration maintenance or ongoing marketing support?
Absolutely. Many teams come to us from Framer because they want more than just a portfolio site: they want a growth engine. After migration, we support everything from landing page design and CMS expansion to SEO and MarTech integrations. Webflow gives you control, and Flow Ninja makes sure you’re using it strategically.
How is content from Framer transferred into Webflow’s CMS?
Framer sites typically don’t rely on a robust CMS, so much of the migration involves manually restructuring content into Webflow CMS collections. We map out what content should live as dynamic (e.g. blog posts, team members, services) and what should remain static, and build everything for marketing scalability. This gives your team the ability to manage and expand content without developer input.
Will my website performance, security, and accessibility improve after switching from Framer to Webflow?
Yes. While Framer excels in visual polish, it’s often lacking in code optimization and accessibility standards. Webflow outputs clean semantic code and offers best-in-class hosting, SSL, and SEO control. At Flow Ninja, we also layer in accessibility enhancements and compliance to ensure your new site performs better across all metrics.
How long does a typical Framer to Webflow migration take with Flow Ninja?
Most Framer to Webflow migrations take between 2–5 weeks, depending on the number of pages, complexity of animations, and CMS needs. During your free consultation call, we’ll assess your current site and provide a realistic timeline and quote based on your goals.
What makes Webflow better than Framer for marketing-led teams?
Framer is great for early-stage designs, but quickly hits a ceiling for content-heavy, scalable marketing sites. Webflow gives marketers full control over CMS, SEO, performance, and landing page builds, all within a robust visual interface. For teams that care about growth, Webflow is the upgrade, and Flow Ninja helps unlock its full potential.
Are there any Framer-specific issues that I can solve by moving to Webflow?
Yes. Framer sites often lack structured CMS content, SEO best practices, and scalable infrastructure. Many are built as static or design-driven experiences, which are hard to expand without redesigning from scratch. Webflow eliminates that bottleneck by separating design from content, enabling faster updates, better indexing, and full content control. Flow Ninja ensures you migrate without disruption and with long-term performance in mind.
Migration From Other Builders and CMSs to Webflow
WordPress, Wix, Squarespace, and many other services for site building and managing content are on Flow Ninja’s Webflow migration list. Take a look at each of the popular builders and learn more about our migration process.
.jpg)


.jpg)

.png)


.svg)
.svg)
.svg)

.svg)
.png)

.svg)
.webp)
.svg)


