

.svg)
How to Add a Mega Menu on Your Webflow Site (Step by Step)
Key takeaways
- Mega menus help users navigate large websites by showing many categories at once.
- They’re ideal for complex sites but require careful planning to avoid clutter, especially on mobile.
- Search and cascading menus work for simpler sites, but mega menus offer richer layout options.
- In Webflow, mega menus are built by customizing a navbar, adding dropdowns, and designing a content grid.
- Clear labels, headings, visuals, and organized structure make mega menus easier to use.
- Ongoing testing and responsiveness checks ensure a smooth user experience.
The main menu is the essential part of every website. Designers and developers came up with several types of menus to present content and navigation in the most effective way.
A mega menu is one such solution, as it can display a range of choices that are otherwise not visible through traditional menus. Instead of adding different layers and further complicating menus, mega menus make most pages one click away.
Even though they’re highly engaging, they present a few challenges for developers.
If you want to add them to your Webflow site, keep reading to learn the best way to do it.
{{cta}}
What is a Mega Menu?
Mega menus present one of the most effective methods to present your entire website to the user, letting them navigate through big windows that contain various tabs, dropdowns, lists, and more.
Using this type of menu can come in handy for complex sites with big product catalogs and multiple categories and sub-categories. For instance, e-commerce platforms will likely opt for a mega menu to make navigation as convenient as possible.
To get the most out of a mega menu, one needs to devote some time to planning it, as its complexity could become confusing if your content isn’t presented in the most optimal way.
Moreover, developing mega menus for phones and avoiding visual clutter is something to pay attention to when working on them. Finally, it’s important to check that the menu hasn’t affected the speed and responsiveness of the entire site.

Mega Menu vs. Alternative Solutions
The first thing to ask is: do you really need a mega menu? Website owners should consider all types of navigation instead of blindly following one option. For example, if you make a mobile-first site, using a mega menu shouldn’t be your #1 choice.
The two popular alternatives are the search feature and cascading menus
Search
The search feature is great if you have too many options and too little space. Ideally, it should complement your menu and allow users on small screens. Your visitors and their behavior that should help you decide whether the search function will play a role in your main menu.
Visually, a mega menu is much more appealing. In addition, it offers the most important content to the user, helping them find the pages or products they’re interested in.
Cascading Menus
Cascading menus can help you present content in a logical and easy way. However, they are often limited and require leaving some items out to make them feel intuitive and uncluttered. Adding too many items could confuse the visitor or scare them away.
Mega menus give you more freedom when laying out your content, as they can incorporate different ways to present it. You won’t just list your items but make them more appealing to the visitor. That way, even if you have too many things, they won’t seem as “too much” to the user.

Adding a Mega Menu on Your Webflow Site
There are several ways to create a mega menu. You can either start from scratch or use one of the navigation and drop-down presets offered by Webflow and further tweak them into a mega menu. In the following guide, I’ll walk you through this process.
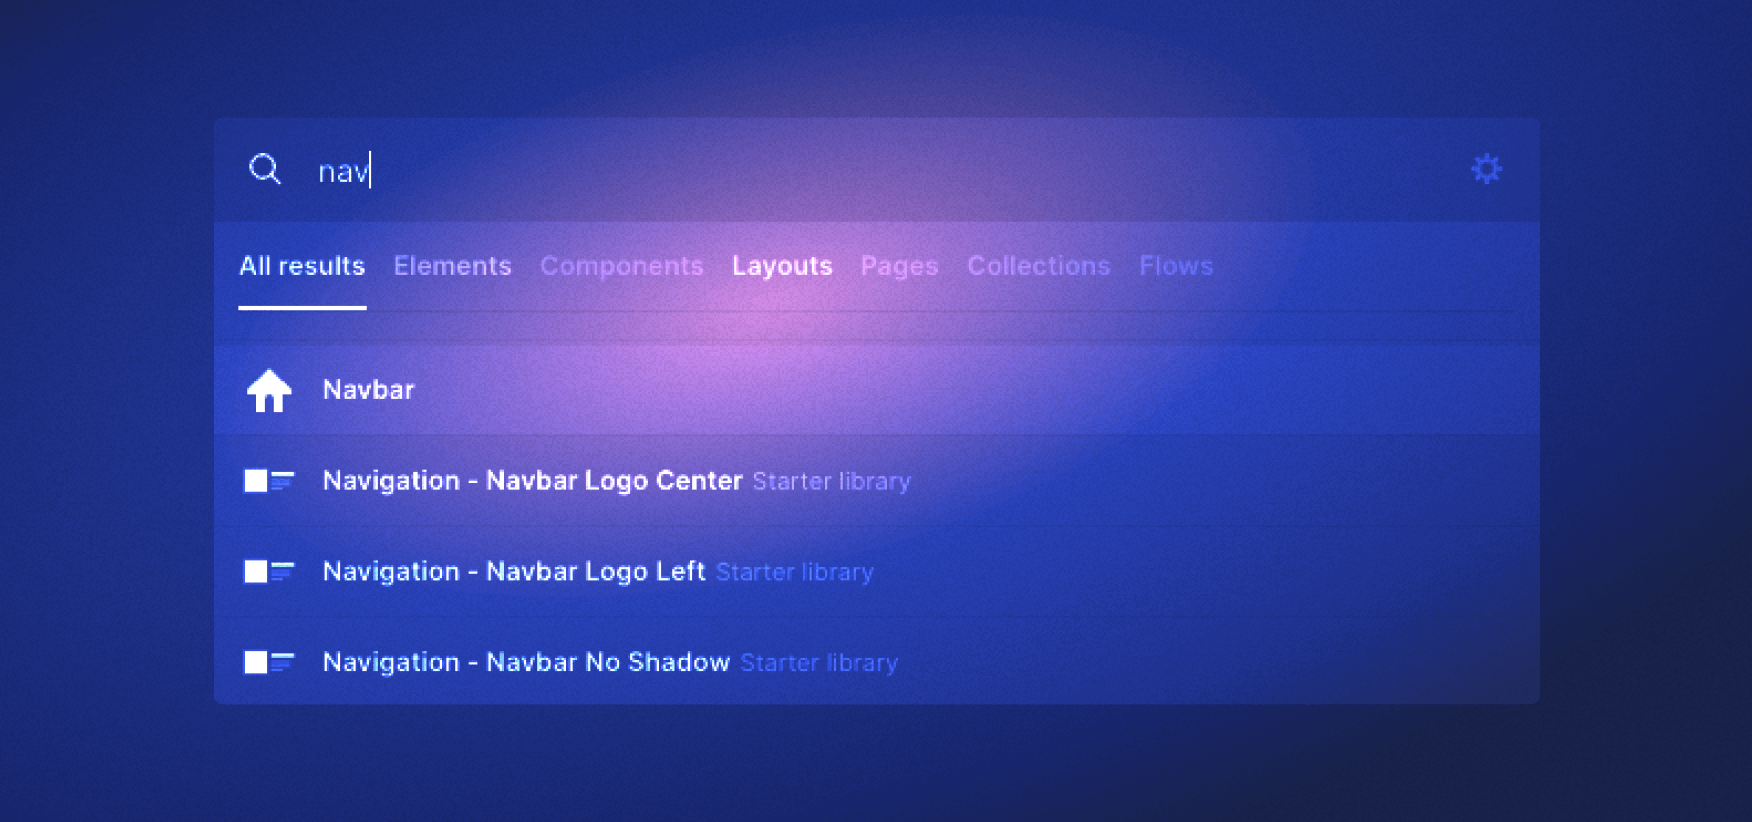
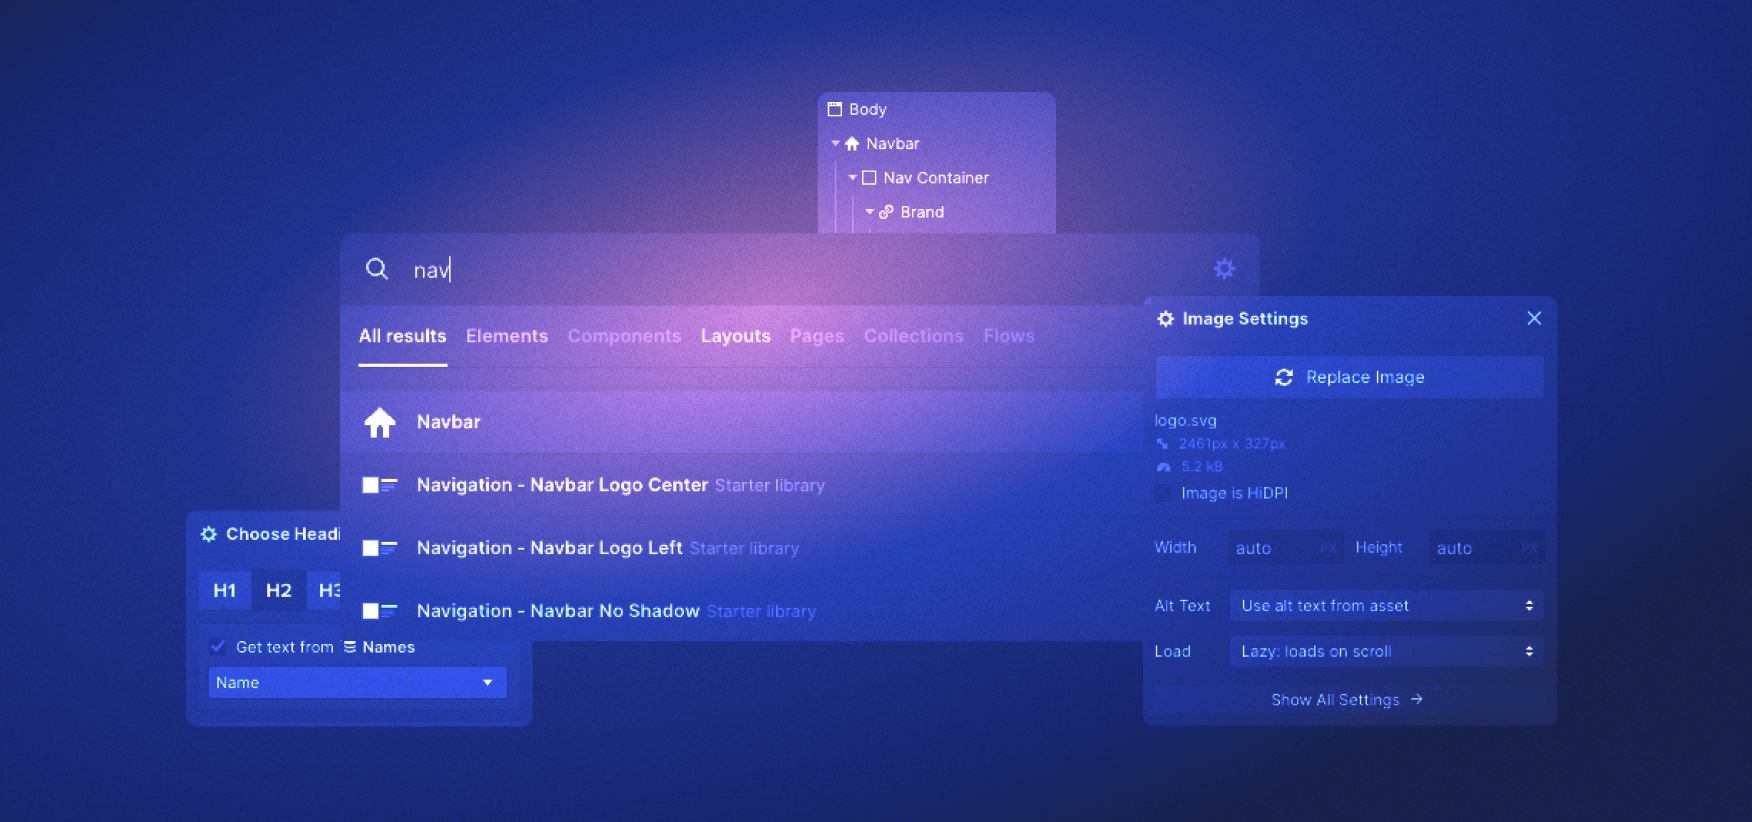
1. Throw on a Navbar
Even though Webflow offers standard navigation elements, it doesn’t feature any pre-made mega menu options.
Therefore, you can either start by throwing on a navbar and then use drop-downs and other tweaks to expand it.
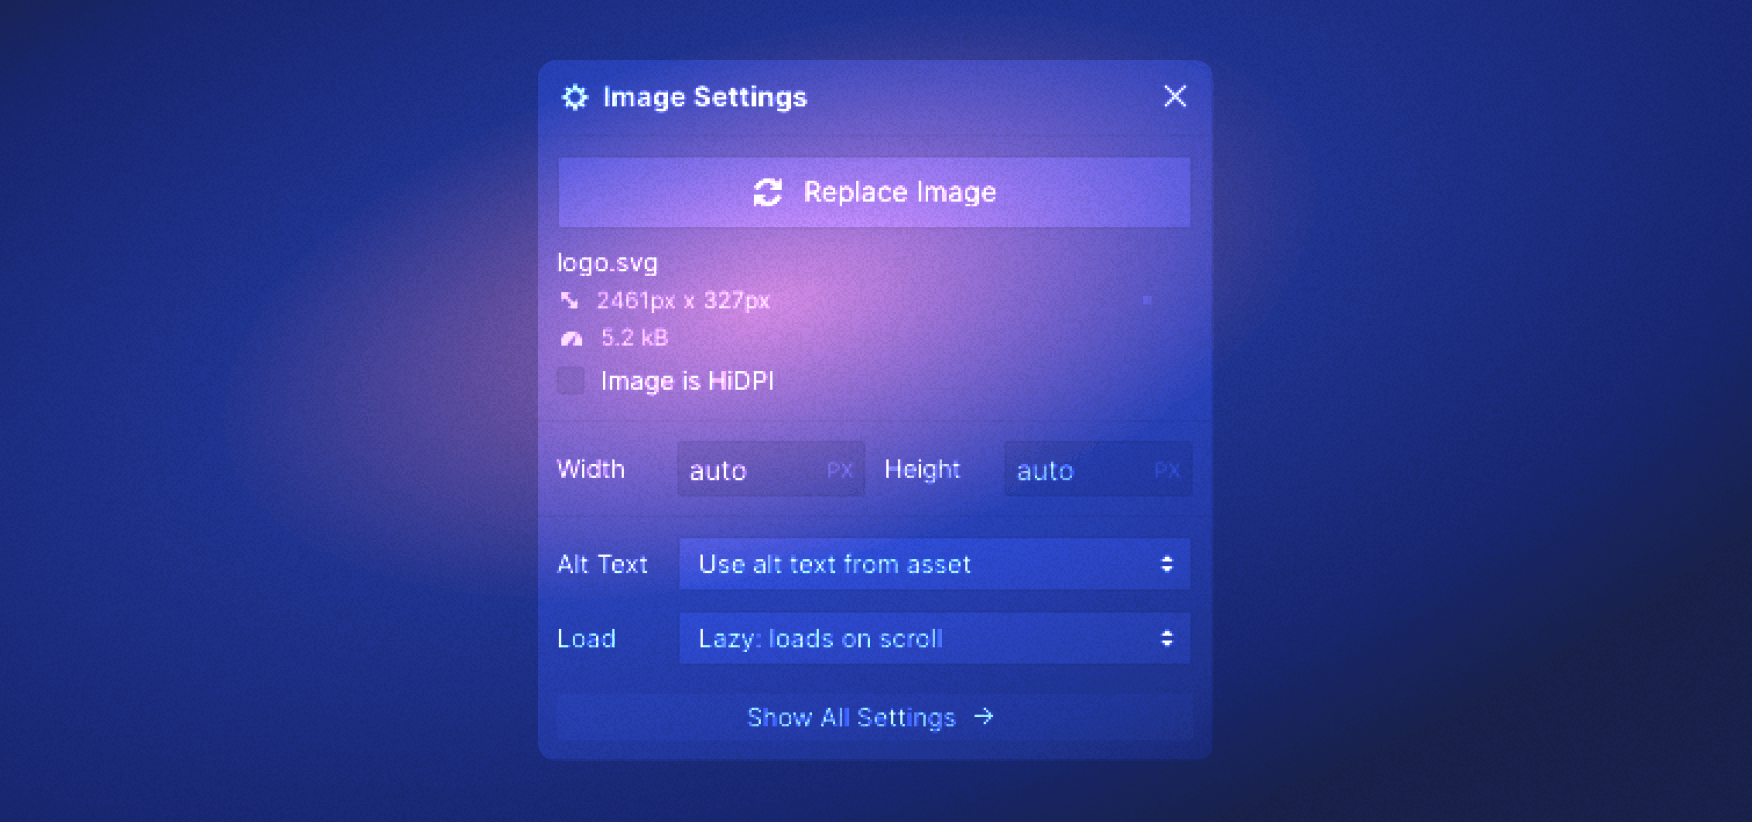
I usually add the navbar and insert the logo immediately to make the bar branded.
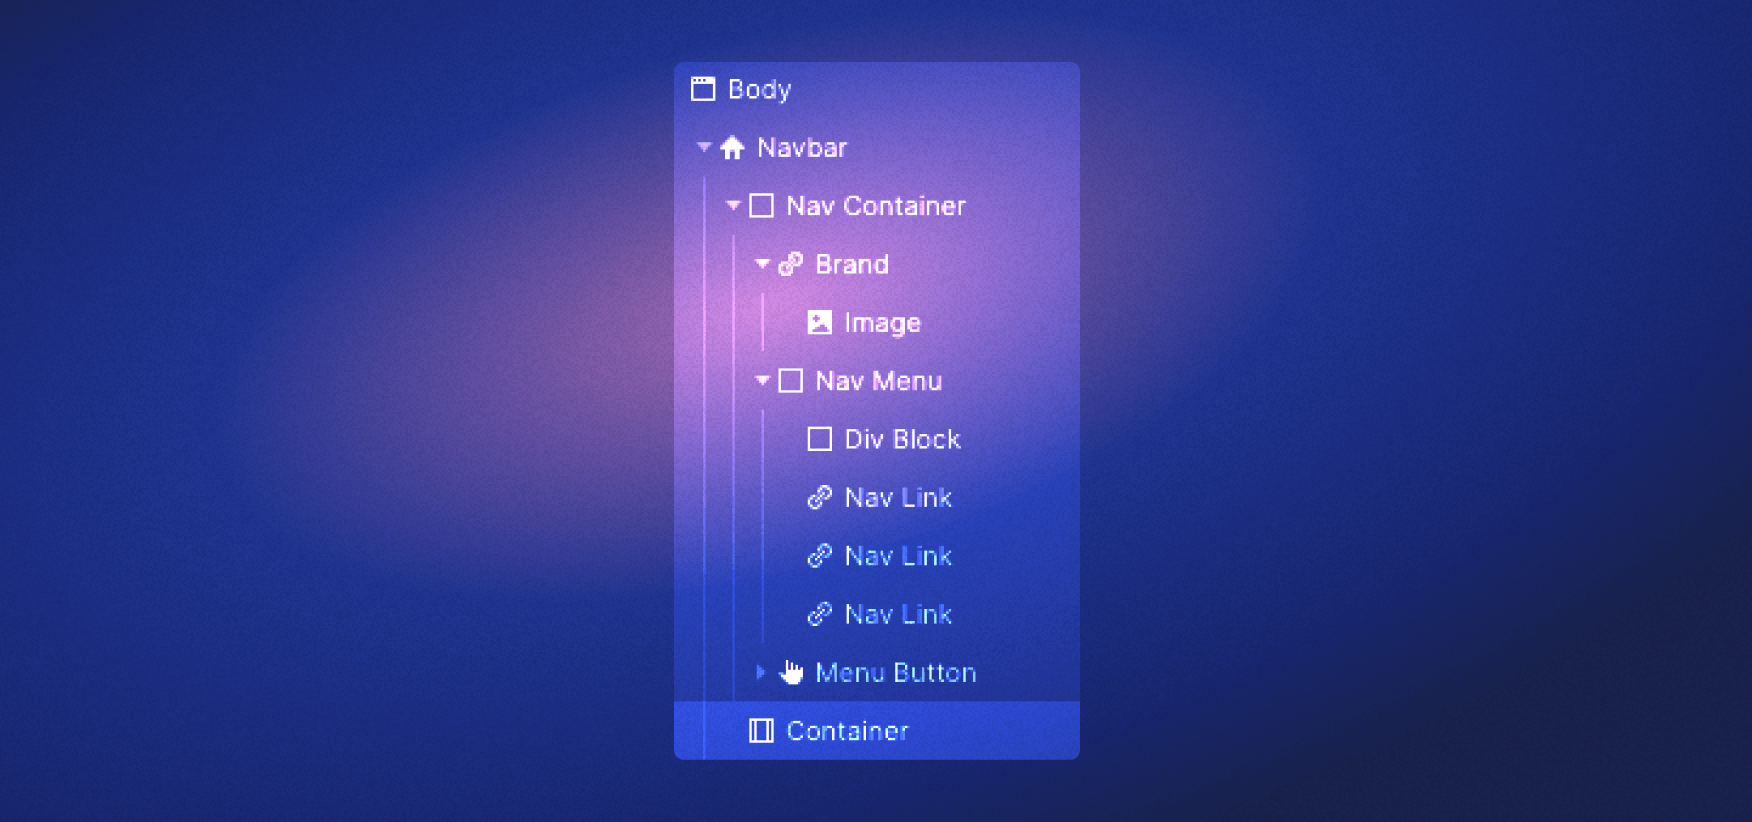
2. Throw On a Div Block
Standard Webflow containers usually come with a defined width, and that’s a small issue with the Navbar as well. The somewhat odd styling doesn’t allow using some flex properties.
The good news is that there’s a workaround. All you need to do is add a div block, define its width, and drag it above the navbar container.
After that, you should use Navigator and drag all items listed under the Navbar container to the div block you created. You can then delete the original navbar container.
Don’t forget to set the new container to flex via the Display option in the Layout section. You should also select how you want to justify elements within the container and pick Space between — distribute evenly from start to finish. In the Align option, align all elements in the center.
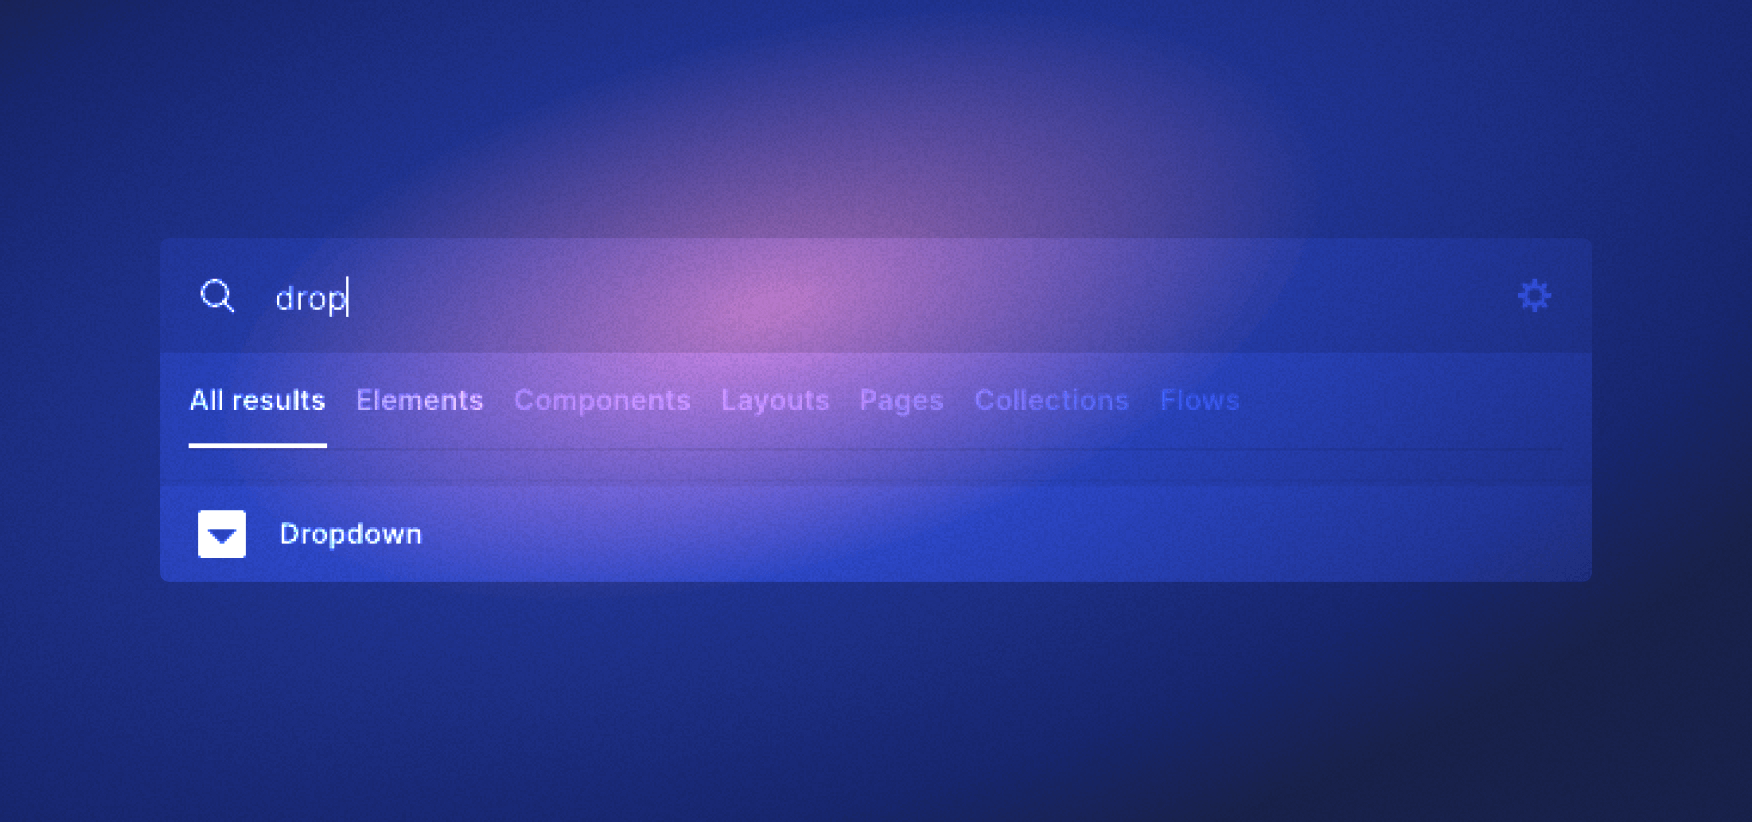
3. Add the Dropdown to the Nav Menu
The standard Nav Menu will have options such as Home, About, and Contact. Go on and delete these. Instead, pick the Dropdown option and insert it into your main menu. Add as many options as you want, depending on how many drop-downs will your mega menu has.
Also, you’ll notice that many mega menus have some buttons to the right, such as Register and Log In. If that’s the case for your project, you should probably also add the button block (as a div block and a button inside it).
4. Decide on Which Side Your Nav Menu Will Be
The main menu will be located at the top, but you will still need to decide whether it will be centered or aligned to the left or right. For example, if you have buttons in your menu, you’ll want your menu items to be to the left.
There are many ways to do this, and I am not going to go into details. Just explore the justify and align options, combining them with size and spacing options to position the elements just the way you want them.
5. Edit Your Dropdown Menu
The next step is to adjust your dropdown to the site's full width, giving it that “mega” look. To do this, go to the navigator and select Dropdown List for the dropdown at hand to check if the position is set to absolute.
Next, check the position of the entire dropdown and select the position to static. Repeat this for the Nav Menu.
After these are set, you can see that the dropdown is much larger in width. To make it cover the entire width of the site, find Dropdown List from the Navigator. In the styling section, select Top for the position and set it to 100%.
6. Sort Out the Dropdown Menu Content
Preparing the content for your mega menu is essential. First, you need to think about what you’re going to show via the menu and how. Mega menus can incorporate images, so it’s important to decide what type of content you will show users browsing your website.
Ideally, you should prepare the content outside the mega menu. Just add the required elements below the menu and fill them with the content you want to be located in the menu. Once the content is created, you’ll just have to copy and paste it into the appropriate dropdown list.
Think of this as designing the menu and adding content, even though you won’t work inside the menu. Then again, Webflow allows us just to prepare everything upfront and turn it into a mega menu in a couple of clicks.
You can start by adding a grid with the number of columns and rows as you see fit (depending on your content). Give it a maximum width, and rely on Div Block for the images and written content inside the grid. Consider using flex to get it all centered.
After adding images and text, you can play around more with their size, position, and overall alignment.
Most importantly, ensure that your mega menu's content is linked with Webflow’s CMS to streamline the user experience further. Webflow makes this super-easy.
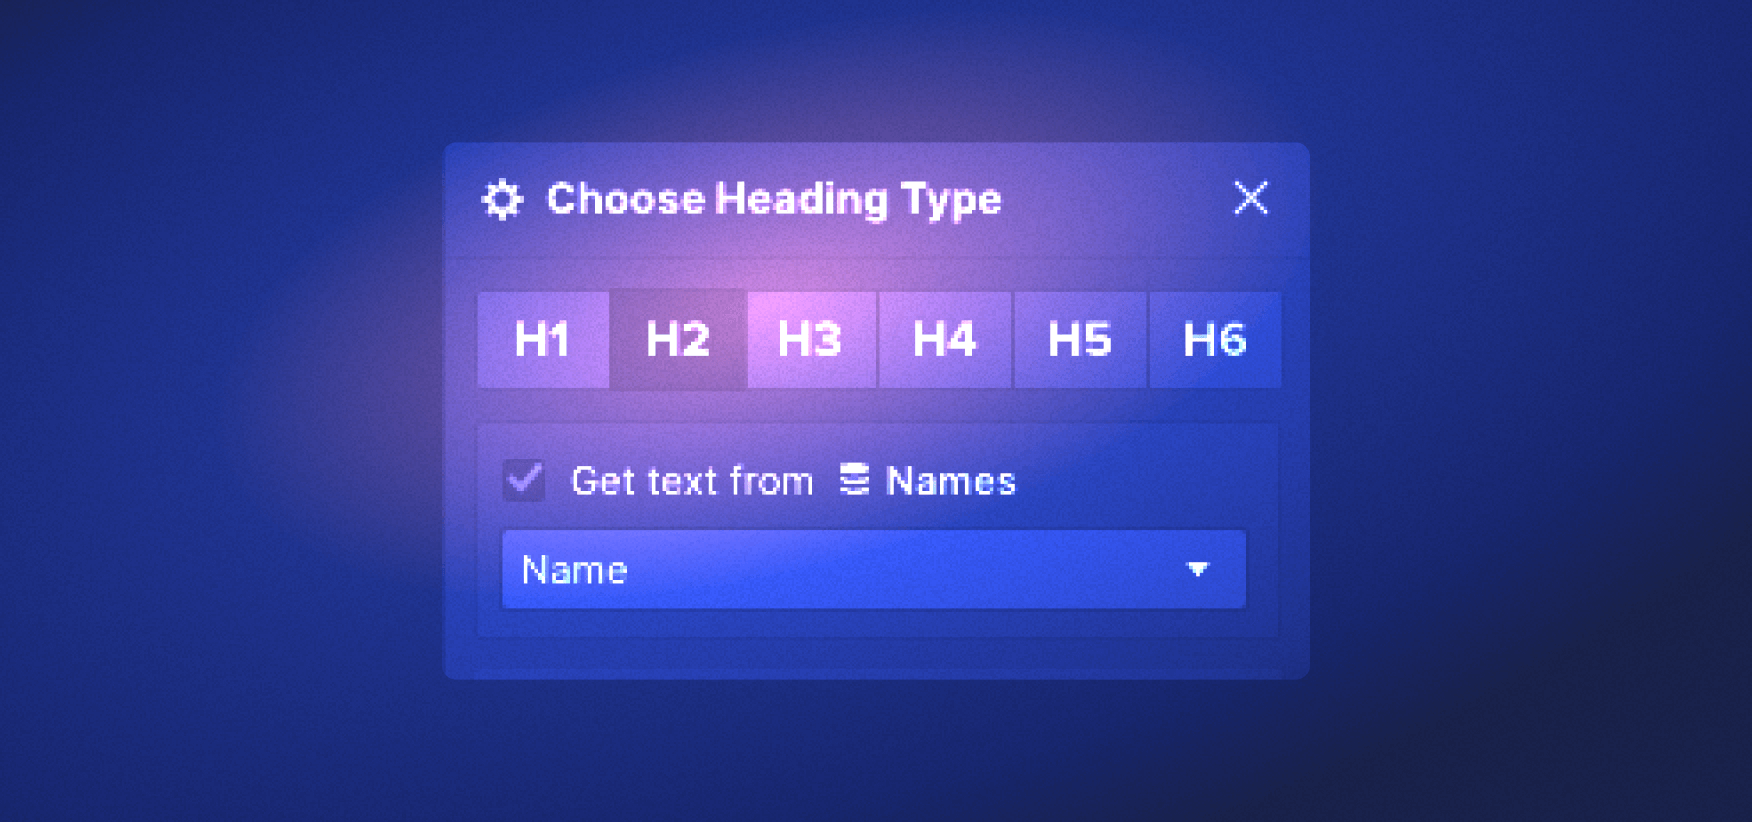
7. Add Headings
Remember to adapt your mega menu for both the user and search engines. To optimize it and make it easier for humans and robots to navigate it, it’s important to use headings throughout your dropdown menus. Ideally, you should first determine categories for your dropdowns and use appropriate headings for them.
8. Polish the Dropdown Menu
Once your layout is completed outside the dropdown, you only need to copy it inside the dropdown. Just paste your entire grid into your Dropdown list, and it will be added as part of your mega menu.
That way, by clicking on the dropdown option, the grid you’ve built and copied should appear.
Still, there are a couple of things you can do to make the menu more engaging. For example, you can click on Dropdown in your Navigator and select Open menu on hover. You can also input the Close Delay time for further customization. That way, your dropdown list will open even if you just hover your mouse in your mega menu.
You can go on and add other animations, such as Fade In or Fade Out, and more. That’s entirely up to you. However, keep in mind that you need to keep it as simple as possible due to the sheer amount of information you will present to the user.
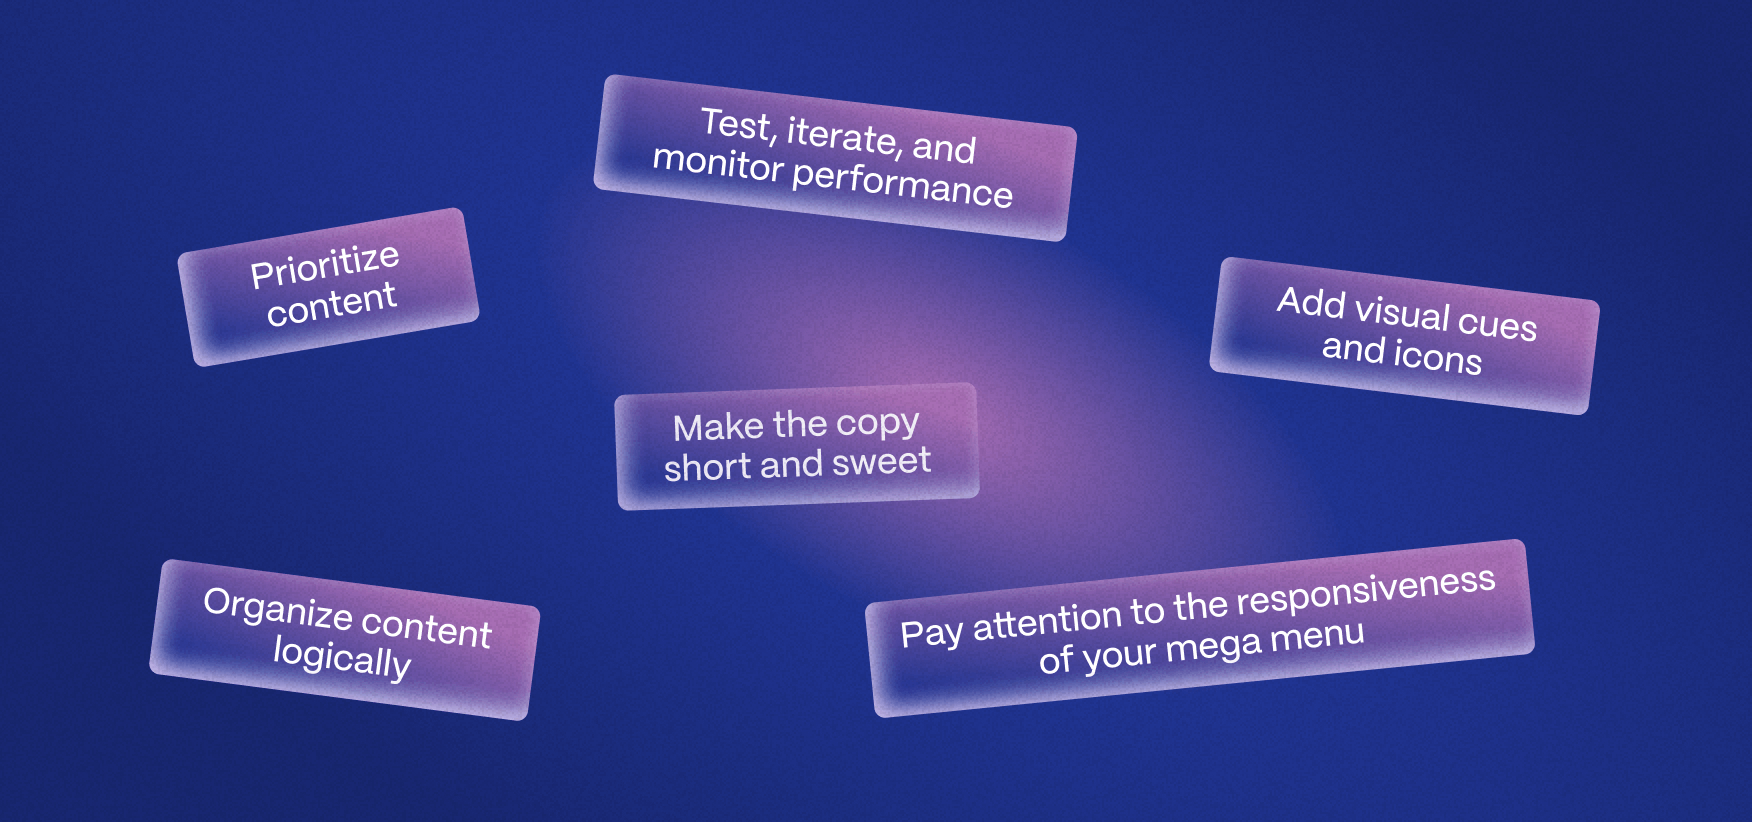
Additional Tips to Make the Most of Your Mega Menu
Here’s an overview of tips to help you with your mega menu game. Some of them can also be considered overall website design tips. Let’s check them out.
- Prioritize content — Determine what’s essential and make it prominent in your mega menu, including popular categories, featured products, and essential website pages.
- Make the copy short and sweet — Remember that the menu is only supposed to give a glimpse of what the user can expect if they click on an item. Therefore, keep the labels clear and concise, and keep the copy short and to the point.
- Organize content logically — Think about the structure of your mega menu and organize it most logically and intuitively. Group related items and introduce subcategories if needed to help users find what you’re looking for.
- Add visual cues and icons — These help navigation and make your mega menu more engaging, contributing to the overall user experience.
- Pay attention to the responsiveness of your mega menu — Mega menus are mainly created for desktop users. Still, you have to find a suitable solution for the visitors coming to your site via mobile devices.
- Test, iterate, and monitor performance — Publishing your mega menu is just the first step. Once it’s live, it’s time to test it and make adjustments if needed. Sometimes, you’ll have to add new content to the site, meaning you should also add it to the mega menu.
Perhaps one of the best mega menus we’ve created is for SmartSuite. Working hand-in-hand with the SmartSuite team, we created a menu that has it all: well-organized content, smooth animations, short and engaging copy, highlighted sections, and more.
Create Your Mega Menu on Your Webflow Website
Mega menus make a difference. If you choose to use them, Webflow is the best tool to implement them, as it makes creating mega menus a straightforward process. You don’t have to write a single line of code.
That said, mega menus still require thinking them through. How are you going to organize the content? Is your mega menu intuitive? Can users get around easily? Are you showcasing what matters in them?
Instead of doing this on your own, it’s always important to consider hiring a team of Webflow experts who can assist you in getting the most from your website.
FAQ for Webflow Mega Menus
When is a mega menu the right choice for my Webflow website?
A mega menu works best for content-heavy sites with many categories, subcategories, or product lines, such as e-commerce or SaaS platforms. If users need to access key pages in one or two clicks and traditional dropdowns feel cramped, a mega menu is usually appropriate.
How do I technically create a full-width mega menu in Webflow?
Start with a Navbar, move its contents into a custom div block set to flex, then add Dropdown components for each main category. Set Dropdown List to absolute with top: 100% and adjust width to span the full container. Populate it with grids, div blocks, images, and text.
What are the main advantages of a mega menu over cascading menus?
Mega menus display more options at once without forcing users through multiple hover levels. They support richer layouts with images, headings, and highlighted sections, reduce perceived clutter, and allow clearer grouping of complex catalogs compared with narrow, multi-level cascading menus.
How should I structure mega menu content for usability and SEO?
Group related items into clear categories, use concise labels, and add descriptive headings inside each dropdown. Place priority links and popular sections first, avoid long paragraphs, and ensure each item links directly to a meaningful page to support both user navigation and search crawling.
What is the best way to handle mega menus on mobile in Webflow?
Mega menus are primarily desktop patterns, so create a simplified mobile navigation. Common approaches include an accordion-style menu or hamburger navigation with fewer tiers. Preserve key categories, rely more on search, and hide complex desktop grids on smaller breakpoints.
How can I connect a Webflow mega menu to CMS content?
Build the mega menu layout using Collection Lists inside the dropdown grid and bind them to relevant CMS Collections. Configure filters and sort orders for categories or featured items, then style the Collection items so changes in the CMS automatically update the mega menu content.
What optimization steps should I take before publishing a mega menu?
Review load impact from images and interactions, compress media, and keep animations minimal. Test hover and click behavior, adjust close delays, check responsiveness across breakpoints, validate link accuracy, and run usability tests or analytics reviews to refine structure after launch.

Filip Nicic
Filip is a Webflow Devloper at Flow Ninja. He's an F1 fan and solves rubic cubes faster than Verstappen takes to finish a single lap at Monza.


.svg)

.png)
.png)
.webp)
.svg)

