
.svg)
What is a Figma Styleguide?
Key takeaways
- A Figma styleguide ensures visual consistency, strong UX, and a clear brand identity.
- It streamlines collaboration between designers and Webflow developers for faster, more accurate builds.
- Creating a styleguide begins with defining the brand direction and design foundations.
- Flow Ninja uses a structured process including stylescapes, story, exploration, and design systems.
- A complete styleguide includes typography, colors, spacing, navigation, components, and states.
- A well-built Figma styleguide makes Webflow development smoother and improves long-term scalability.
Recently, we covered what Webflow Styleguide is, and in this article, we’ll do something similar, answering the questions — what is a Figma styleguide, and how to create one?
Having a styleguide set up is important for two reasons:
- First — they give your website (and brand) visual coherence and define the visual identity
- Second — they help Webflow developers easily translate your Figma designs into Webflow Designer
In this blog, I’ll explore the Figma styleguide in detail, discuss how we create it internally at Flow Ninja, and provide valuable insights into creating a Webflow-friendly styleguide. Read on.
{{cta}}
Why Create a Figma Styleguide

Here are the main reasons why people you should consider creating a Figma styleguide.
- Visual consistency — Establishing a styleguide ensures that your website and brand maintain an unwavering visual coherence. It acts as a visual compass, guiding every design decision towards a unified and professional appearance.
- User experience — Design consistency isn't just for aesthetics; it's a gift to your audience. A styleguide orchestrates a symphony of elements that guide users intuitively through your website, elevating their experience and encouraging engagement. In other words, a professional designer needs to take both UX and UI into account when creating a styleguide.
- Brand identity — By defining colors, typography, and design elements, a styleguide breathes life into your brand's persona. It transforms abstract concepts into tangible visuals that embody your brand's personality and make it instantly recognizable.
- Efficient development — The presence of a styleguide streamlines the intricate journey from Figma designs to the Webflow platform. It transforms what could be a complex translation process into a seamless and efficient transition, ultimately saving time and resources.
- Guidance for designers — Designers and developers alike find a styleguide to be a beacon of consistent design direction. It's a go-to resource that ensures everyone is on the same page, leading to harmonious designs and minimizing discrepancies.
- Time and cost savings — Beyond design aesthetics, a styleguide is a financial ally. It reduces the ping-pong between design and development by offering a clear and concise set of guidelines, resulting in smoother project timelines and potentially reduced costs.
- Scalability — Think of a styleguide as the architectural blueprint for your digital domain. It provides a solid foundation that scales with ease, allowing new pages and products to seamlessly integrate while upholding the brand's visual integrity.
- Collaboration — A styleguide acts as the mediator in the vibrant dance between designers, developers, and content creators. It fosters collaboration by providing a shared vocabulary of design principles, thus ensuring a harmonious rhythm throughout the process.
- Professionalism — A well-crafted styleguide isn't just a rulebook; it's a statement of professionalism. It showcases your dedication to precision, demonstrating that every design choice is intentional and executed with care.
- Adaptability — A styleguide is your brand's chameleon, adapting to evolving trends and directions. It's a living document that evolves alongside your brand, ensuring that while change may be constant, your visual identity remains steadfast.
How to Create a Figma Styleguide
Getting down to business is the easier part when creating a styleguide. There are Figma styleguide templates you can follow and just fill in the blank spaces. I’ll share some of them with you later, and we’ll get to them in a while.
But the first step is more complex and more interesting for me — deciding on the brand direction. In some cases, we get partial or complete brand styleguides from our clients, which we need to use to come up with a website stylegude and build an entire site based on that.
If clients don’t have anything, there are cases when can get loose and get our creative juices flowing.
Before Creating a Styleguide — Deciding on the Design Direction
Here’s how we decide on the design direction and implement it.
- Step 1: Discovery — We engage in discussions with the client, comprehending their business goals, vision, and the audience they aim to reach.
- Step 2: Analysis — We delve into competitive research and market trends, identifying opportunities that set the brand apart from the rest.
- Step 3: Style scapes — Style scapes serve as a visual representation of the design direction, helping everyone get a sense of the overall look and feel of a project before the detailed design work begins. We adjust them to our use case, which is creating a visually appealing website. Our hybrid style scapes consist of both inspiration and manually designed elements that are commonly used in website design. We often include potential sections, mobile designs, designs for CTA-s or forms, and more.
- Step 4: Story — Crafting a narrative, we weave the brand's journey and values into a compelling story that resonates with its audience. This helps with visual identity, which we create through the interplay of colors, typography, and imagery echoing a brand’s ethos.
- Step 5: Website exploration — We explore website design possibilities, diving into layout, imagery, and typography to align with the brand.
- Step 6: Design system — Documenting the design principles, we construct a comprehensive system for consistent application across mediums. Styleguide is part of the
- Step 7: Wireframes & sitemap — Through wireframes, we outline the website's structure and user flow, preparing the blueprint for its development. This is something we do outside of Figma, usually using a tool called Octopus. What we do in Figma, however, is the site map, which helps us understand the scope of work but also helps the client in logically guiding the users through their online experience.
- Step 8: Review — Collecting client feedback, we iterate on wireframes, refining the design in line with the project's objectives.
- Step 9: Designing the whole website — We design all the pages we agreed upon.
- Step 10: Handing the design to developers — Once it is completed, we hand it off to Webflow devs.
So, when do we start building a styleguide? There’s no rule.
In most cases, we do it after designing the homepage, but it’s an iterative process, meaning the changes to the styleguide could occur at any point during the design process. What matters is that the styleguide doesn’t change once we hand it off to developers, and they start implementing it in Webflow Designer.
The Flow Ninja Figma Styleguide Template — How We Fill It In
Now, I wanted to walk you through our template. If you want to explore it on your own — here it is. You’ll find an empty template along with a filled-out example below it.
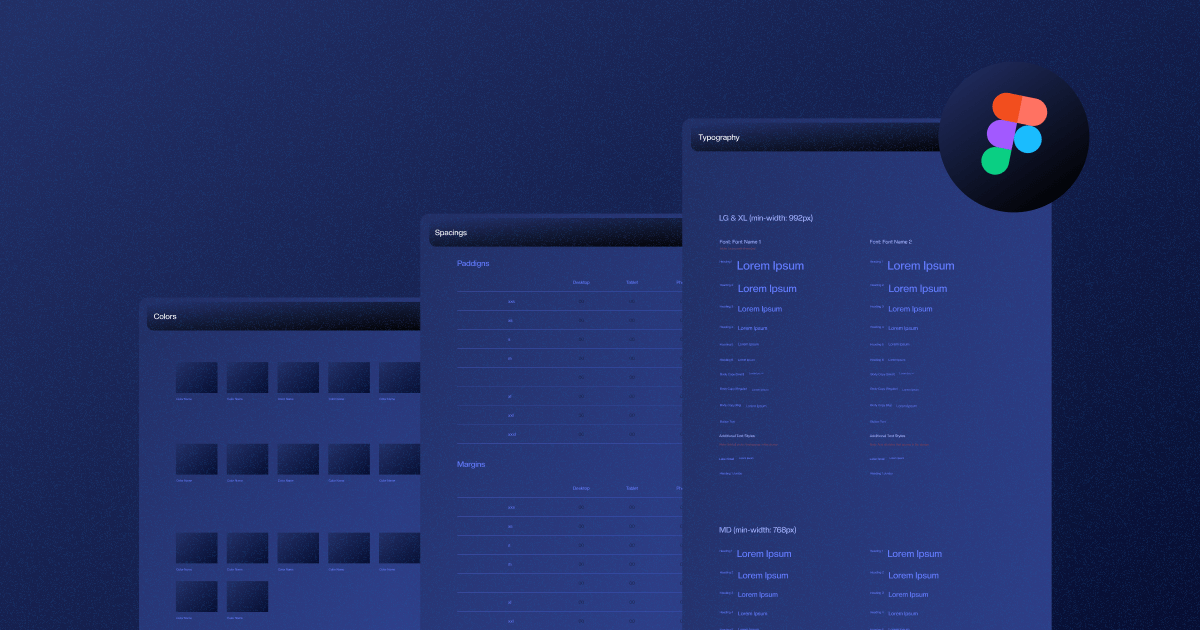
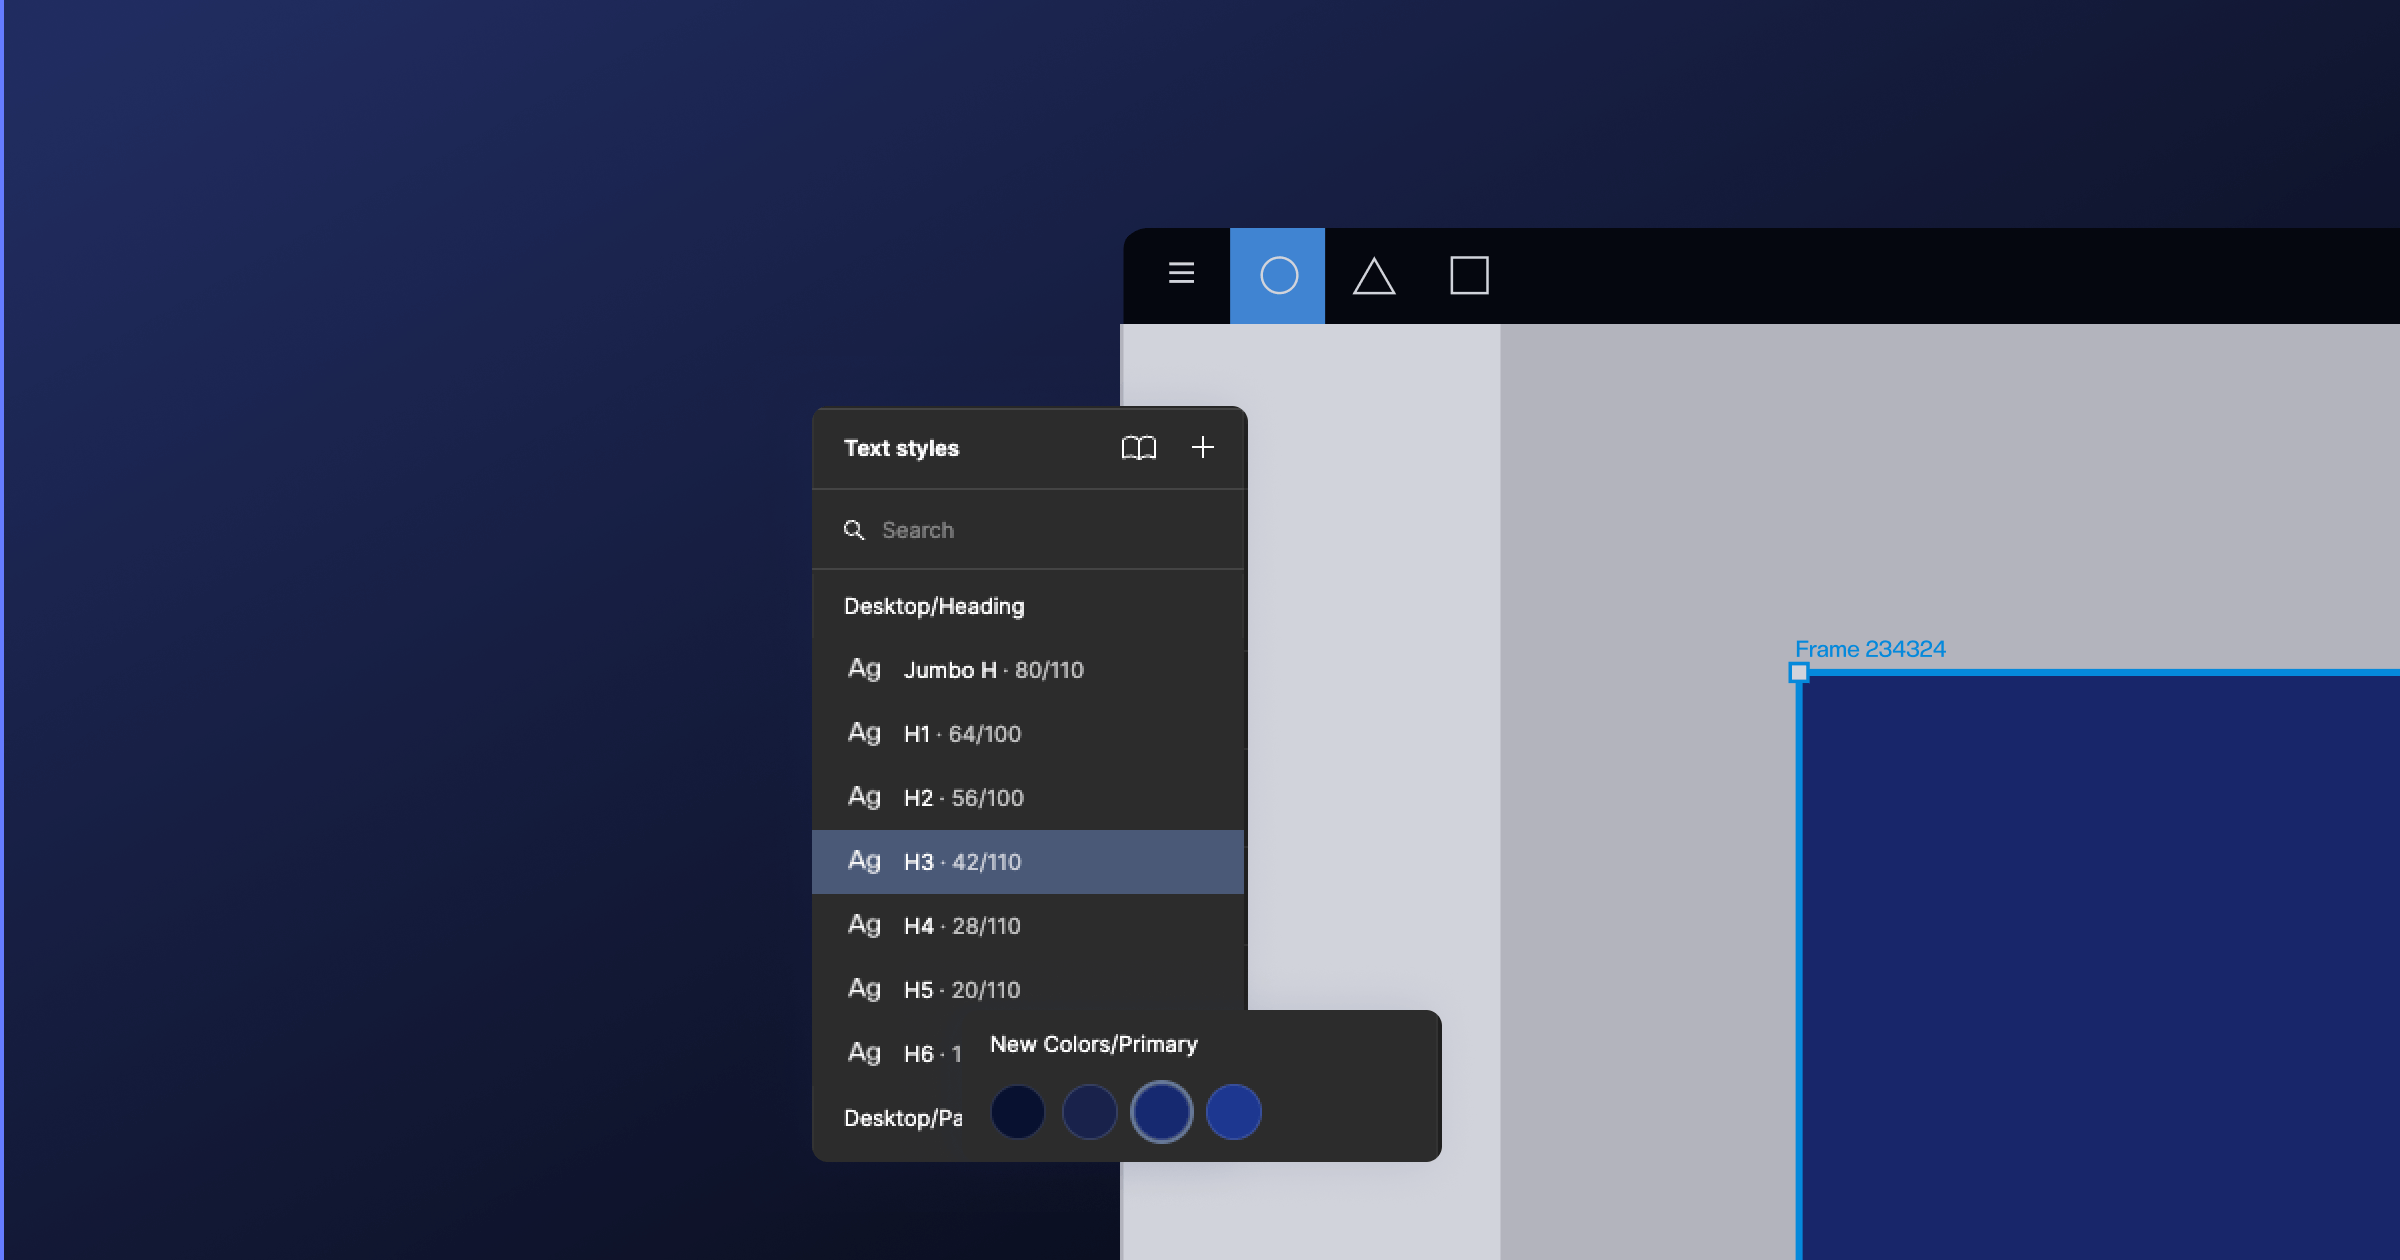
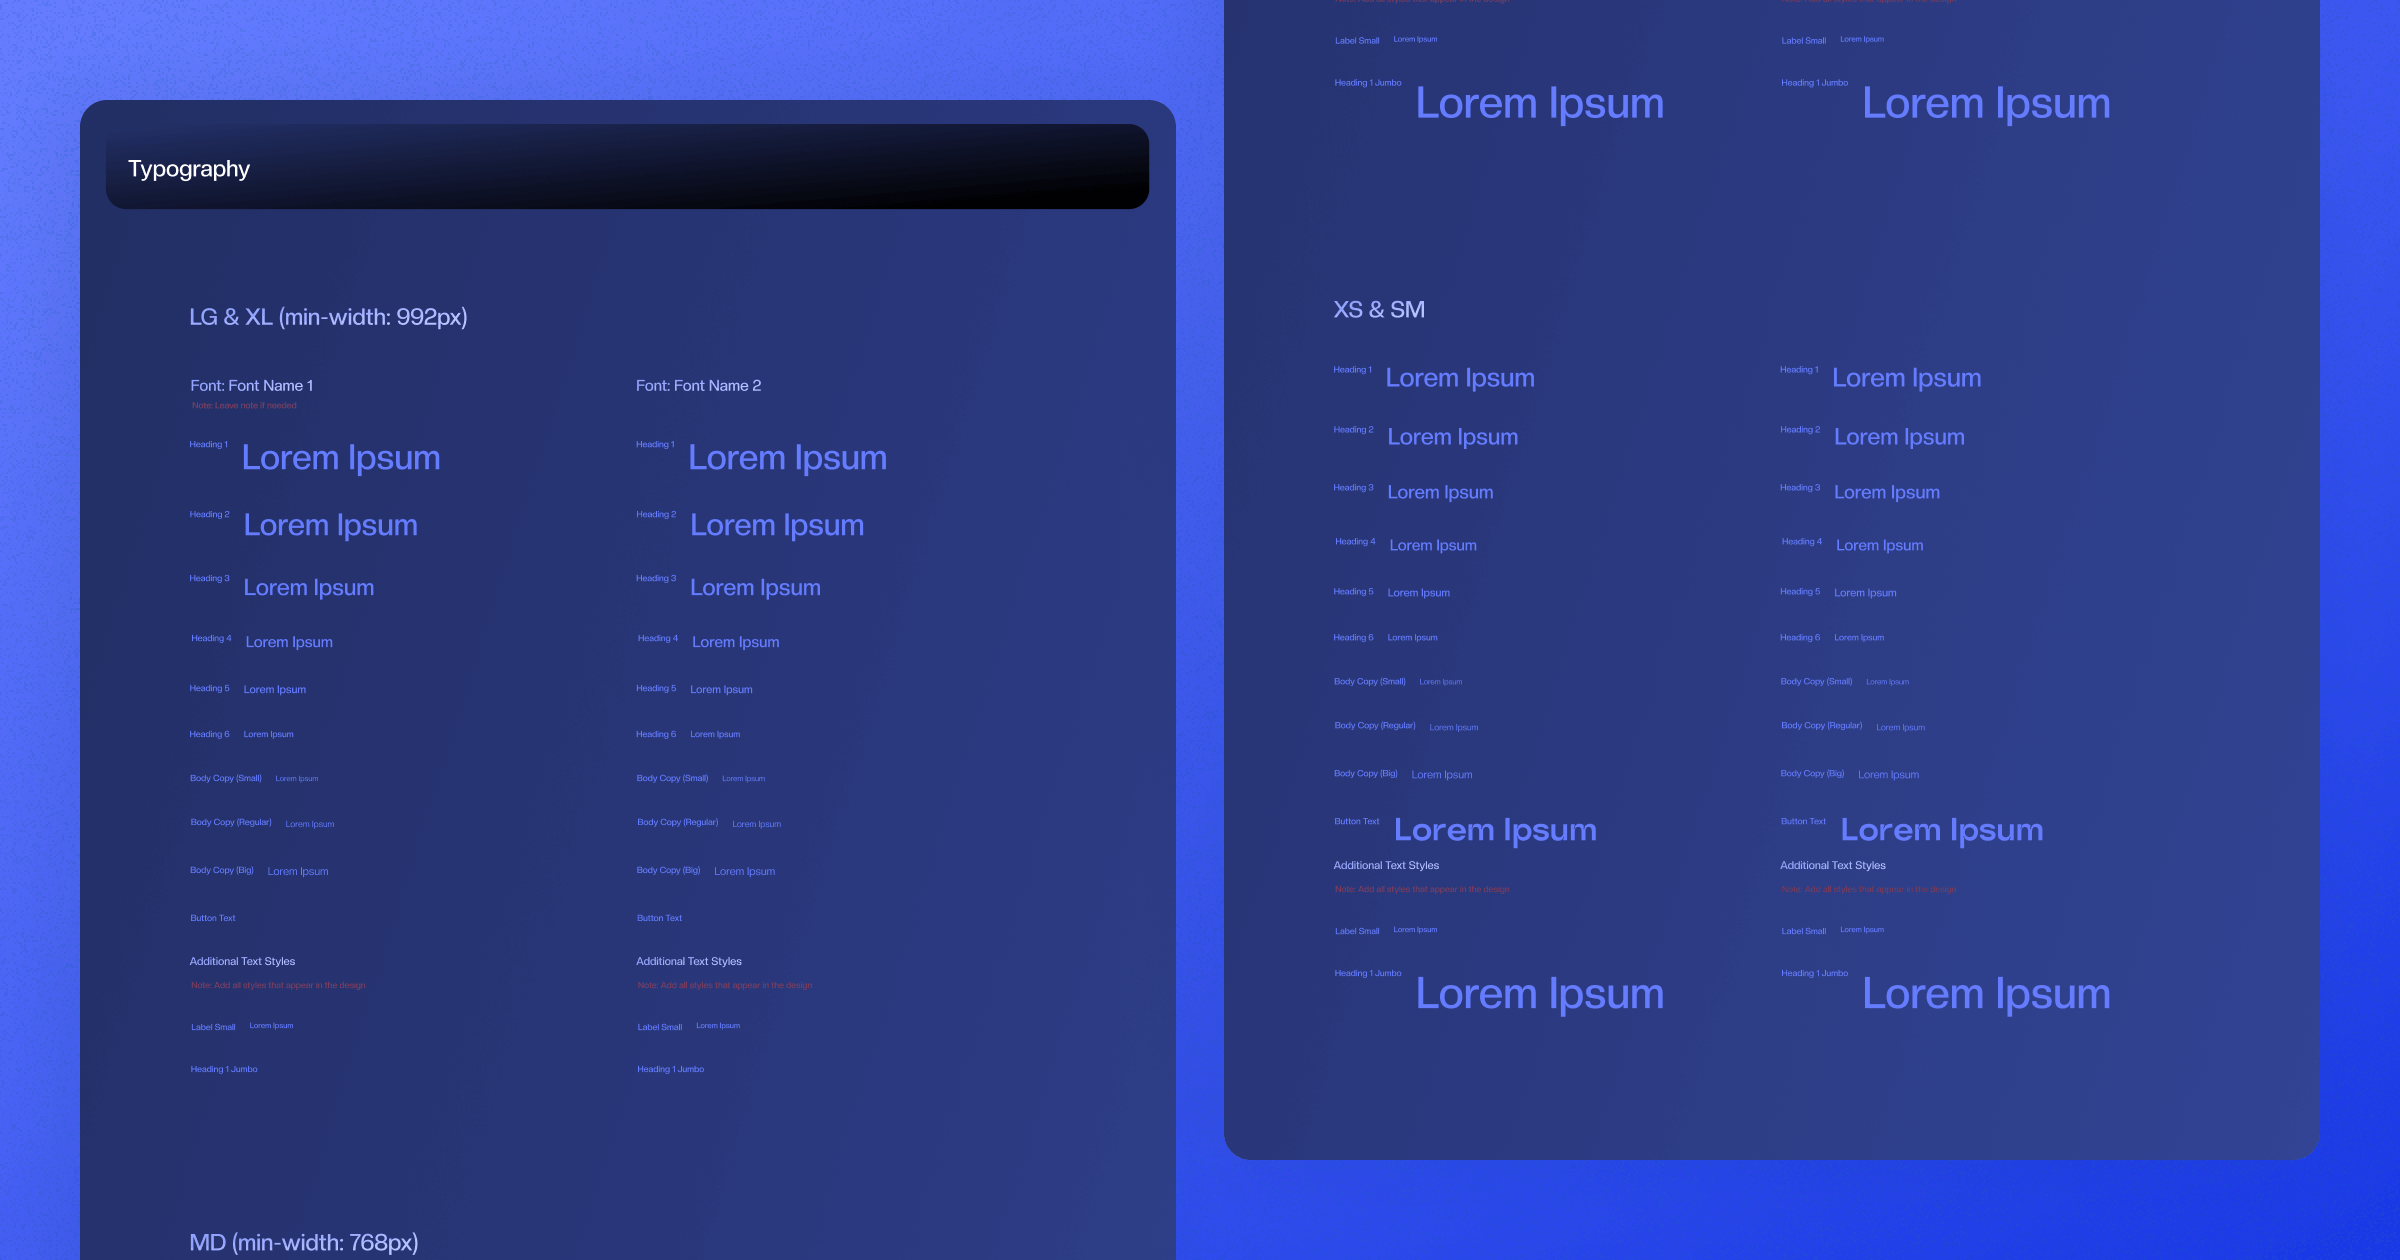
Adding Typography
First, we must fill out the type of fonts and their weight. Below is the font displayed in different formattings, including Heading 1, 2, 3, and so on. Then there’s how it looks as regular text in different weights, on buttons, and more.
You should also do the same for other font sizes. We do this to show how fonts scale on responsive screens.
Suppose you’re wondering where to find this information. In that case, the answer is more than obvious: you’ll use these fonts when designing your project, and you can immediately document it in the styleguide while you’re working.
Adding Colors
After the letters, it’s important to address the colors. These should be all the colors you’re using when designing your website. I also prefer documenting these as I design, as it makes it easier for me and other designers to refer to them.
If the client provided any kind of guidelines regarding colors, it’s important to stick to these and stay on-brand with the rest of the client’s business representation.
Here’s what our template for the colors looks like:
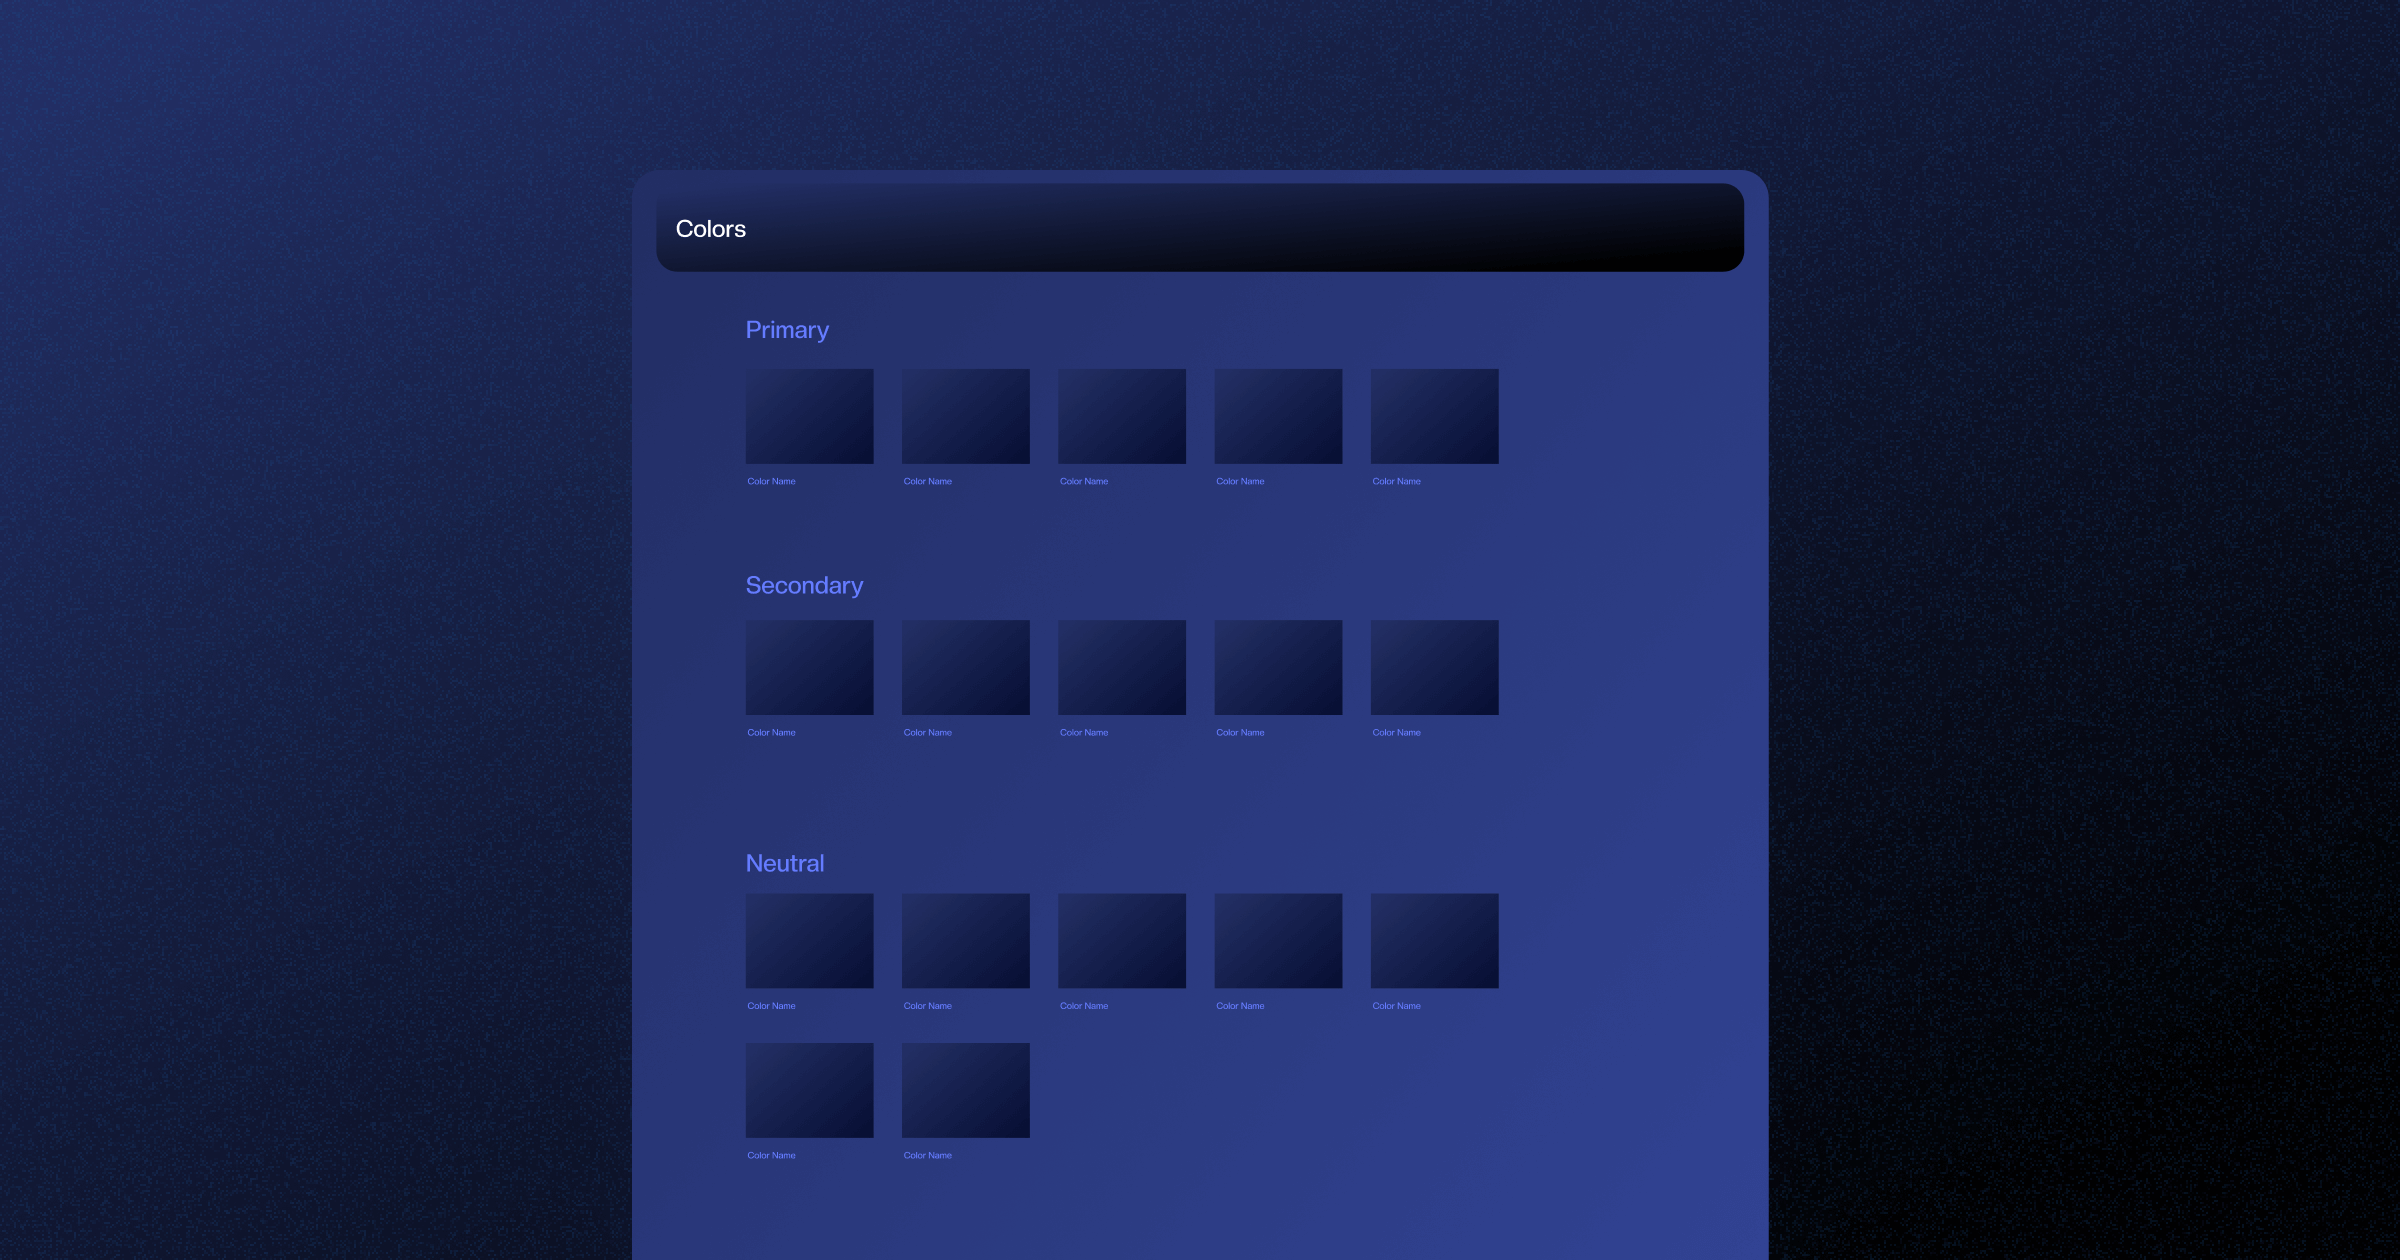
If you’re wondering which are primary, secondary and neutral colors, then I suggest reading more about the basic use of colors in web design, but here’s a quick explanation:
- Primary colors — Primary colors are often used to establish a strong visual identity and create a sense of branding consistency. They are frequently employed for elements that require attention and emphasis, such as headers, navigation, CTA buttons, highlights, and accepts
- Secondary colors — Secondary colors add depth and variety to the color palette of a website. They are often used to create contrast, balance, and visual interest. For example, you can use them for backgrounds, differentiating sections, or icons and graphics.
- Neutral Colors — Neutral colors serve as a backdrop for more vibrant hues and help maintain a balanced and professional appearance. They are used to create a sense of harmony and readability. For example, they can be used for borders, dividers, input boxes, backgrounds, text, and more.
Here’s the color template filled out.
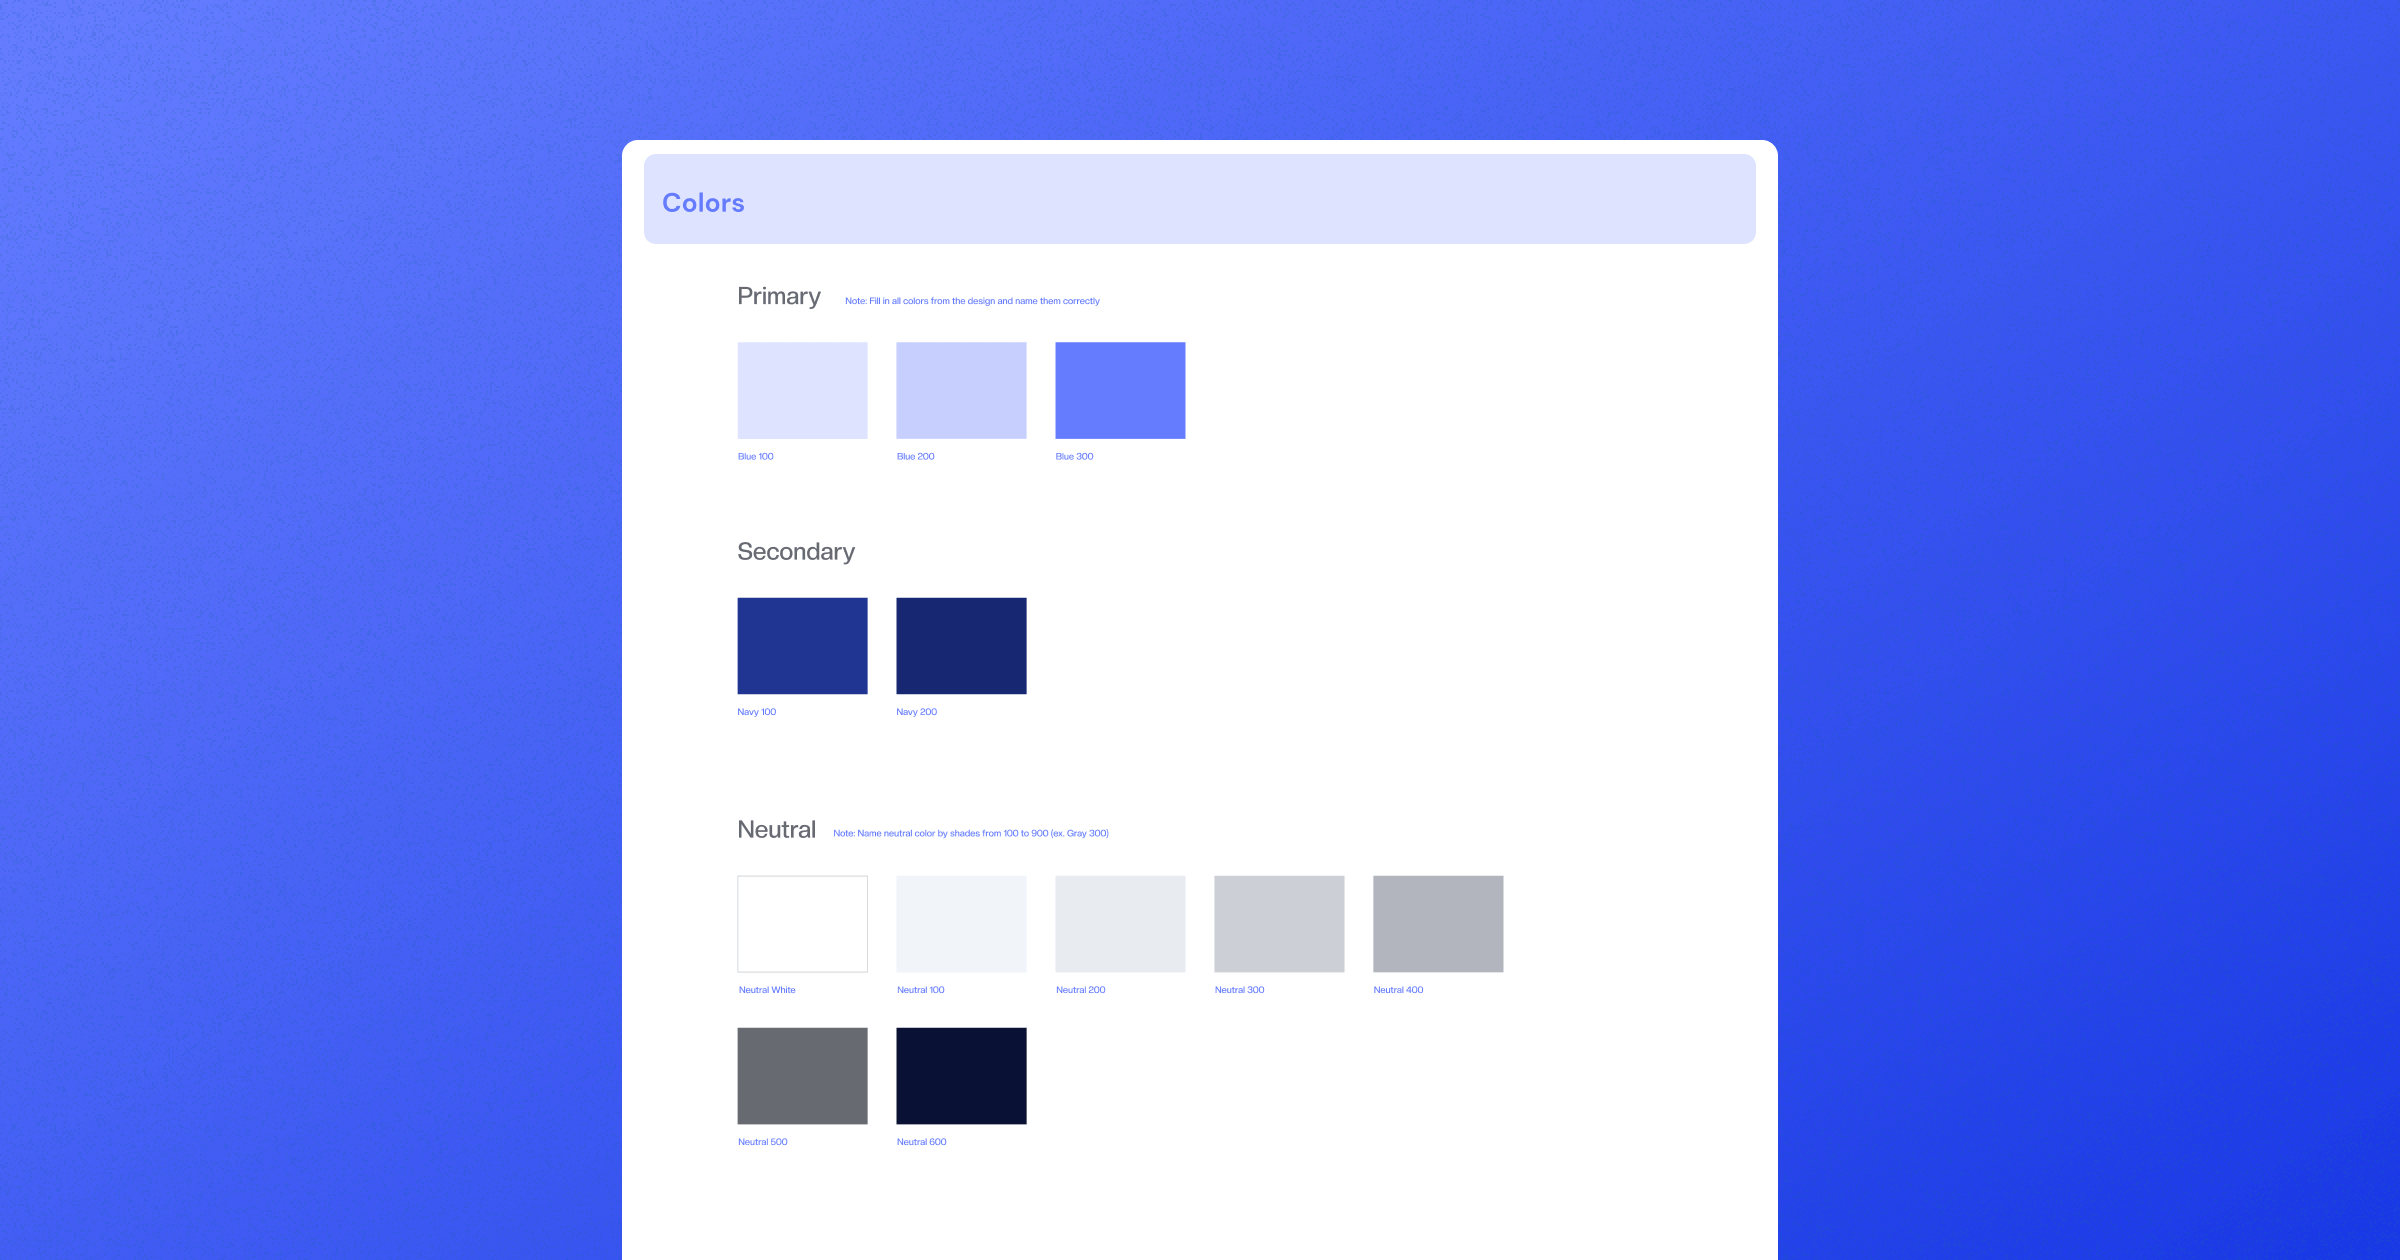
We don’t use HEX codes here, as devs can determine them on their own. However, we make sure to name them aptly so that devs can create global color swatches and get around using colors once they start implementing our design.
Naming colors makes communication easier between designers, too.
Adding Spacings
As a web designer, your job is to define spacings between elements and ensure that devs can use that information when building the site in Webflow.
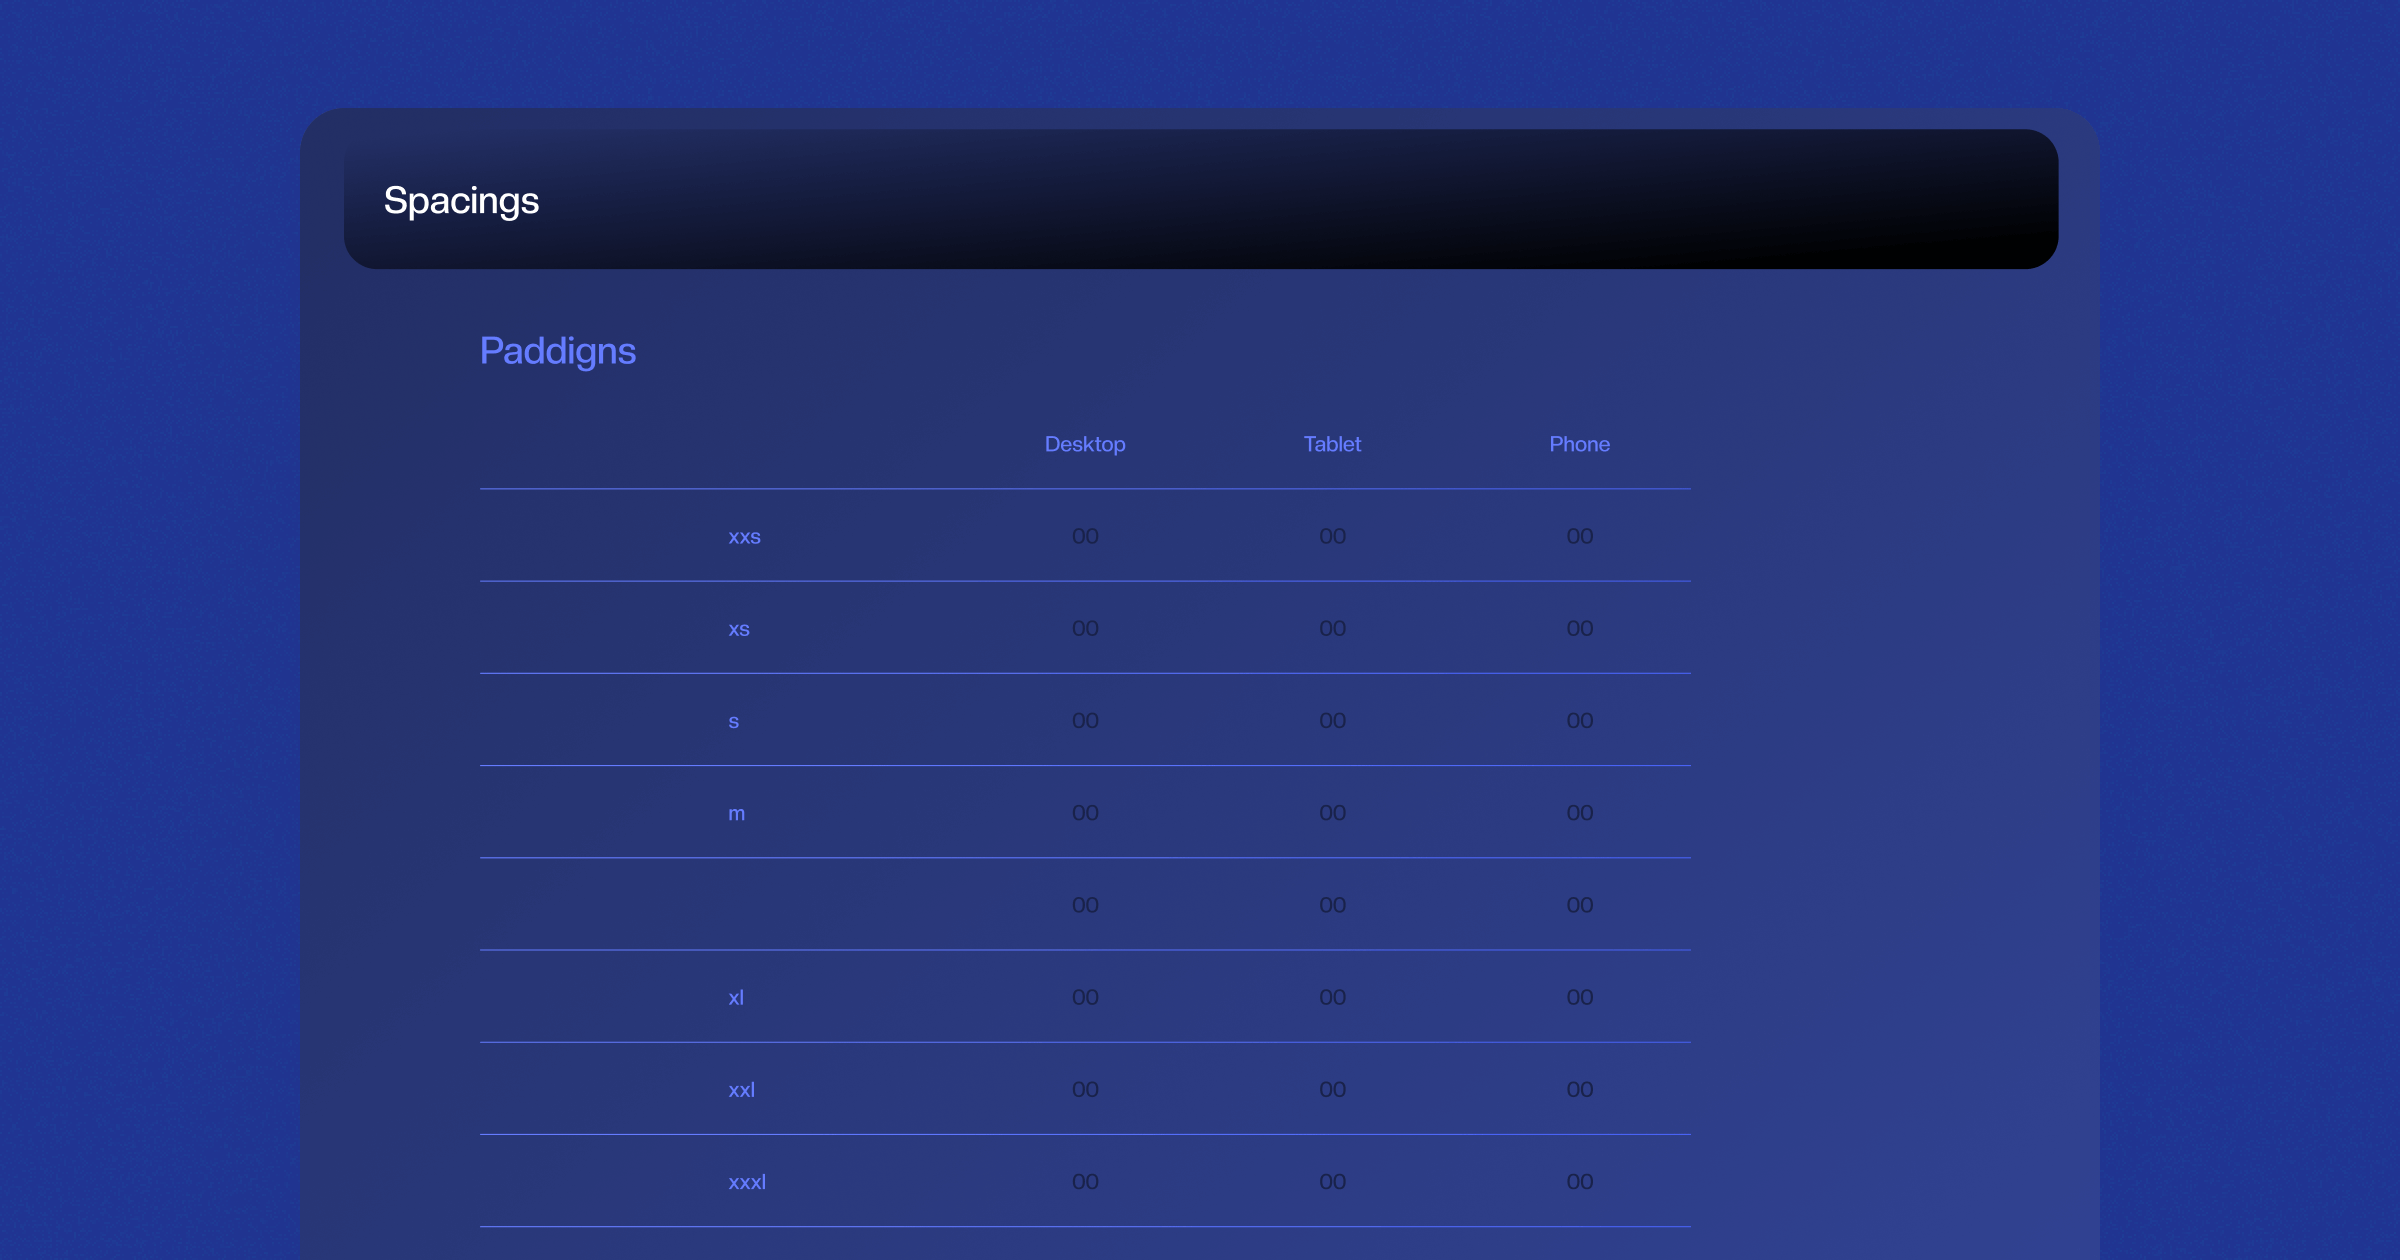
Here’s what the paddings styleguide template looks like:
And here’s for margins:

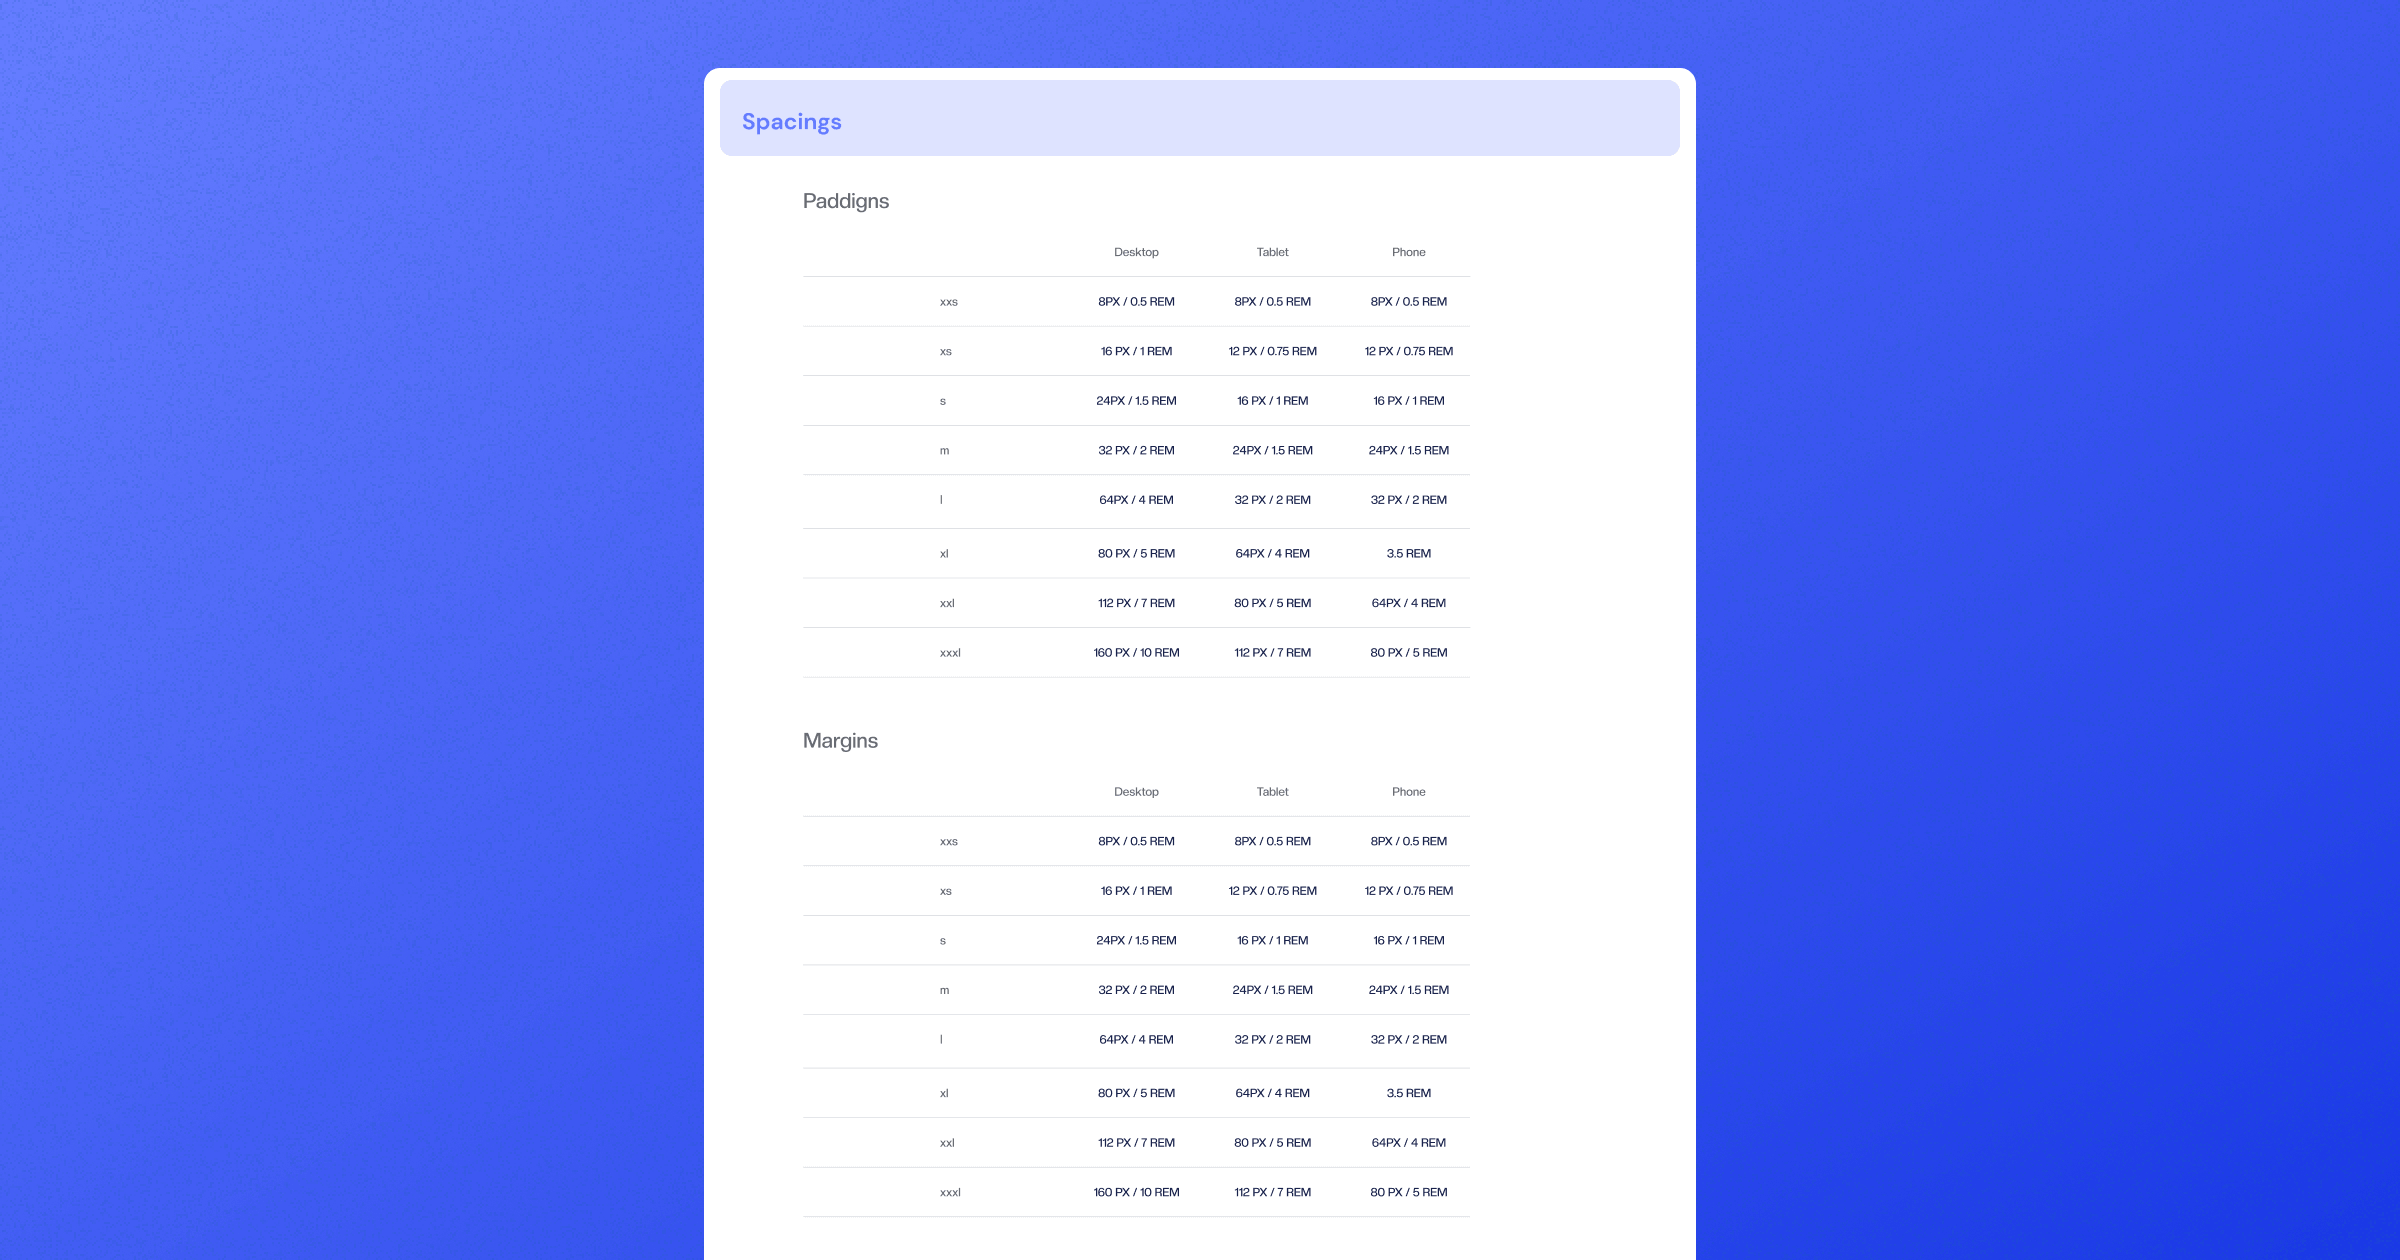
Here’s an example of a filled-out template for paddings.
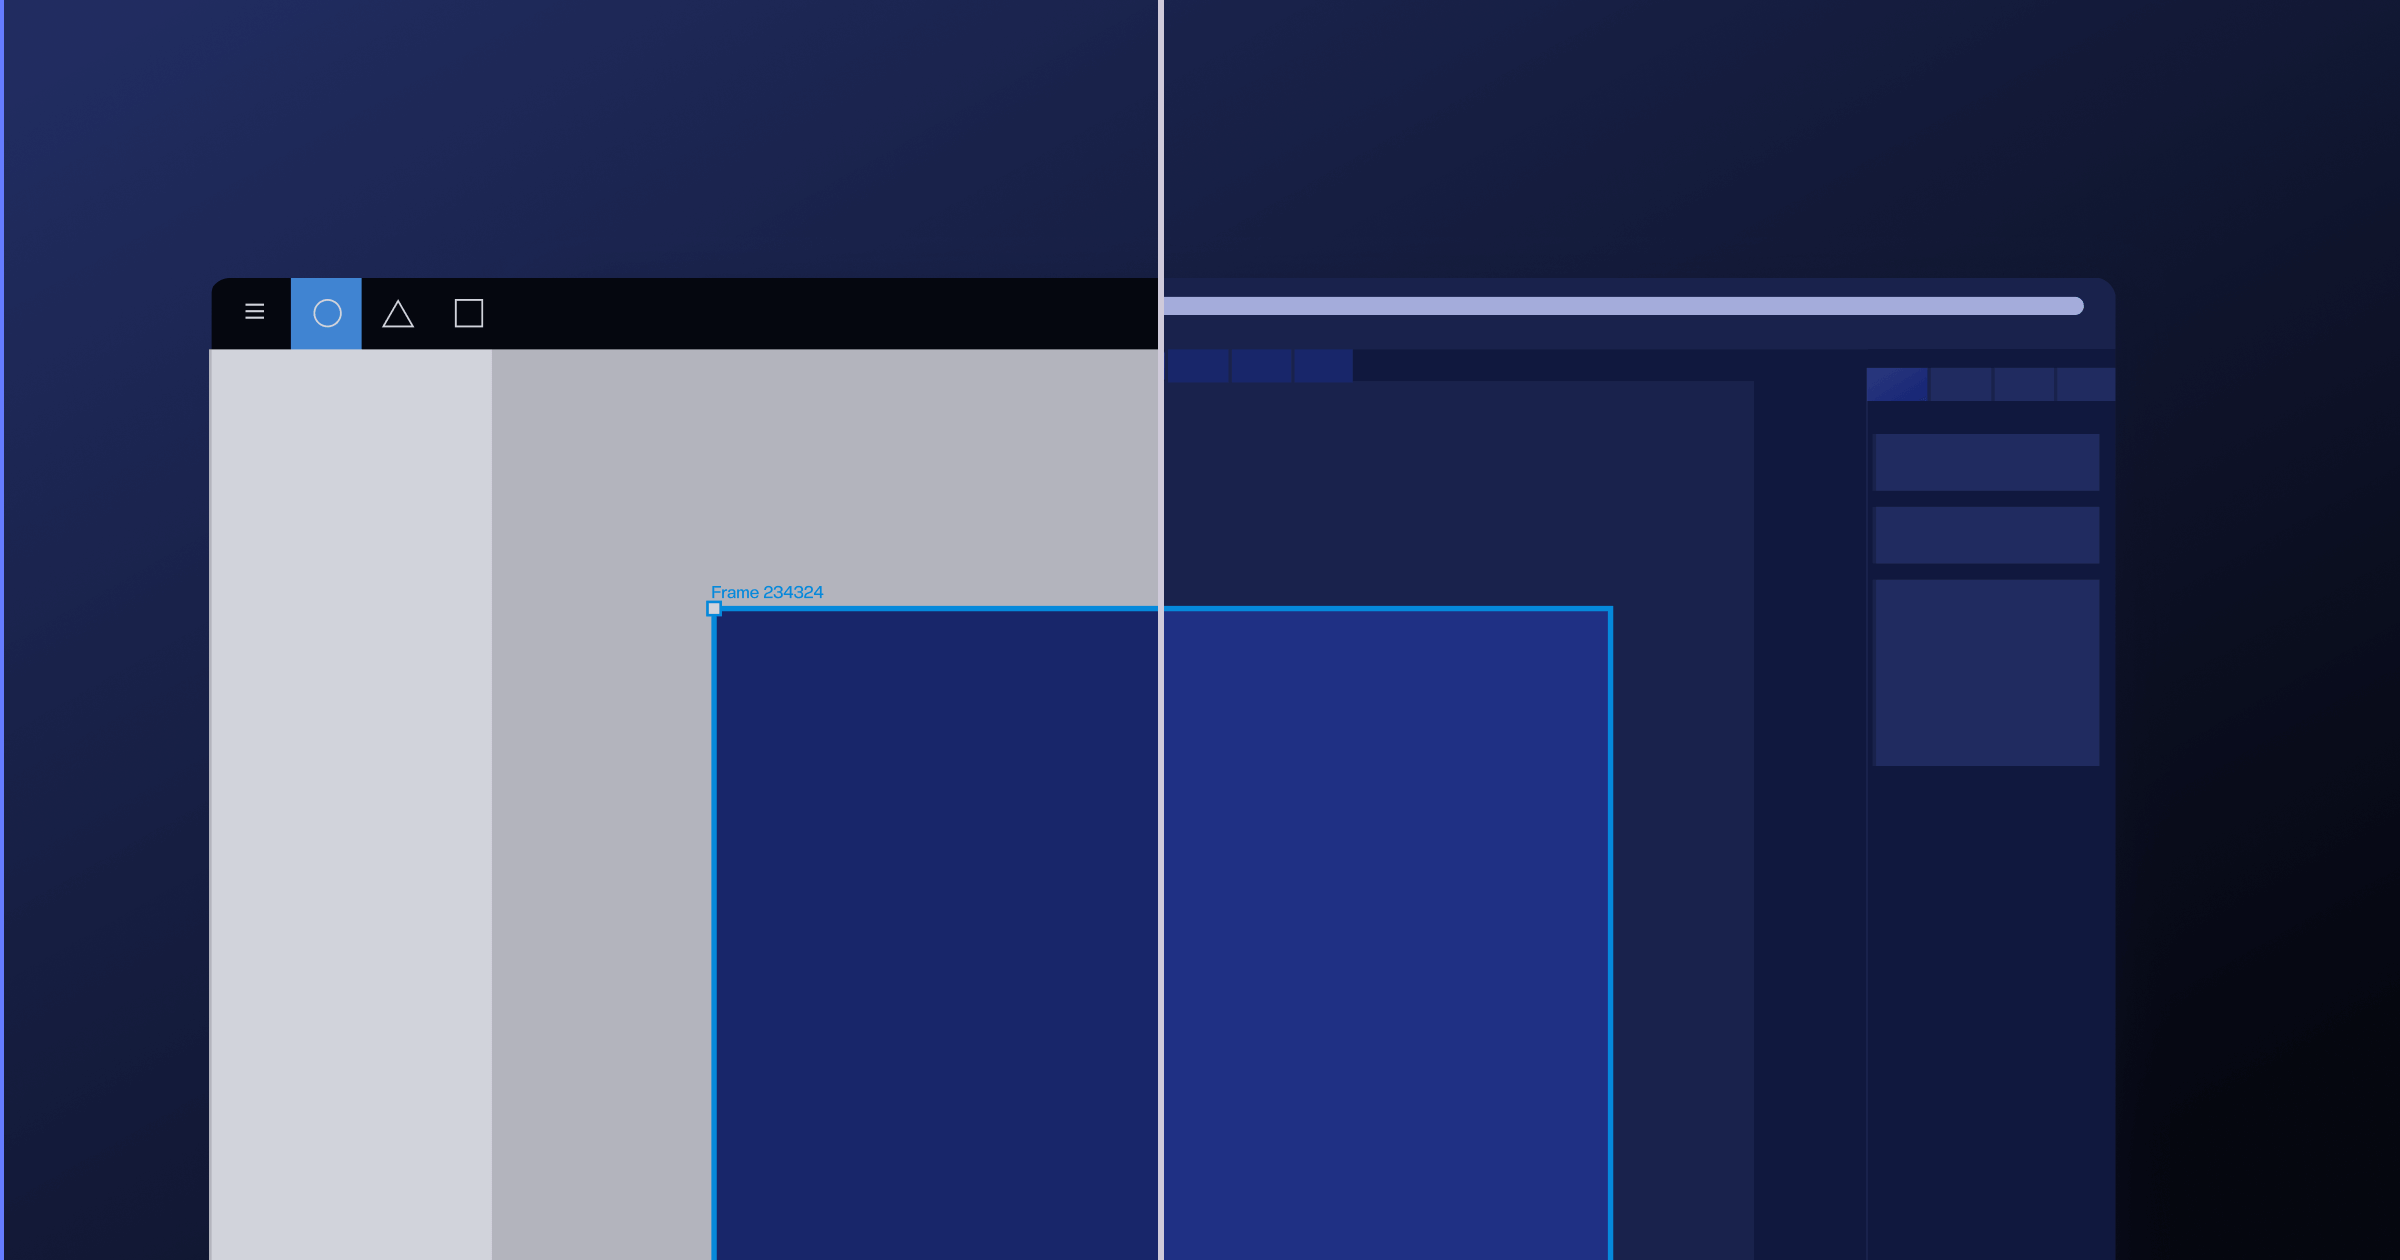
Adding Navigation & Footer
Our navigation and footer template is pretty simple.
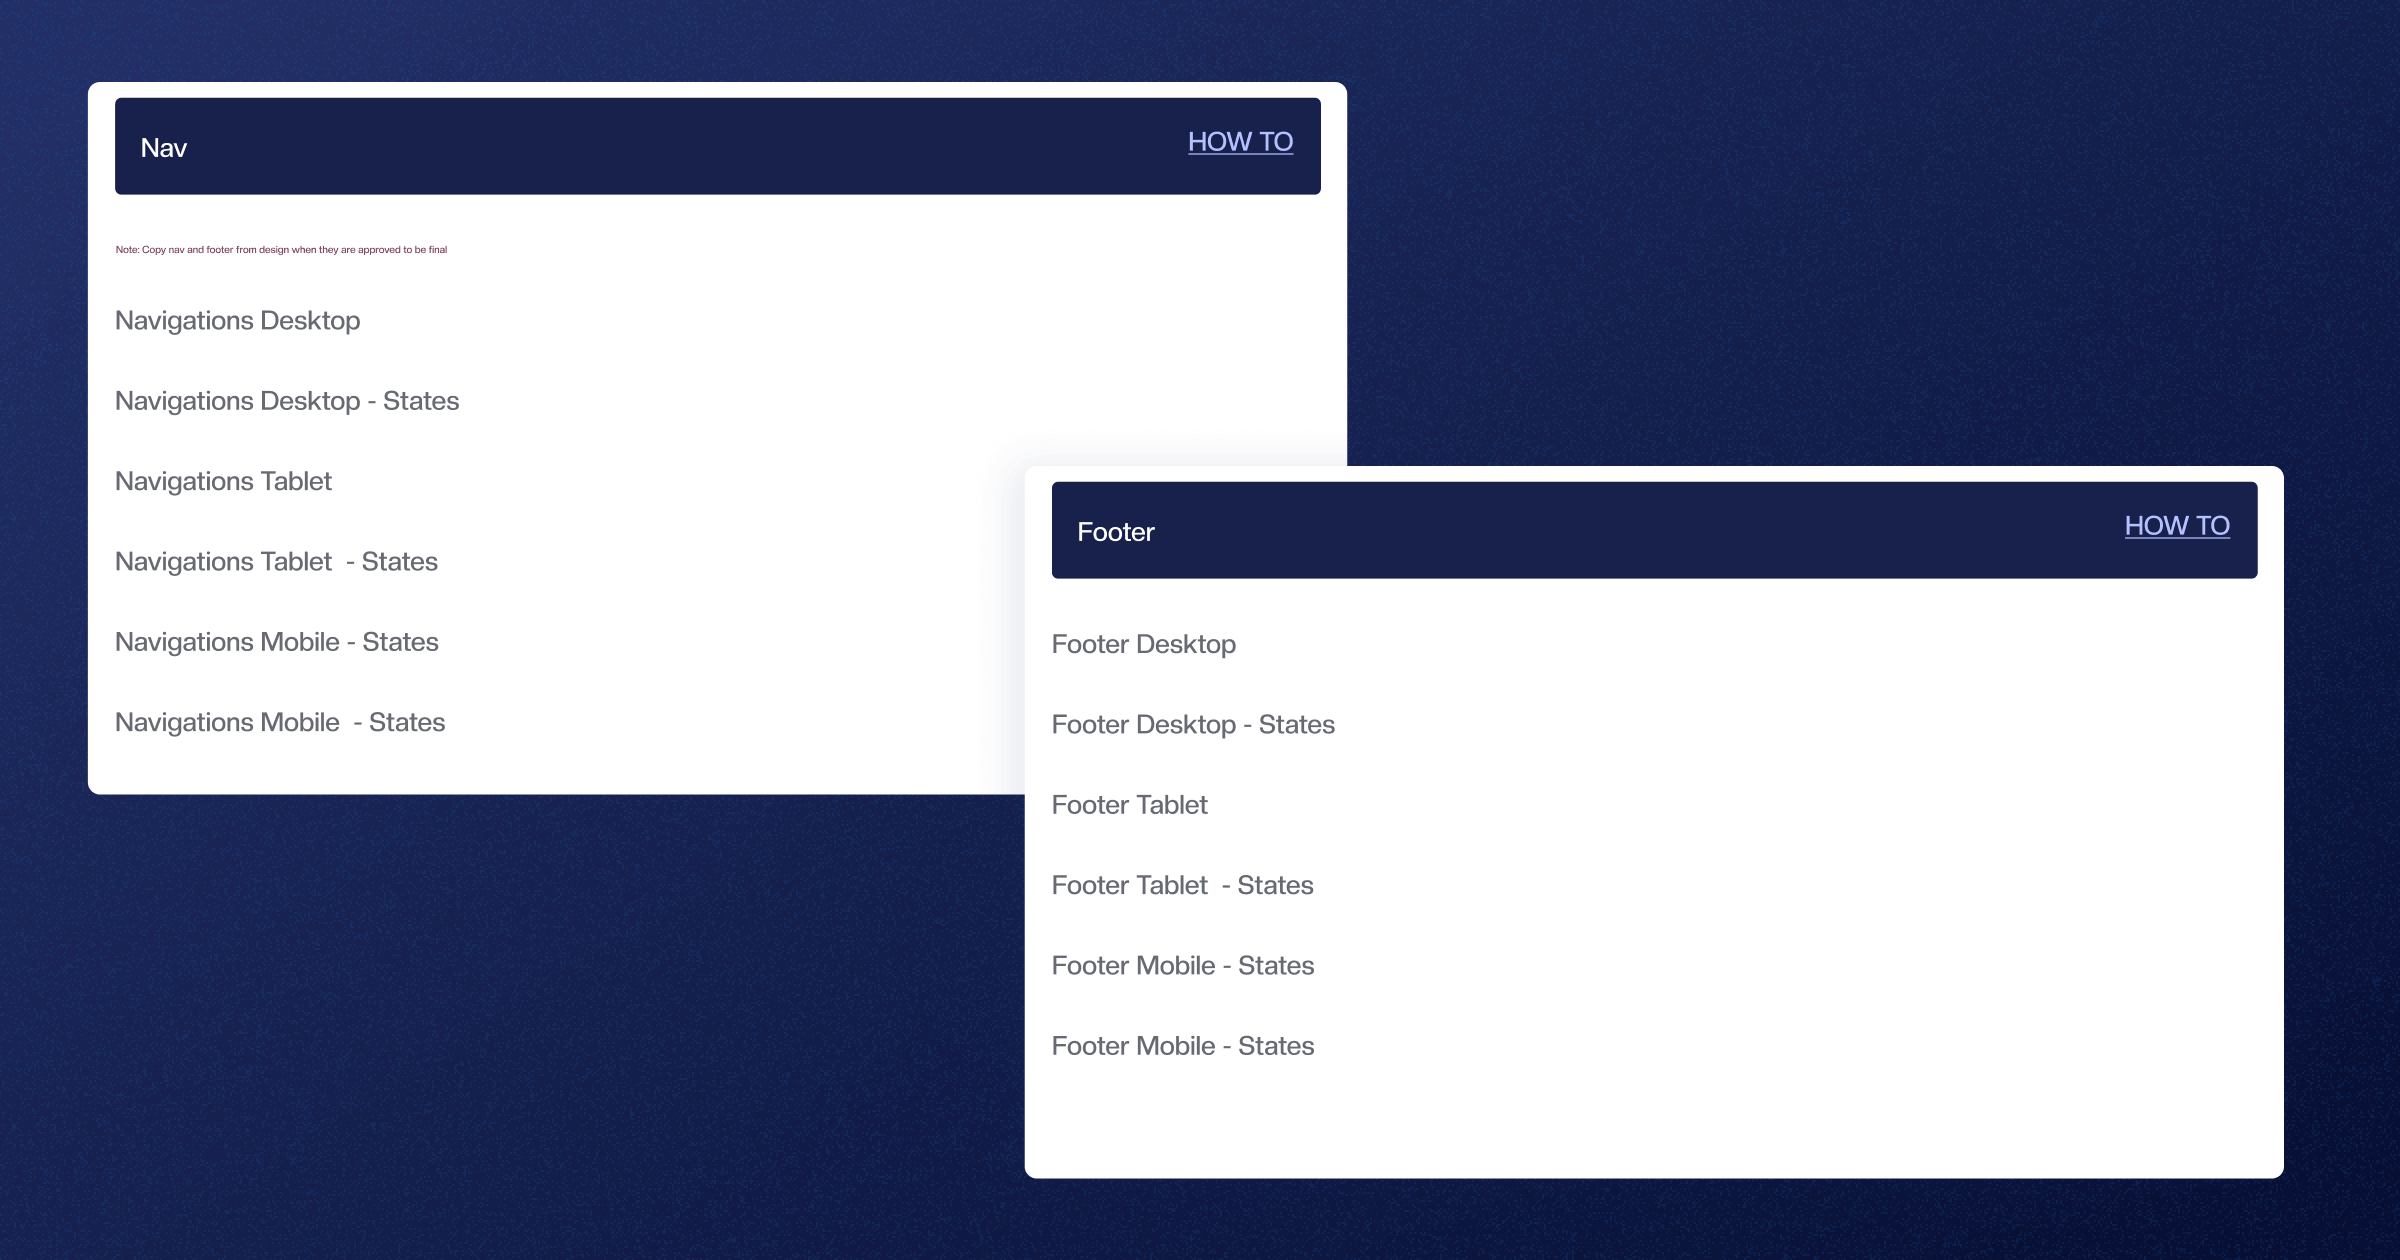
I understand this doesn’t help you much, so let me share just some examples.
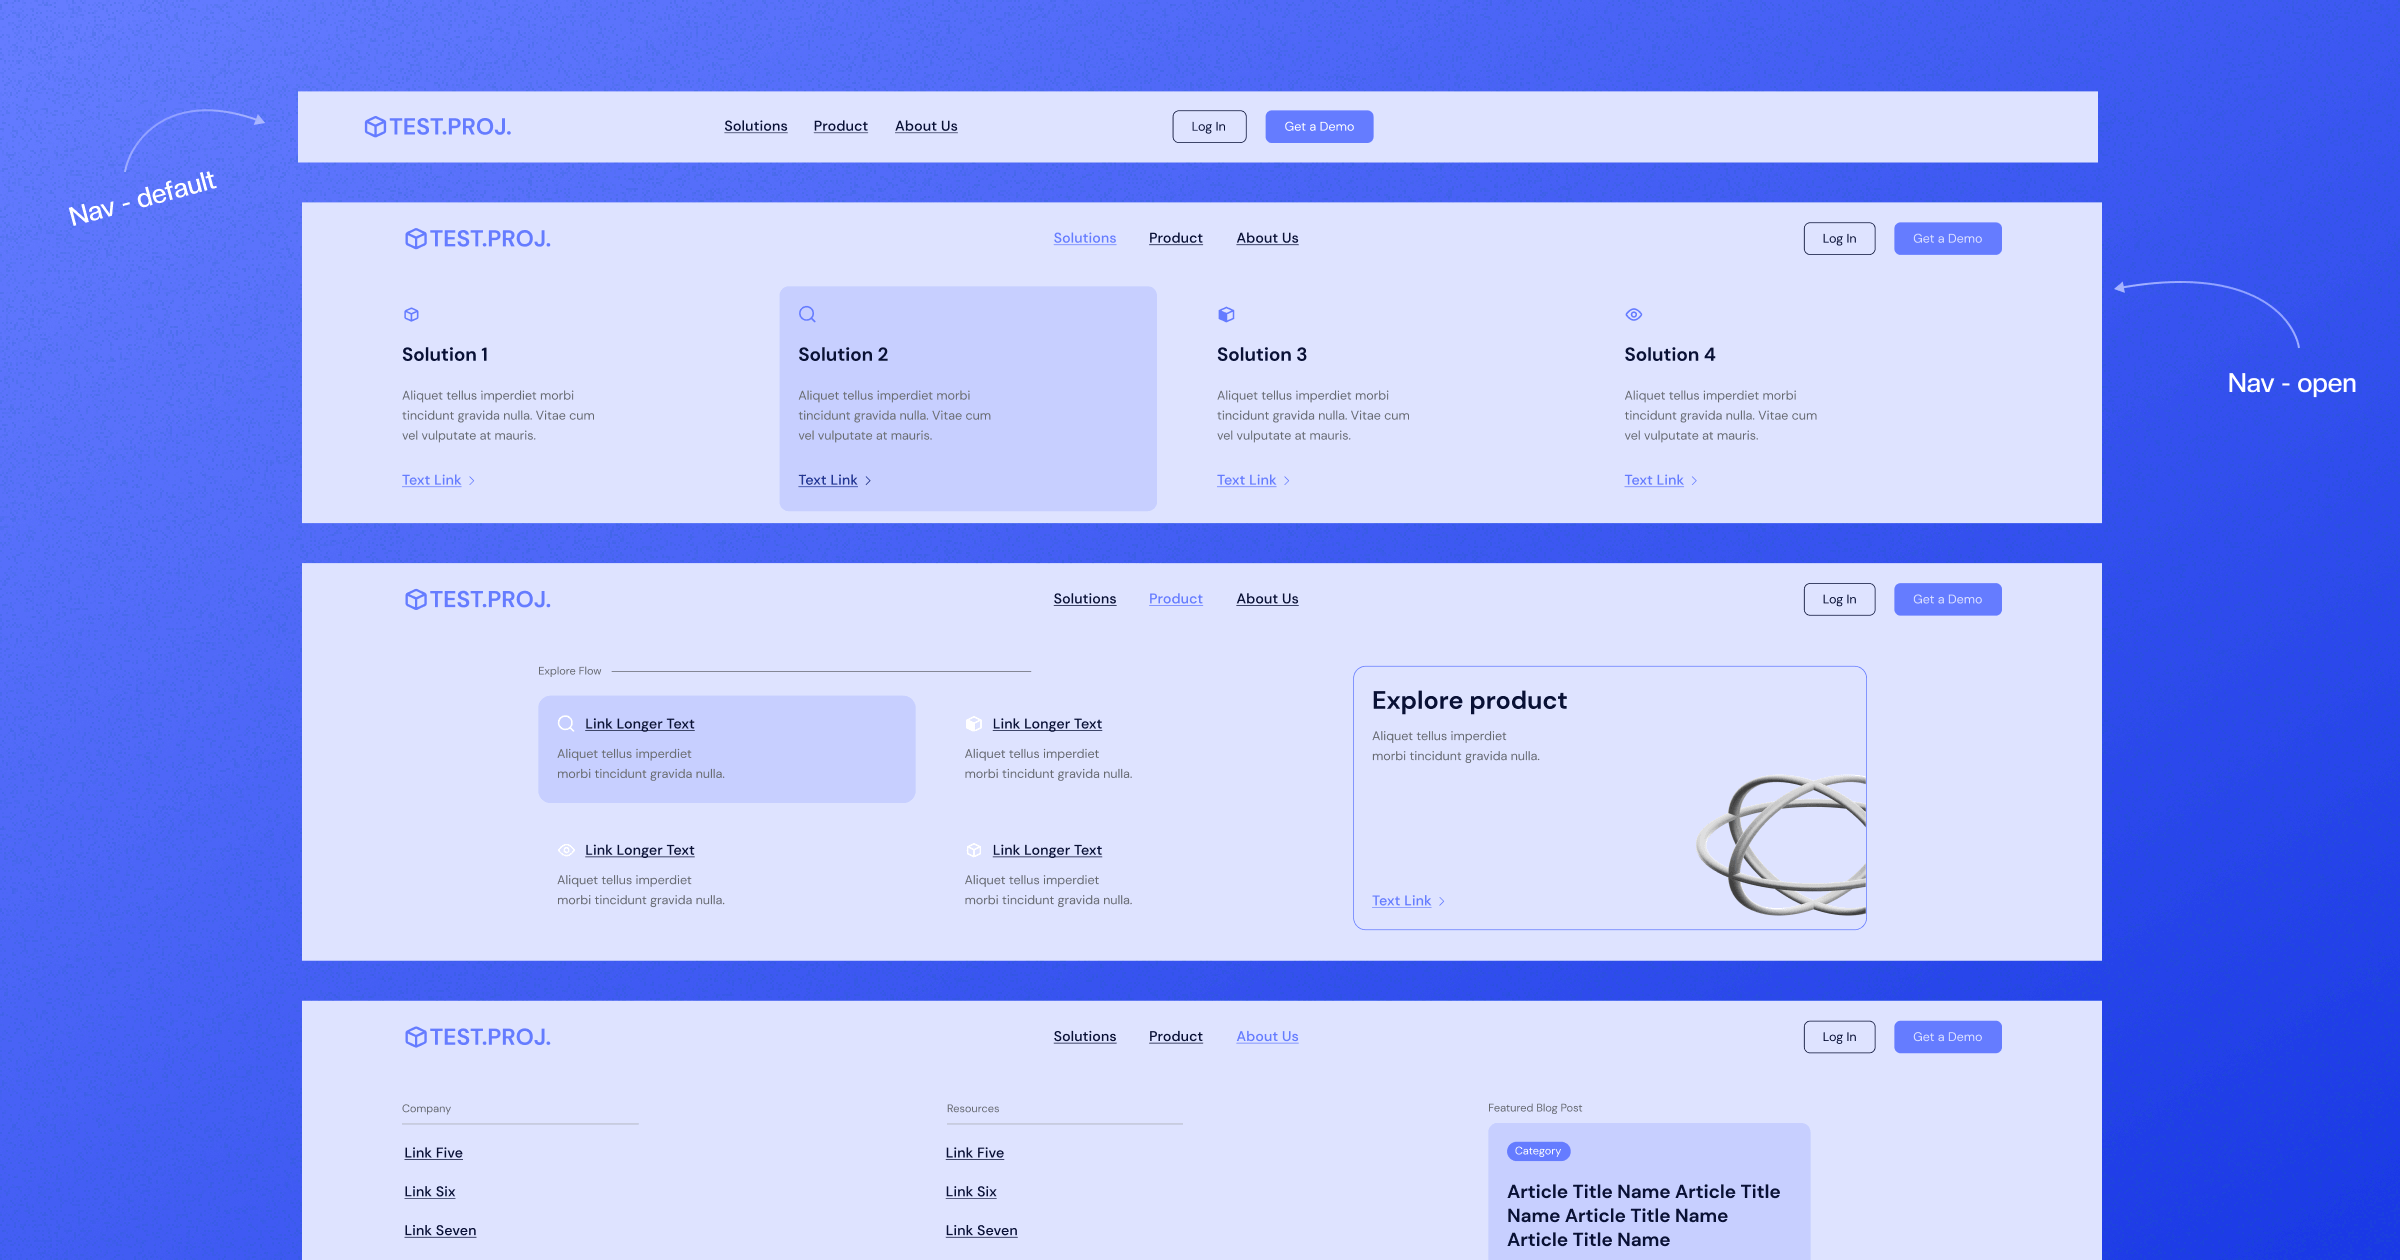
So, the first one is what our imaginary website desktop main menu would look like.
Next, we explore what the dropdown menus would look like. Not all of these navigation options are required for every project. It all depends on what agreed on with other designers. Take a look below.
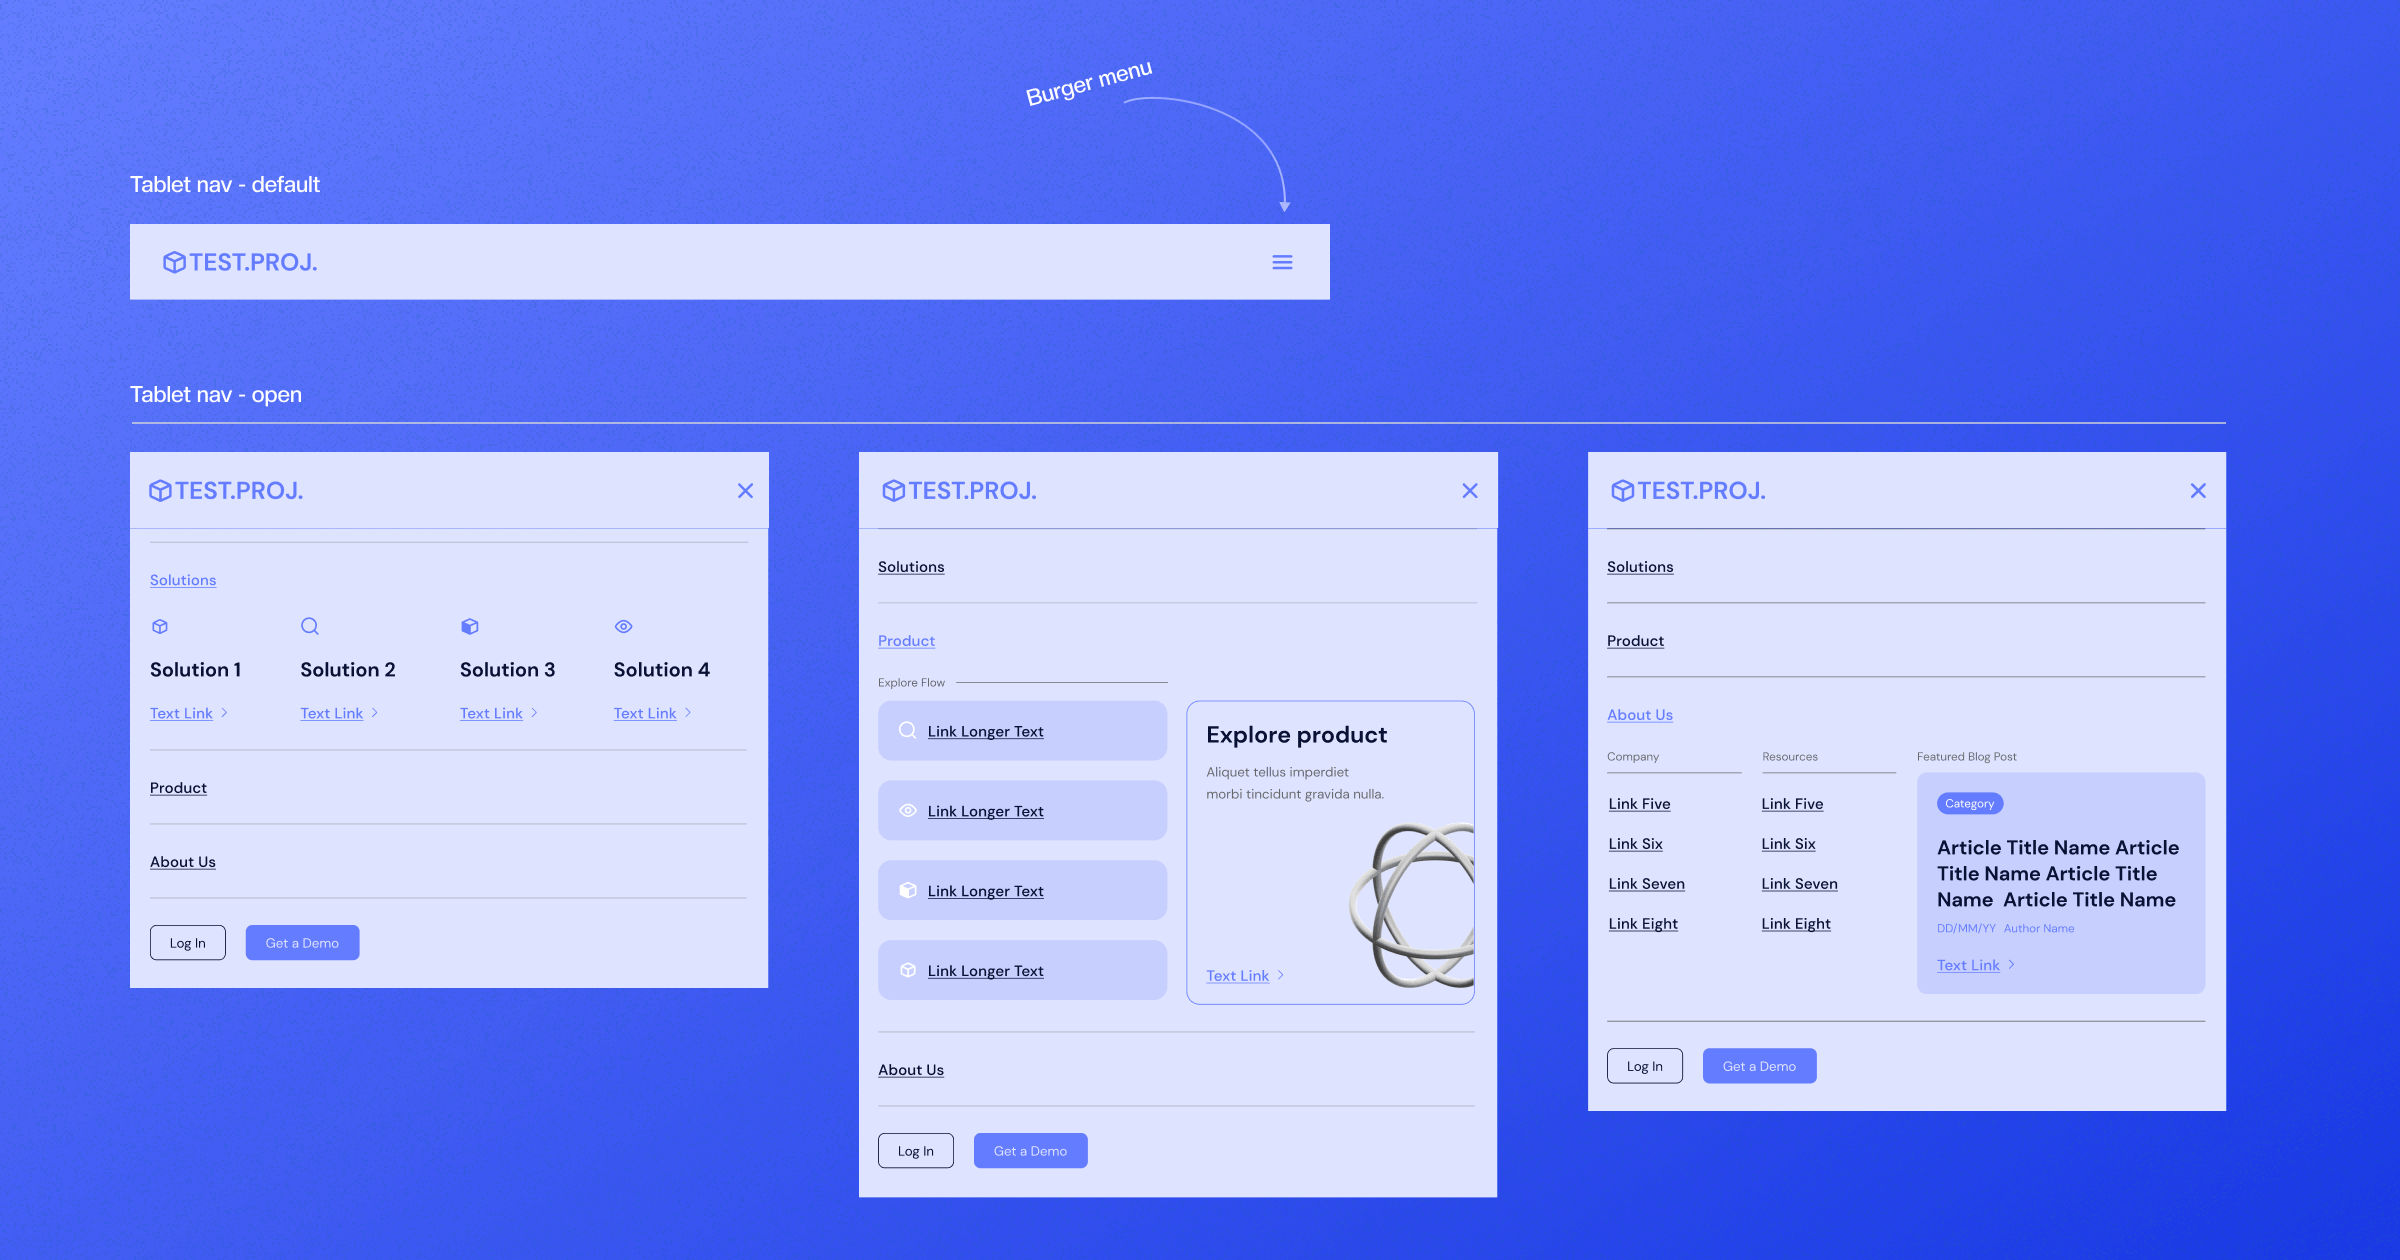
Since we’re always designing for different devices as well, here’s the navigation for tablets, where we also expanded main menu states.
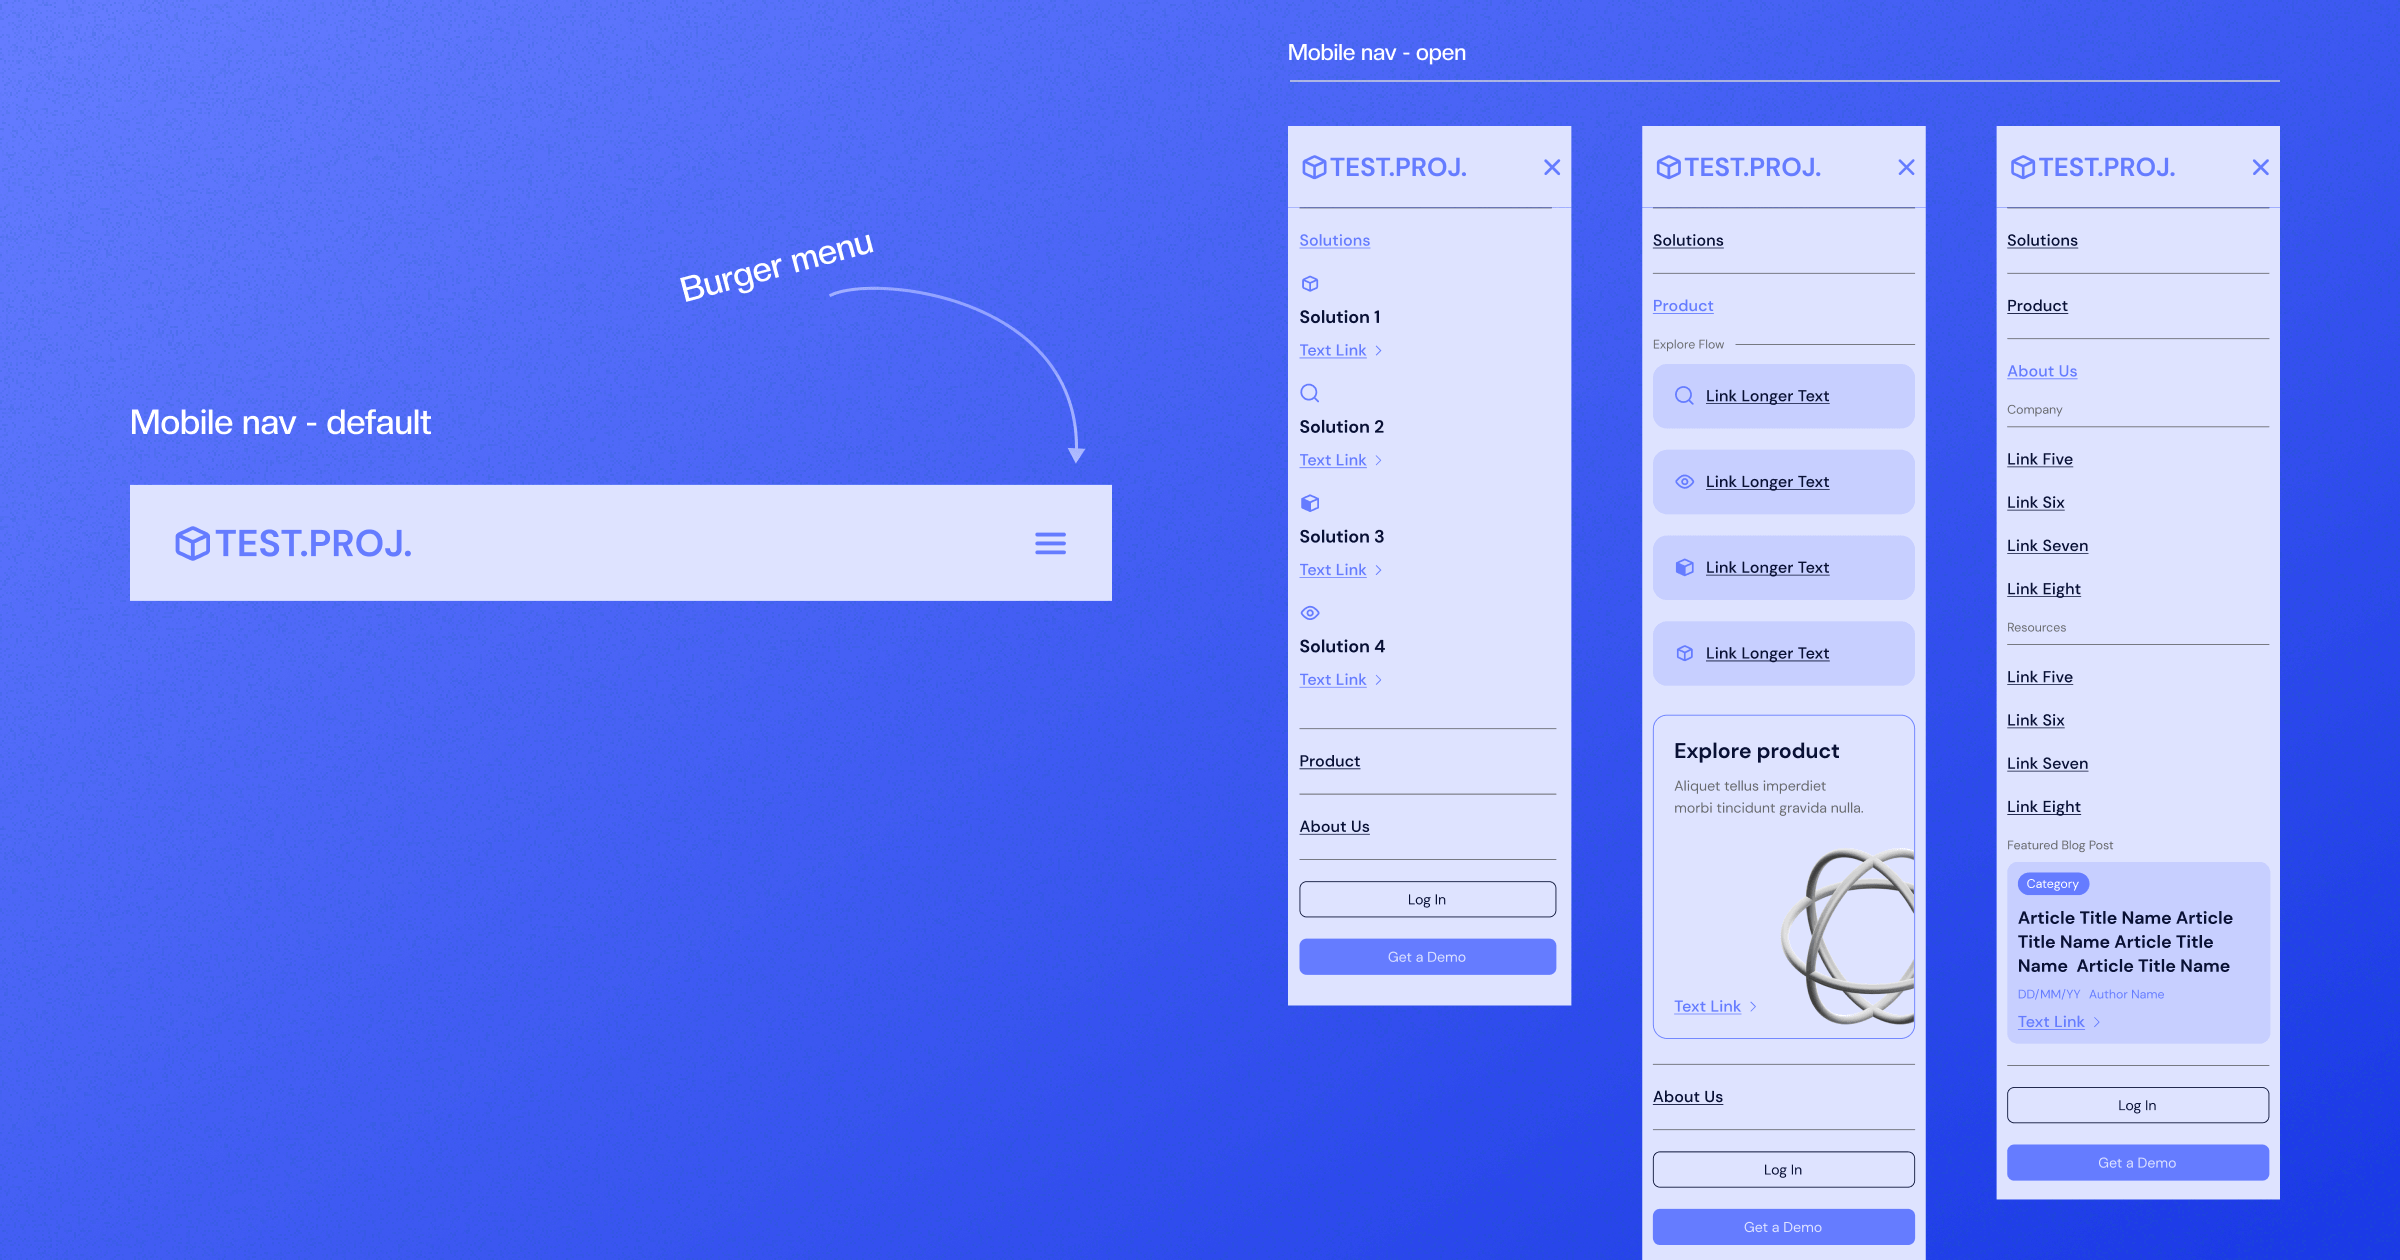
Finally, we provide navigation for mobile.
… and mobile states.
If you explore the Figma styleguide template, you’ll see that we also designed the same thing for the footer for desktop, tablet, and mobile.
Adding Various Components
Finally, your site will have different components, and these components will change states in some cases, and it’s necessary to cover it all.
Our current template consists of the following components:
- Buttons
- Links
- Slider arrows (such as our free slider collection in Swiper JS)
- Input fields and text fields
- Dropdown
- Radio box and check box
- Icons
- Rich text
- Other
Each of these pre-defined components will need to be designed in all states. I’ll not share all examples, just some of the most important ones.
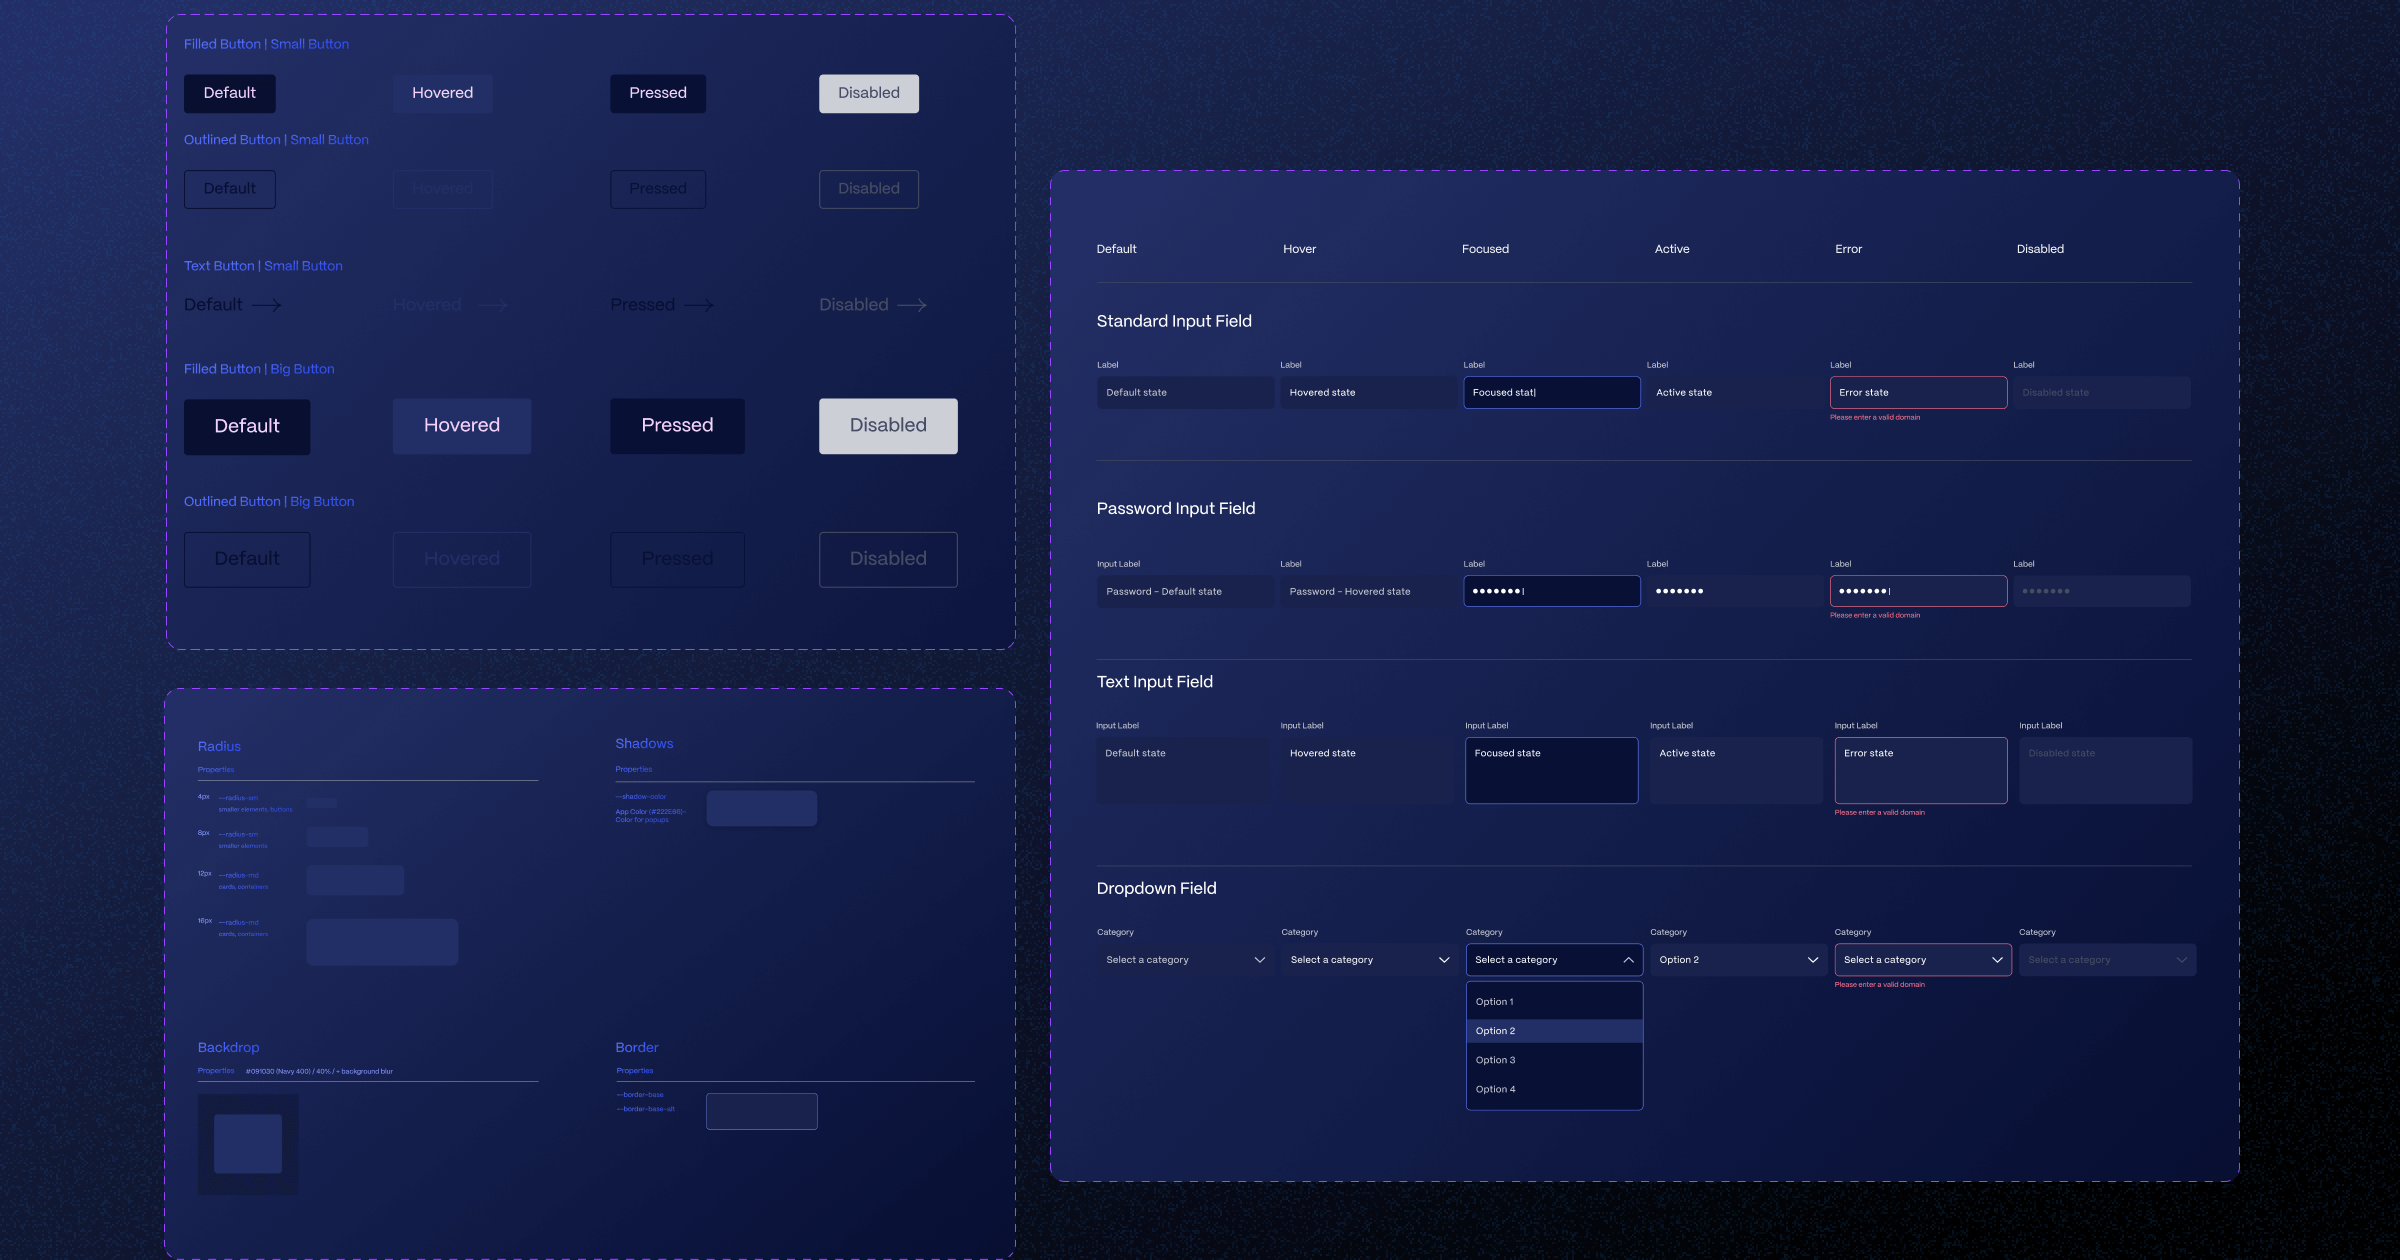
So, we identified two different buttons that are used throughout the website and added different colors for different states. Mind you, we used the colors we defined in our color palette in styleguide.
Creating a Styleguide in Figma for Webflow
Once the styleguide is completed, it’s time to add it to Webflow. If all is defined and named well, devs shouldn’t have any trouble using this in Webflow Designer. Moreover, Webflow came up with an interesting plugin that further streamlines this process and makes it easier to bring your site to life in Webflow. I recommend reading our What is Webflow Styleguide blog to learn more.
Creating Figma Styleguide
Creating a good styleguide in Figma helps establish visual guidelines and provides a cornerstone upon which to build your website. In Flow Ninja, Webflow developers use the Figma styleguide to bring the site to Webflow Designer (where they copy the entire thing and create global components where possible).
If you’re interested in having Webflow experts design, build, and maintain your website, make sure to reach out to Flow Ninja.
FAQ for Figma Styleguide
What is a Figma styleguide and how does it differ from a brand styleguide?
A Figma styleguide is a documented set of design tokens and components—colors, typography, spacing, navigation, and elements—built directly in Figma for a specific digital product, often a website. A brand styleguide is broader, covering logo usage, tone of voice, and overall brand rules beyond digital design.
Which elements are essential to include in a Figma styleguide for a Webflow project?
Essential elements include typography scales and weights, color palettes (primary, secondary, neutral), spacing rules for paddings and margins, navigation and footer layouts for all breakpoints, and core components like buttons, forms, links, icons, sliders, and rich text, documented with all relevant interaction states.
When in the design process should a Figma styleguide be created?
A styleguide is usually created after the homepage or initial key pages are designed, once the visual direction is clear. It remains iterative during design but should be frozen before handoff to developers, ensuring Webflow implementation is consistent and not affected by late visual changes.
How does a Figma styleguide improve collaboration between designers and Webflow developers?
A Figma styleguide provides a single source of truth for names, styles, and components, so both designers and Webflow developers reference the same typography, colors, spacing, and UI patterns. This minimizes guesswork, reduces rework, speeds up implementation, and keeps communication focused on edge cases, not basics.
How should colors be organized and named in a Figma styleguide for easier Webflow implementation?
Colors should be grouped into primary, secondary, and neutral categories and given clear, descriptive names that reflect their role (for example, Primary/Brand-500, Neutral/Background-100, Accent/Error). Consistent naming helps Webflow developers create global swatches and reuse colors accurately across pages and components.
How can the Figma to Webflow plugin support a styleguide-driven workflow?
The Figma to Webflow plugin helps transfer layout and styles defined in Figma—such as typography, colors, and components—into Webflow more systematically. When the Figma styleguide is cleanly organized and named, the plugin reduces manual recreation effort and accelerates building global classes and components in Webflow.

Sara Stojmenovic
Sara is a Design Lead at Flow Ninja. She can also outscore everyone in the team at the shooting range, having trained shooting sports for a long time.


.png)

.png)
.png)


.svg)

.png)
.png)
.webp)
.svg)

