Webflow Mailchimp Integration
Mailchimp can be integrated with Webflow, offering effective email campaign management and audience growth solutions.

.svg)

.svg)


.svg)
About Mailchimp
Mailchimp is an all-in-one marketing automation platform specializing in email marketing. It empowers businesses to create, send, and analyze email campaigns effortlessly, fostering effective communication with their audience.
The platform also extends its capabilities to audience segmentation and social media advertising, providing a comprehensive marketing solution.
Why Integrate Mailchimp with Webflow
Here are some of the most popular reasons you should consider connecting Webflow to Mailchimp.
- Engage easily — Linking Mailchimp and Webflow simplifies email collection for consistent communication.
- Smart automation — Automate Mailchimp campaigns triggered by Webflow actions for higher engagement and conversions.
- Tailored reach — Use Mailchimp's integration to craft personalized email campaigns based on Webflow user data.
- Efficient lists — Sync Mailchimp and Webflow for updated email lists and smoother management.
- Data insights — Combine Mailchimp's analytics with Webflow to refine email strategies effectively.
- Save time — Automate tasks between Mailchimp and Webflow for efficient campaign management.
{{cta}}
Common Challenges When Integrating Mailchimp with Webflow
Here are some obstacles you might encounter when using Mailchimp with Webflow.
- Data alignment — Ensuring accurate and synced data between Mailchimp and Webflow presents a crucial challenge.
- Technical hurdles — Navigating integration complexities demands technical expertise, posing obstacles for non-technical users.
- Design consistency — Achieving cohesive design between Webflow and Mailchimp templates is a notable design challenge.
- Segmentation complexity — Managing intricate audience segments across both platforms proves time-consuming and complex.
- User transition — Maintaining a seamless user experience from Webflow to Mailchimp forms and emails requires careful attention to detail.
How to Connect Mailchimp to Webflow via Embedded Forms
Similar to many other integrations, making the essential connections is actually very easy. You don’t have to be a tech-savvy person to do it. However, Mailchimp is a robust tool, and setting up more complex workflows might require assistance from Webflow experts.
In the following section, we’ll briefly overview how to make the basic Mailchimp Webflow integration.
1. Open a Mailchimp account — If you’re not a registered user, sign up for the popular email automation platform.
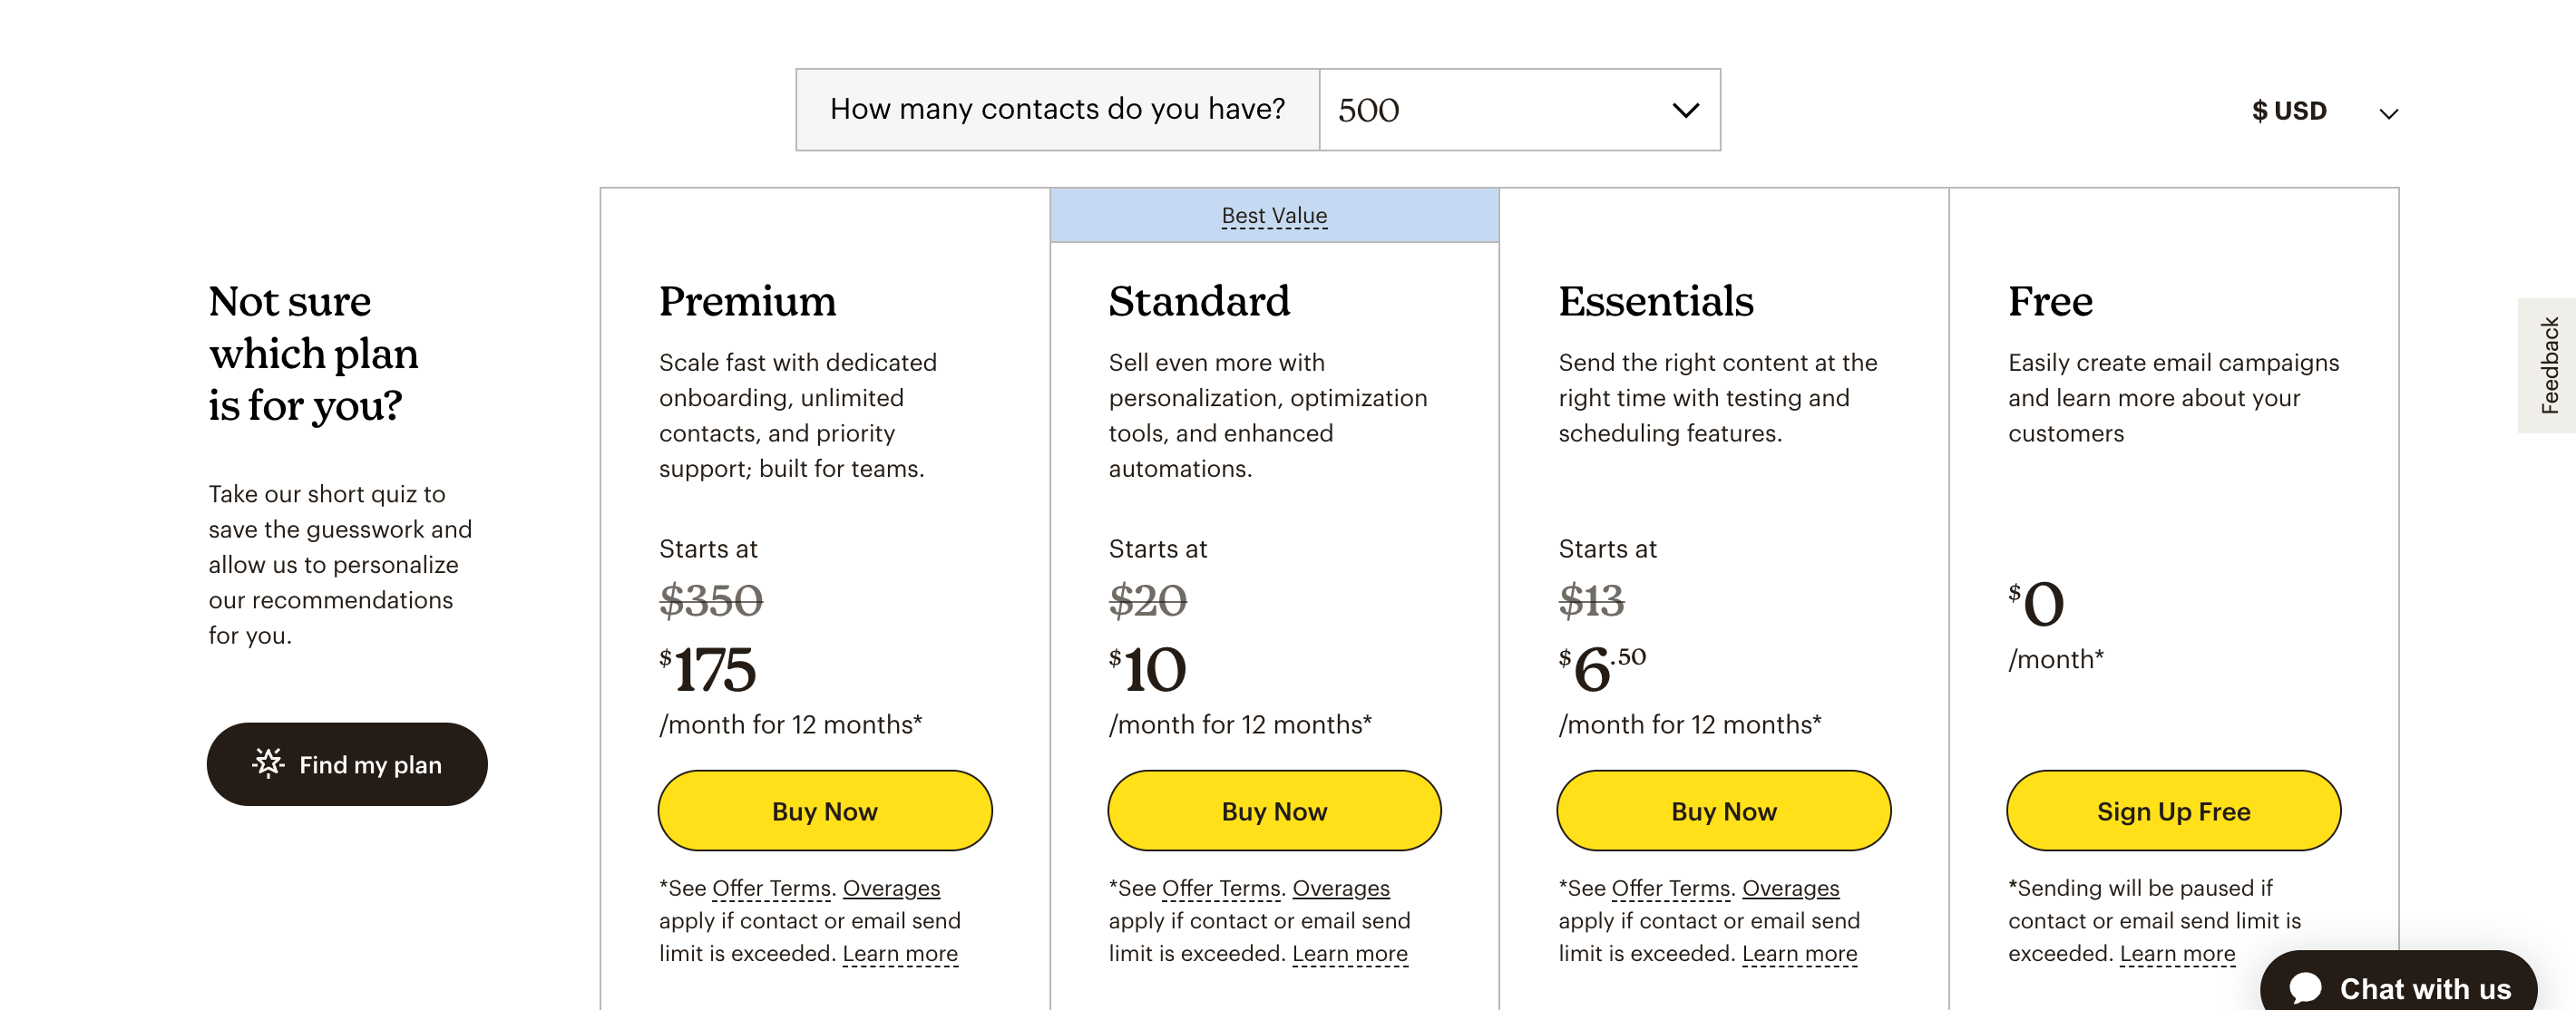
2. Create and Embedded form in Mailchimp — Go to the Audience tab and click on Embedded forms, where you can add the neccessary fields
.png)
3. Generate Code — Once you finish creating the form, you’ll see an option to generate code. Click on in and copy the code.
.png)
4. Add code to your Webflow site — In Webflow Designer, add the code via the Embed field in the section of your page where you want. Save it and publish your website.
.png)
5. Check connection — Go to the Connected Site page on Mailchimp and click Check Connection to see if Mailchimp is working with your Webflow site.
If all is working correctly, you’ve successfully connected Webflow with Mailchimp.
.png)
This is the simplest and most strightforward way to embed the form. However, this comes with some limitations, as the form in Mailchimp needs to be further designed to fit your website. Alternatively, you can create a form in Webflow and connect it to mailchimp via Zapier. Here's how to do it.
Integrate Mailchimp to Webflow with Zapier
This process will allow you to automatically send data from Webflow forms to your Mailchimp account, enabling efficient management of your email campaigns. Here’s a detailed guide:
Prerequisites
- Webflow account — You need a published Webflow site with a form.
- Mailchimp account — Have an account with at least one audience created.
- Zapier account — Sign up if you haven't already.
Step 1: Set Up Your Webflow Form
- Design your form — In Webflow, ensure your form is properly set up with fields like Email, Name, etc., matching the information you want to capture in Mailchimp.
- Test the form — Submit a test entry to ensure it's working correctly.
Step 2: Create a Zap in Zapier
- Log in to Zapier — Go to the Zapier website and log in.
- Create a new zap — Click on ‘Make a Zap’ at the top right corner.
Step 3: Configure the Trigger (Webflow)
- Choose Webflow as the trigger app — Search for and select ‘Webflow’.
- Select the trigger event — Choose ‘Form Submission’ or a relevant event.
- Connect your Webflow account — When prompted, log into your Webflow account and authorize Zapier.
- Set up trigger — Choose your site and form from the dropdown lists.
- Test the trigger — Zapier will fetch a recent form submission to confirm everything is working.
Step 4: Configure the Action (Mailchimp)
- Choose Mailchimp as the action app — Search for and select ‘Mailchimp’.
- Select the action event — Typically, this would be ‘Add/Update Subscriber’.
- Connect your mailchimp account — Log in and authorize Zapier to access your Mailchimp account.
- Set up action — Select the appropriate audience. Map fields from Webflow to Mailchimp (e.g., Email Field to Mailchimp’s Email, Name Field to Mailchimp’s FNAME). Configure additional options as needed (e.g., double opt-in).
- Test the action — Zapier will send a test subscriber to Mailchimp.
Step 5: Activate Your Zap
- Name your zap — Give it a descriptive name for future reference.
- Turn on your zap — Enable the Zap to start running.
Step 6: Testing and Monitoring
- Submit a test entry in Webflow — Fill out your form to test the entire process.
- Check mailchimp — Verify that the information appears correctly in your Mailchimp audience.
- Monitor Zapier — Initially, keep an eye on Zapier for any errors or issues.
Troubleshooting Tips for Connecting via Zapier
- If data isn’t being sent, check your form names and field mappings.
- Make sure your Mailchimp audience settings (like required fields) match what you’re sending from Webflow.
- Review Zapier’s task history for detailed information on any errors.
Integrating Mailchimp with Webflow via Webflow Logic
Instead of using Zapier, you can also use Webflow Logic. This is explained in Webflow University in detail, so make sure to read it carefully if you decide to use this feature.
Webflow Requirements
To connect Mailchimp with Webflow, you will need to pick one of the paid Webflow packages. Free packages don’t let you add custom code.
{{cta}}




The 2025 Playbook for Website Customer Acquisition
.png)

.png)

in mind?
Talk with our team and learn how your ideas can become digital experiences.
Your go-to Webflow
resources library
Webflow projects where we made Mailchimp integration
See some of the Flow Ninja projects where we made the Mailchimp Webflow integration.
Check Other Webflow integrations
Interested in integrating other tools with Webflow? See how we can help you.
We get asked these questions often
How to integrate Mailchimp with Webflow?
To integrate Mailchimp with Webflow, you can use Mailchimp's embeddable signup forms or custom code to add forms to your Webflow site, connecting the collected data with your Mailchimp audience.
Can Flow Ninja connect Mailchimp to Webflow?
Yes, Flow Ninja offers integration services and can likely connect Mailchimp to Webflow, facilitating seamless data exchange.
Can I connect Mailchimp and Webflow through Zapier?
Yes, you can connect Mailchimp and Webflow through Zapier, automating tasks and data transfers between the two platforms using pre-built workflows.
.svg)

.png)
.png)


.svg)
.svg)

.webp)
.svg)


